


Backups are an important feature that can store information and data about your system and files for a longer period of time, allowing you to easily restore your server to a previous state. Therefore, it is vital that you know how to use this feature. That is why in this step-by-step tutorial we will teach you how to activate automatic backups for your VPSBG server.
Step 1: Log into your VPSBG account
Start by logging into our Console by entering your email and password.
Step 2: Navigate to your services from the dashboard
Once you have successfully logged in, you will be presented with your dashboard, the appearance of which should be like so:
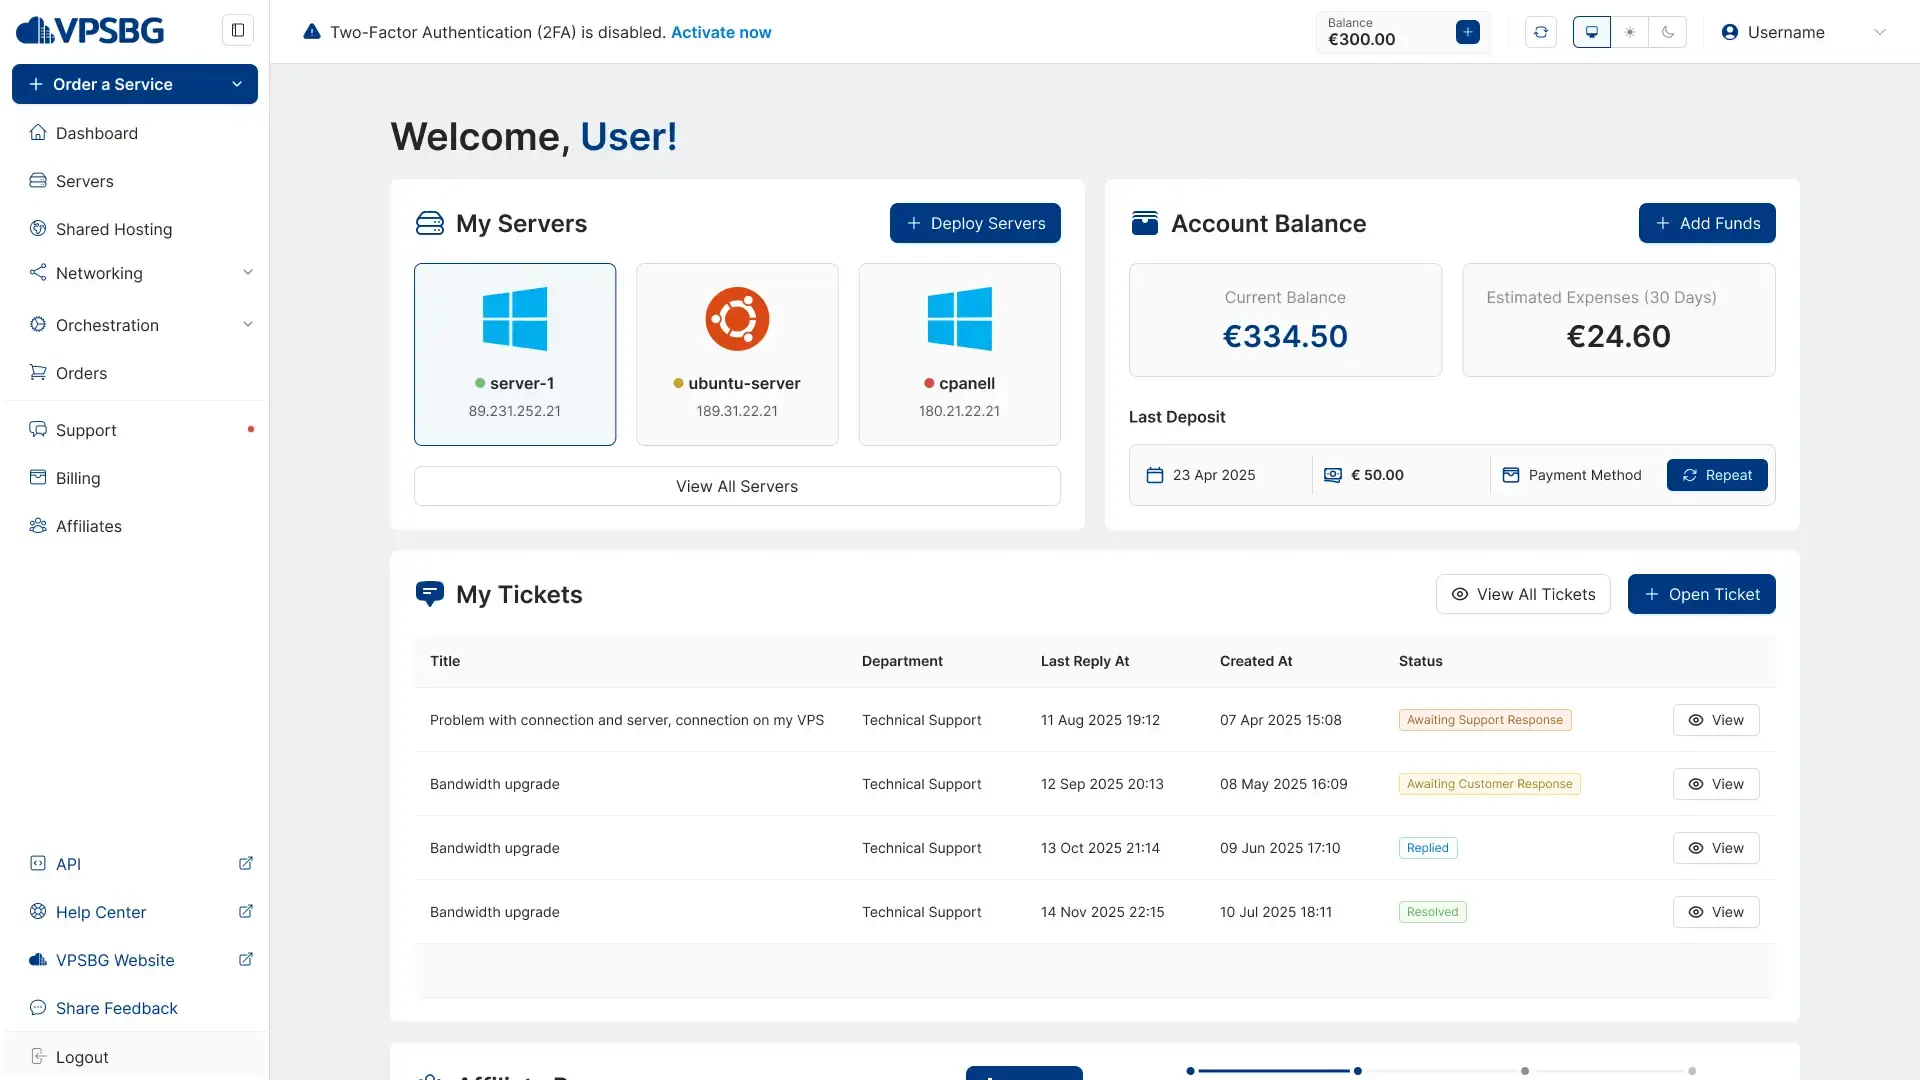
From here, click on the “Servers” button from the menu on the left. This will take you to a page with a list of all of your services.
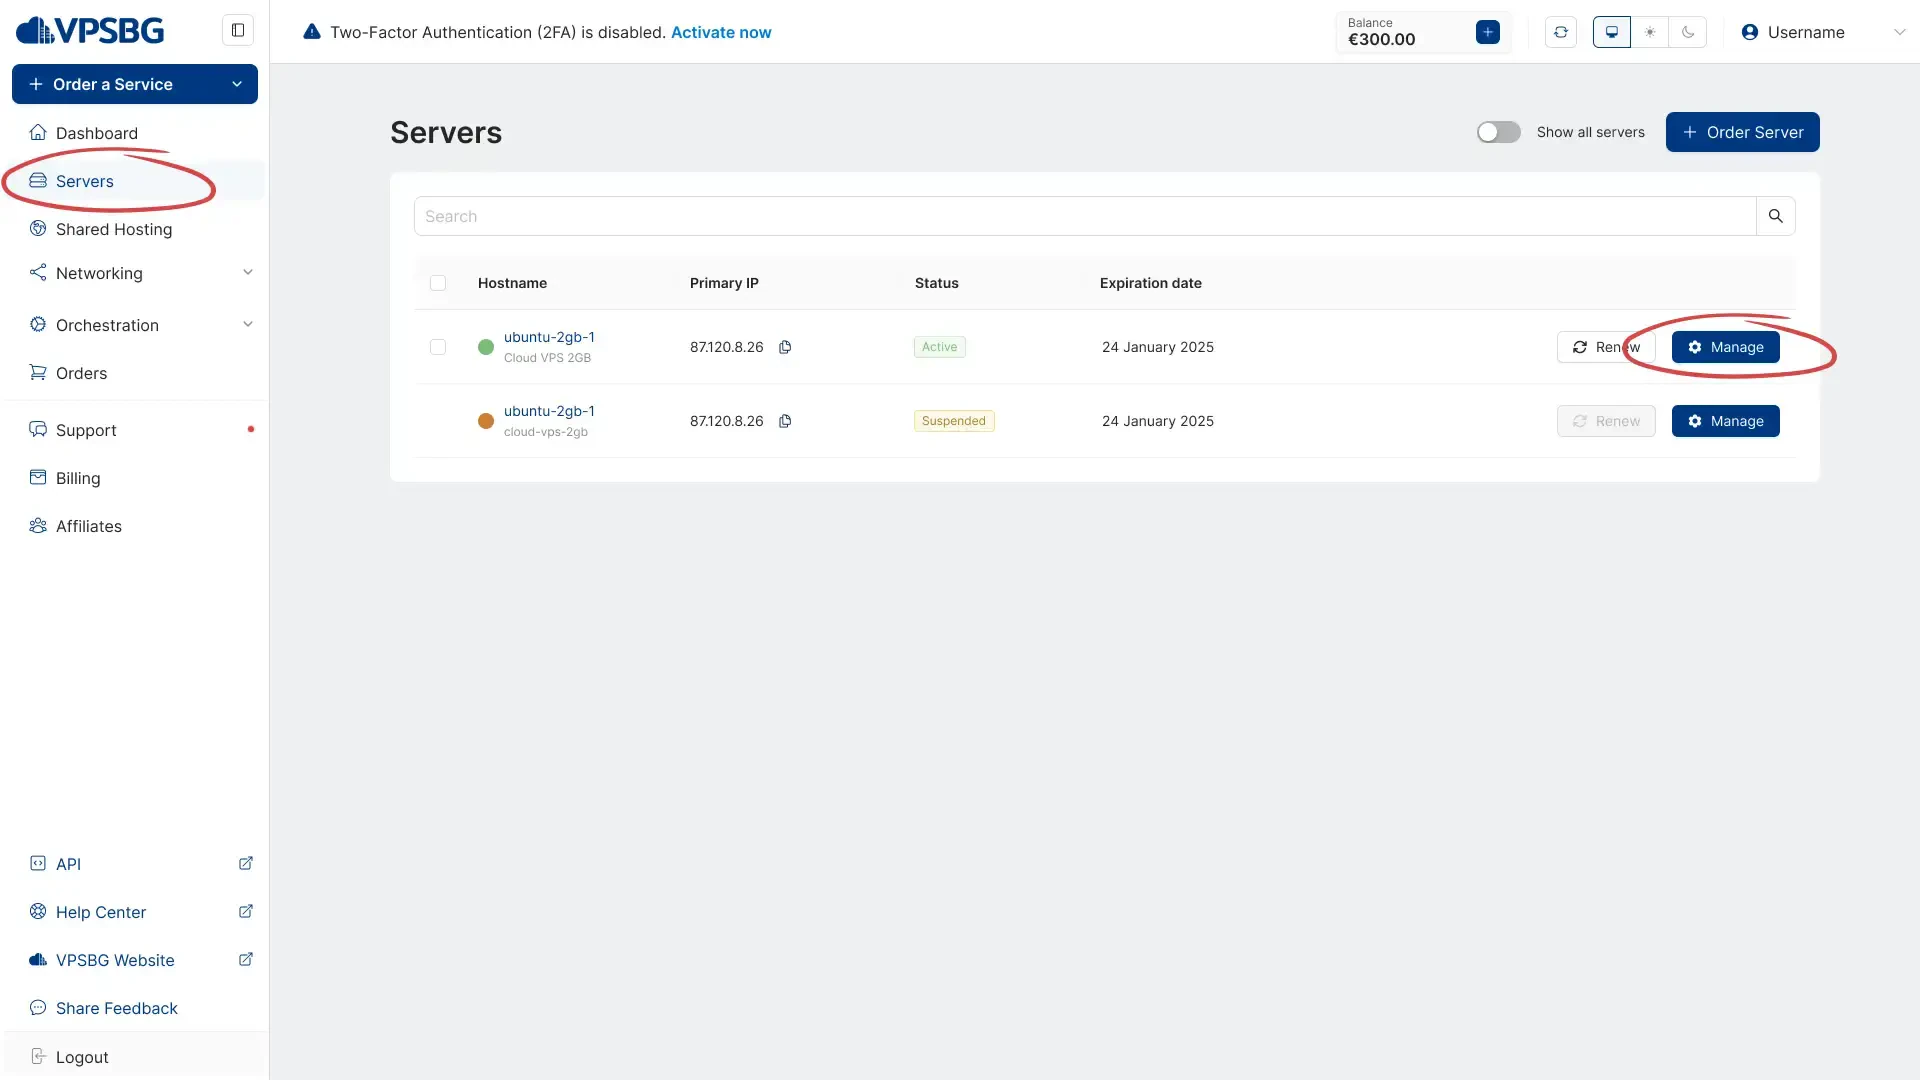
Step 3: Find the server for which you want to activate automated backups
Having arrived at the servers page, you will now want to find the server you would like to activate automatic backups for. You will see a green dot in front of your active servers alongside the server hostname and IP addresses attached to the server.
The next step is to simply click on the “Manage” button for your desired server.
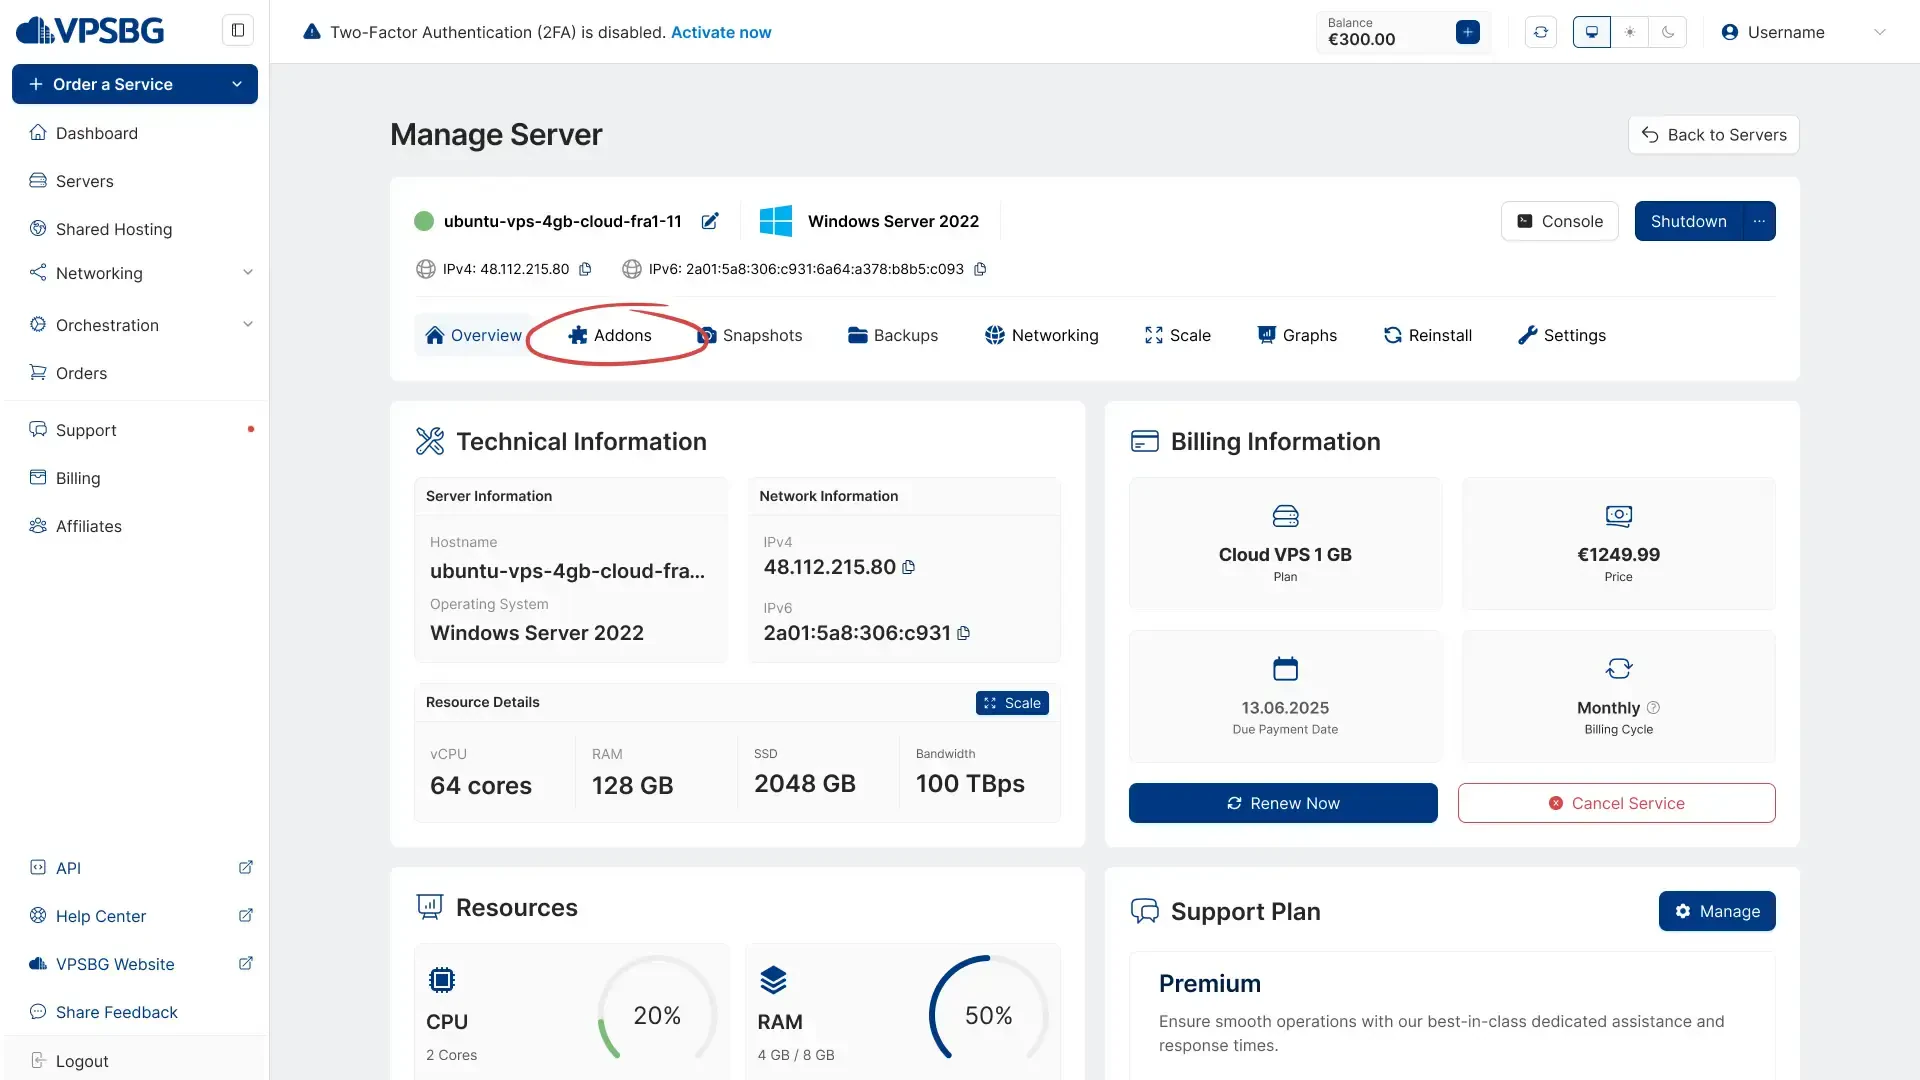
Step 4: Arrival at the given Service’s page
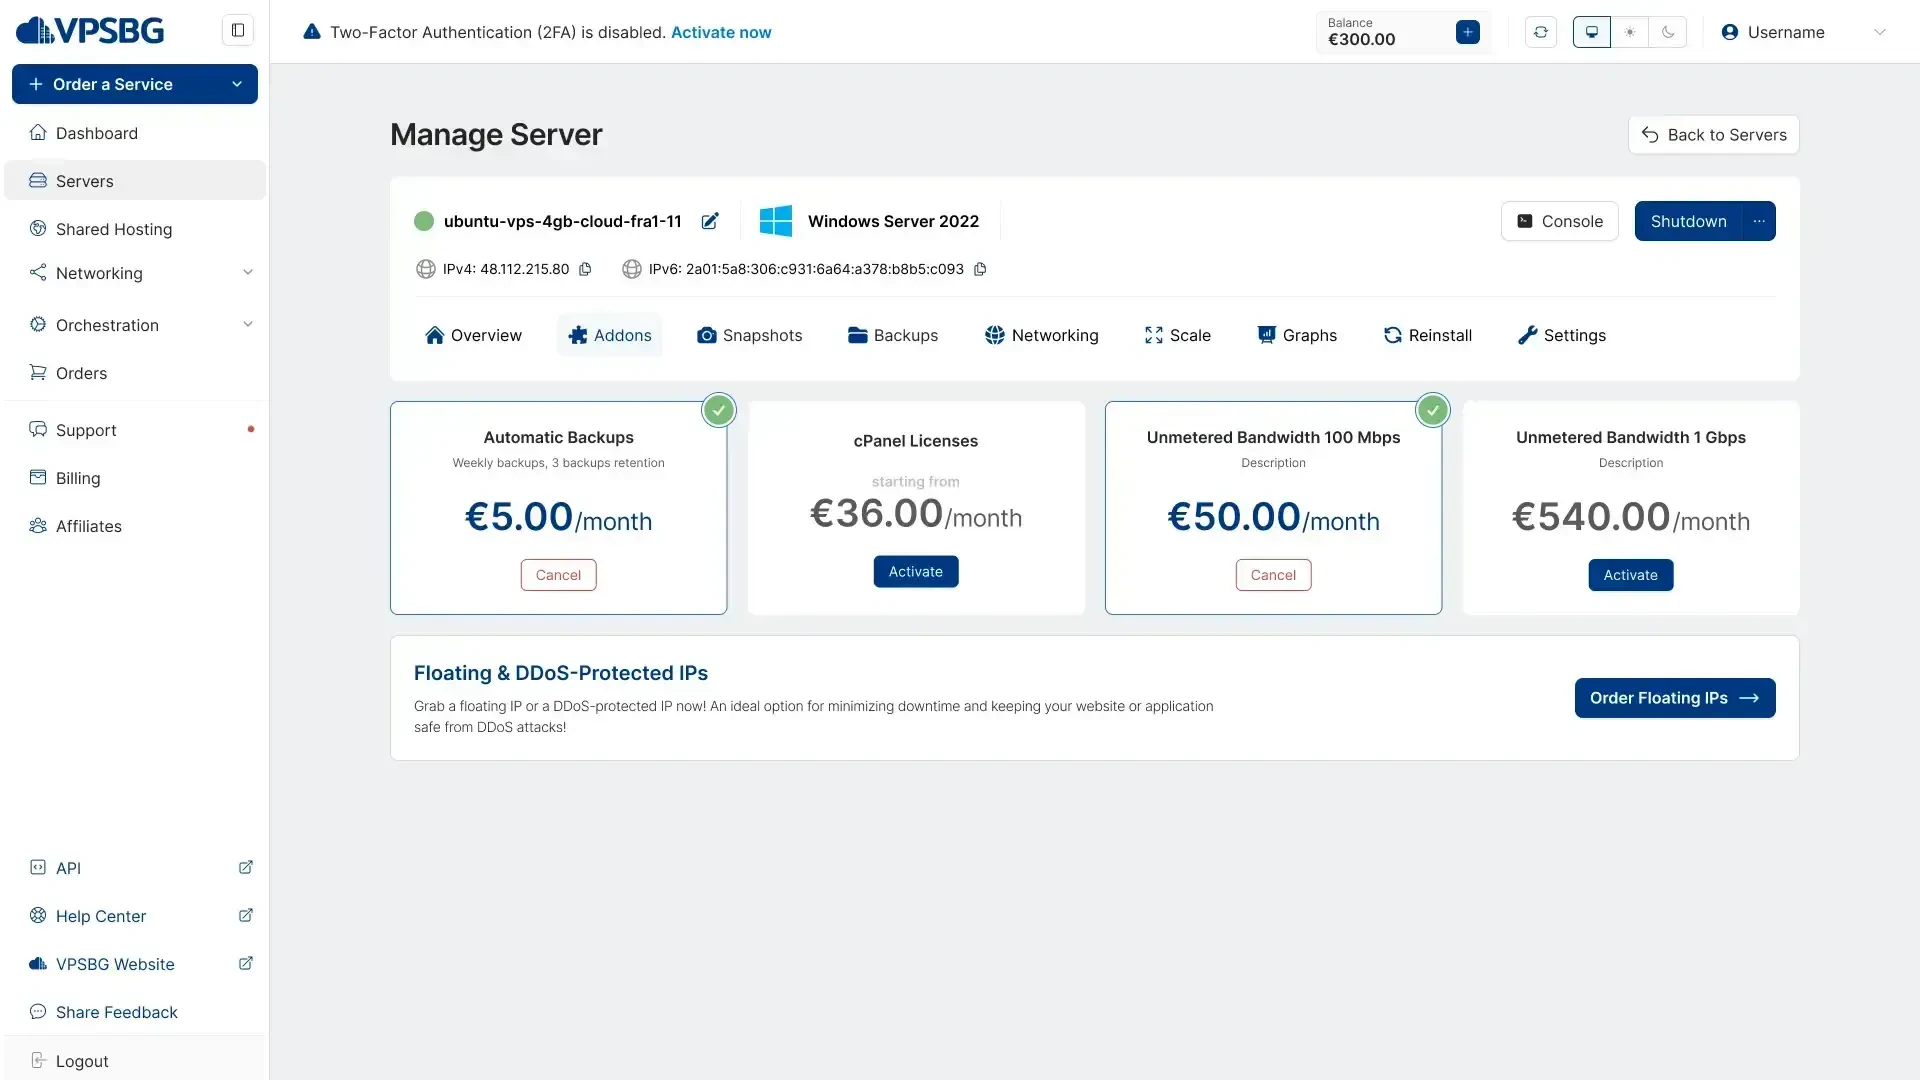
Clicking on a given service will bring you to its management page. Next, simply navigate to the ‘Addons’ tab.
This page contains all of the extra features that you can purchase for your server with some operating systems like Windows Server offering a wider range of options. From here, click on the 'Activate' button in the 'Automatic Backups' section.
You will be presented with a confirmation message that will notify you about the price of the addon. Our addons’ billing cycles automatically align with the billing cycle of your server.
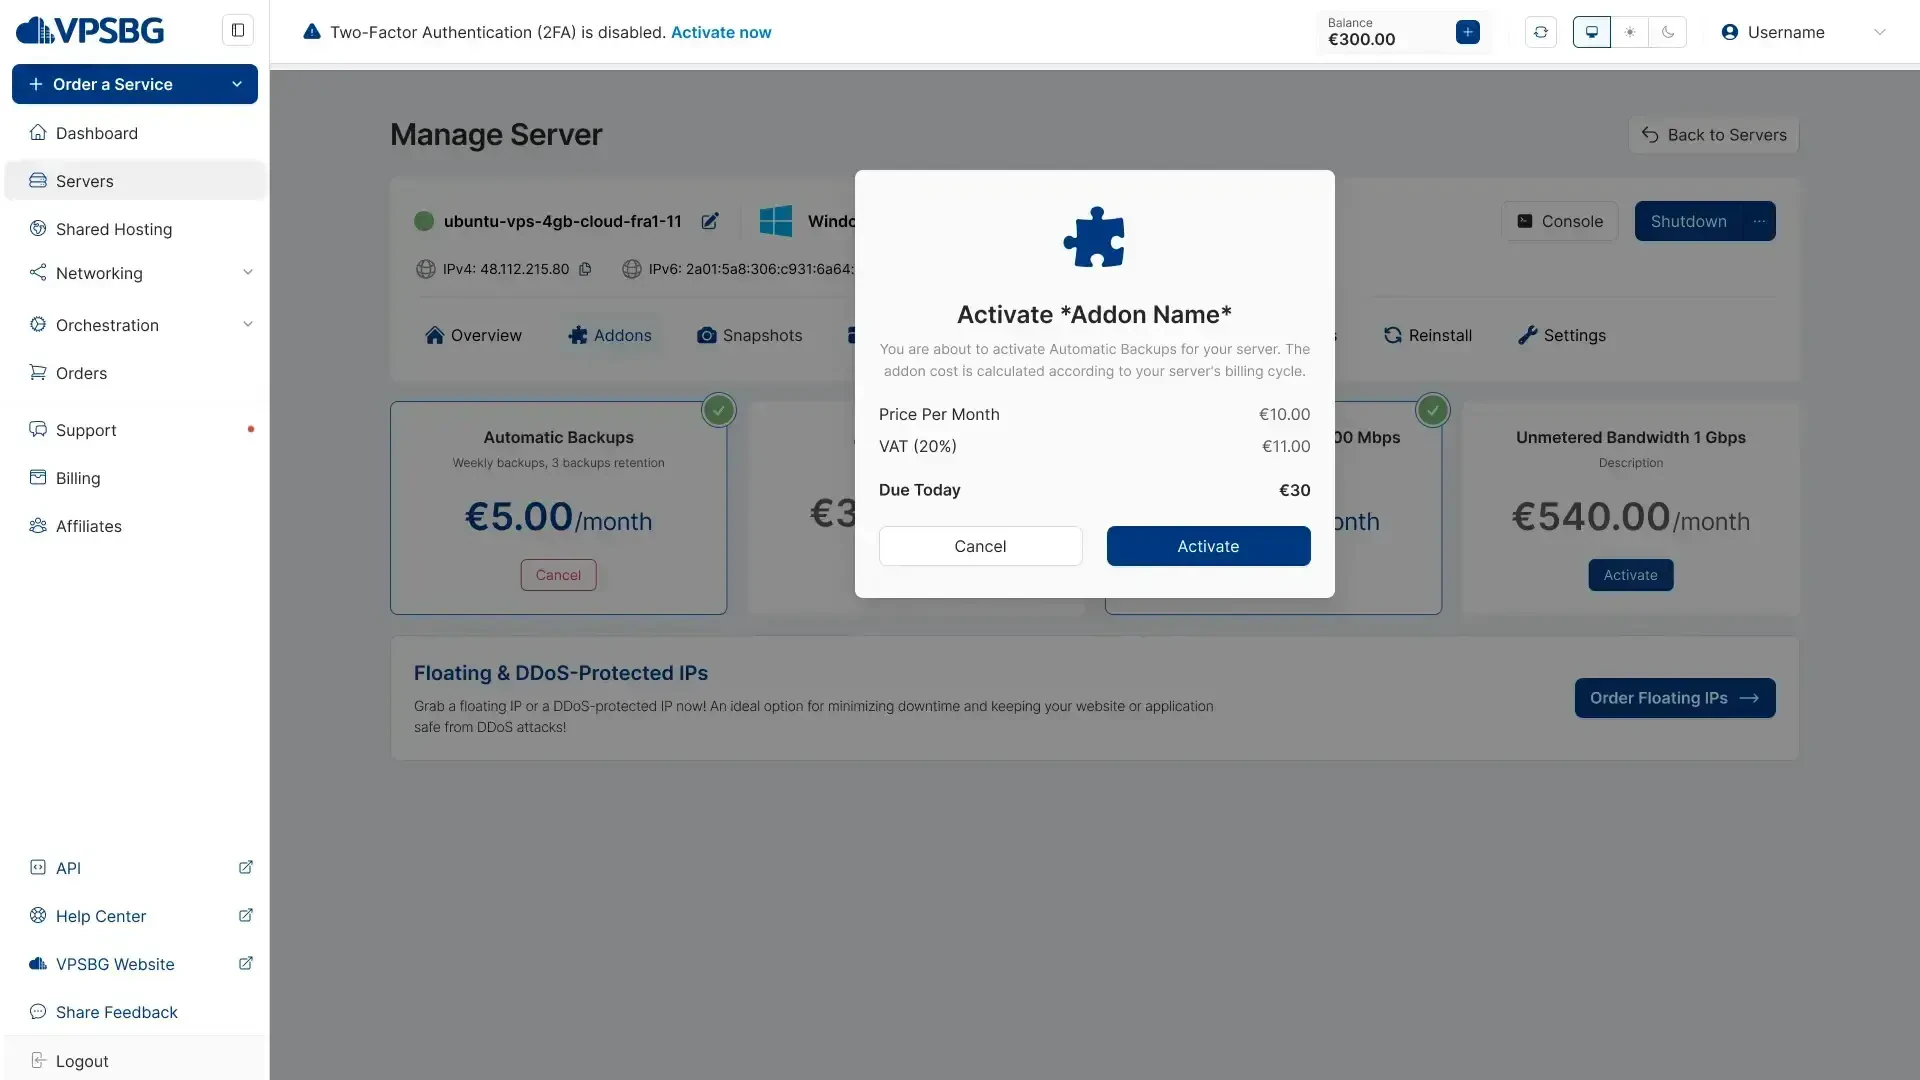
It is important to note that the price above the button is calculated by the following formula - 0.10 EUR multiplied by the storage space that your server has (based on your server plan) multiplied by the current amount of days left of your service divided by 30 and finally multiplied by the given tax rate.
Furthermore, if your service is expiring in less than 20 days, then you can activate the feature for free. Moreover, it is also vital to know that if you have enabled automated backups and you decide to opt out of the feature, backups will be preserved for 3 weeks from the date they were made.
Also, keep in mind that a backup will be made automatically once a week with only 3 backups being kept in total, meaning that your oldest backup will be from 3 weeks ago.
That’s it! We hope that this tutorial has helped you to successfully initiate the automated backups feature for your server.

