


Virtual private networks are becoming much more common due to their positive privacy-protection effect. While there are a plethora of different open-source VPN protocols on the market, WireGuard, OpenVPN and SoftEther seem to be gaining a lot of traction due to their speed and customizability, which makes them a fantastic candidate for creating your own, personal VPN server.
Because of this, in this tutorial, we are going to focus on how to manually install SoftEther VPN onto a cloud server.
Prepare your server for SoftEther VPN
Before you can actually install SoftEther, you are going to need to prepare your server for the installation.
Start off by logging into your server through SSH. This is absolutely crucial as you are going to need to access the terminal in order to execute the required commands.
When you have successfully logged in, you first need to run the following commands:
apt update && apt install build-essential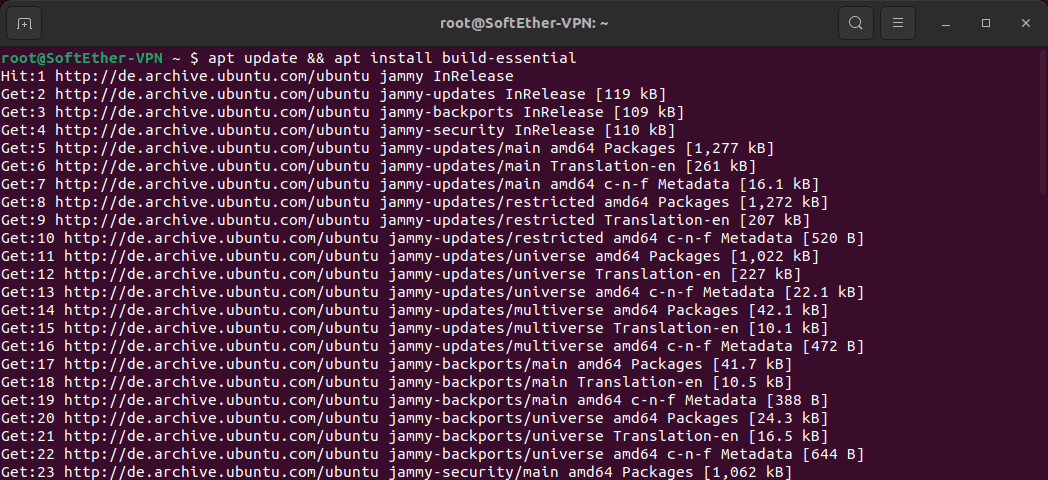
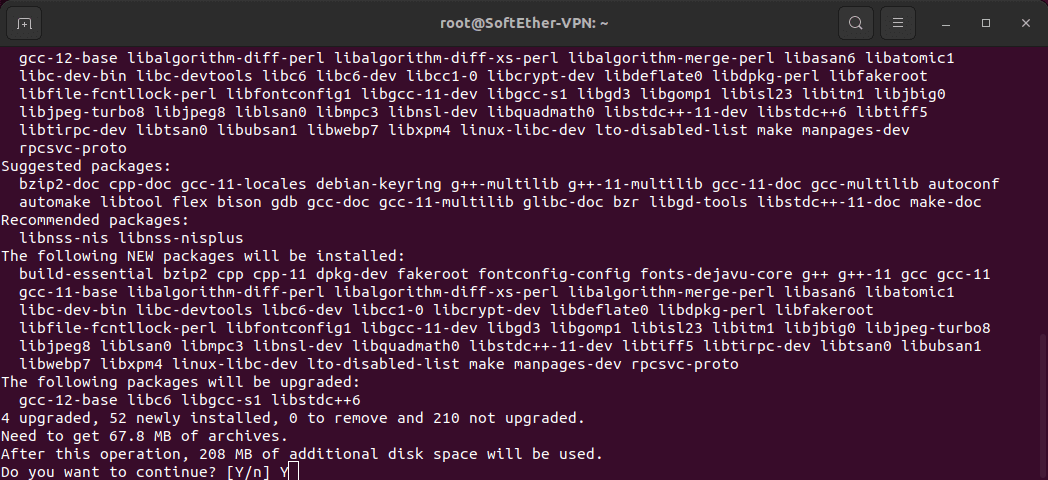
Next, type Y to confirm and continue forward:
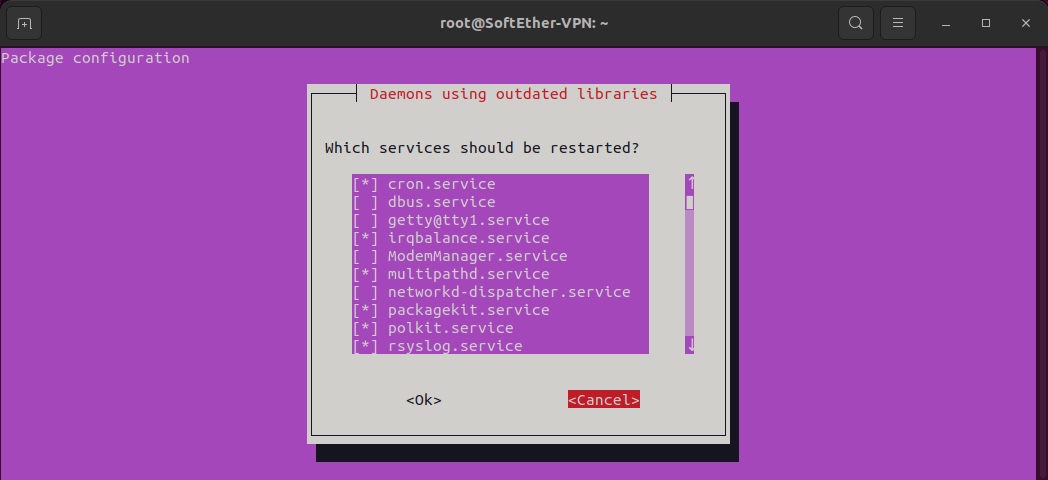
IMPORTANT: You might be prompted to restart some services due to old libraries. You can skip the restart step by tapping the Tab key on your keyboard twice, which will help you navigate to the Cancel button on which you need to hit Enter.
How to install SoftEther VPN on a cloud server
Once you have prepared your server, you can begin installing the software. Start by navigating to the /usr/local folder as this is the place where you will need to download SoftEther VPN. In order to find the directory, you can use the following command:
cd /usr/local/Once you are at the correct place, you will then need to actually download the VPN software with this command:
$ wget https://www.softether-download.com/files/softether/v4.43-9799-beta-2023.08.31-tree/Linux/SoftEther_VPN_Server/64bit_-_Intel_x64_or_AMD64/softether-vpnserver-v4.43-9799-beta-2023.08.31-linux-x64-64bit.tar.gzNext up, you are going to have to extract the files from the downloaded file:
$ tar -xf softether-vpnserver-*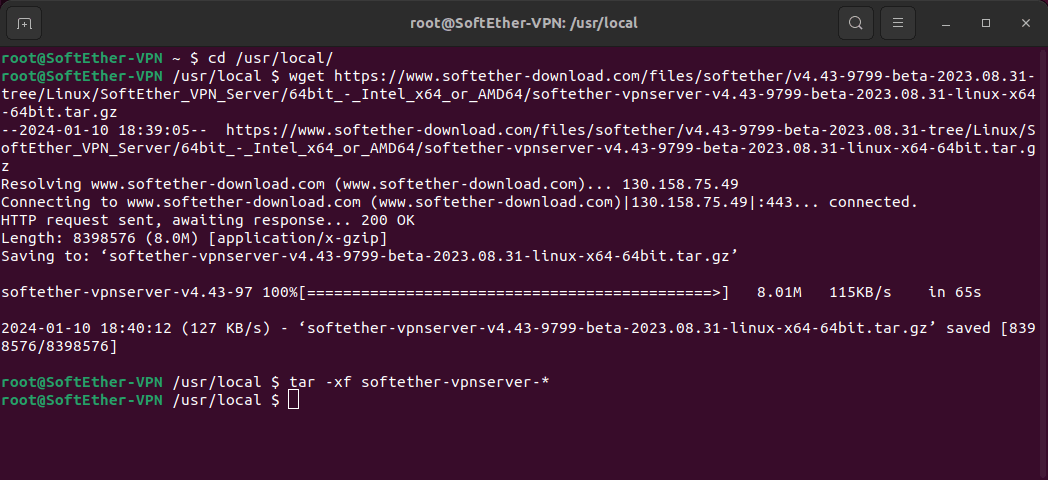
Finally, in order to start the installation process, you will need to navigate to the folder directory and compile the installation:
$ cd vpnserver && make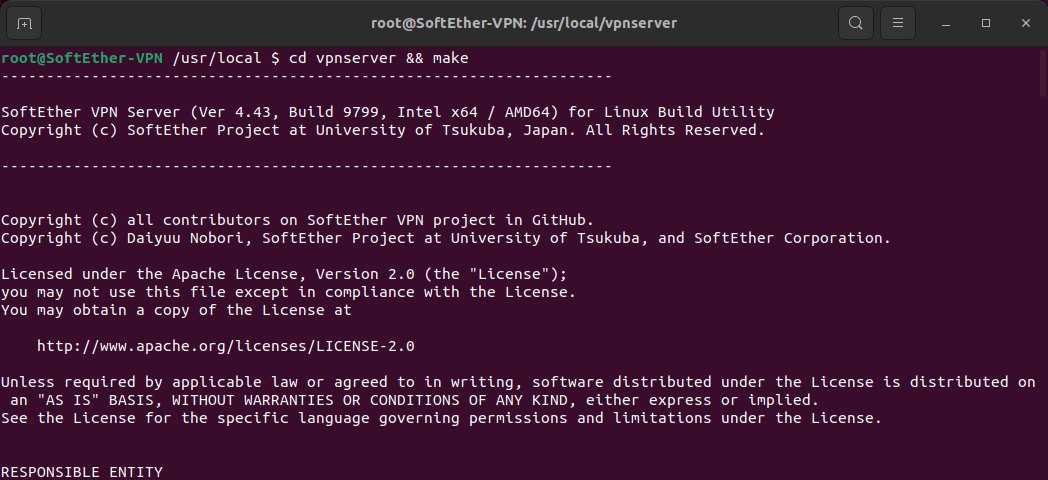
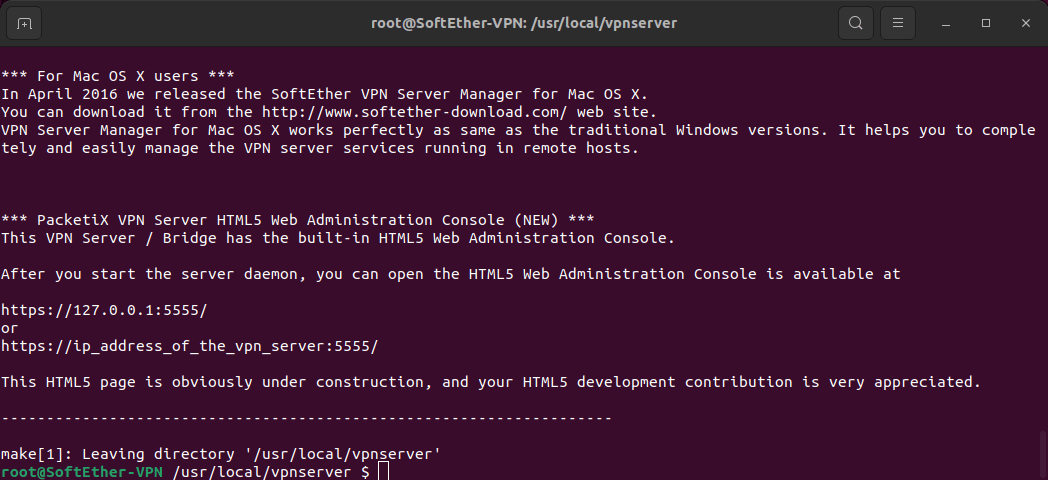
When the SoftEther installation concludes, you will need to make sure that the VPN server will boot alongside your operating system. To do so, you will need to create a new file in the /etc/init.d folder with this command:
$ vim /etc/init.d/vpnserverPress i to enter INSERT mode and paste the following:
#!/bin/sh
# description: SoftEther VPN Server
DAEMON=/usr/local/vpnserver/vpnserver
LOCK=/var/lock/subsys/vpnserver
test -x $DAEMON || exit 0
case "$1" in
start)
$DAEMON start
touch $LOCK
;;
stop)
$DAEMON stop
rm $LOCK
;;
restart)
$DAEMON stop
sleep 3
$DAEMON start
;;
*)
echo "Usage: $0 {start|stop|restart}"
exit 1
esac
exit 0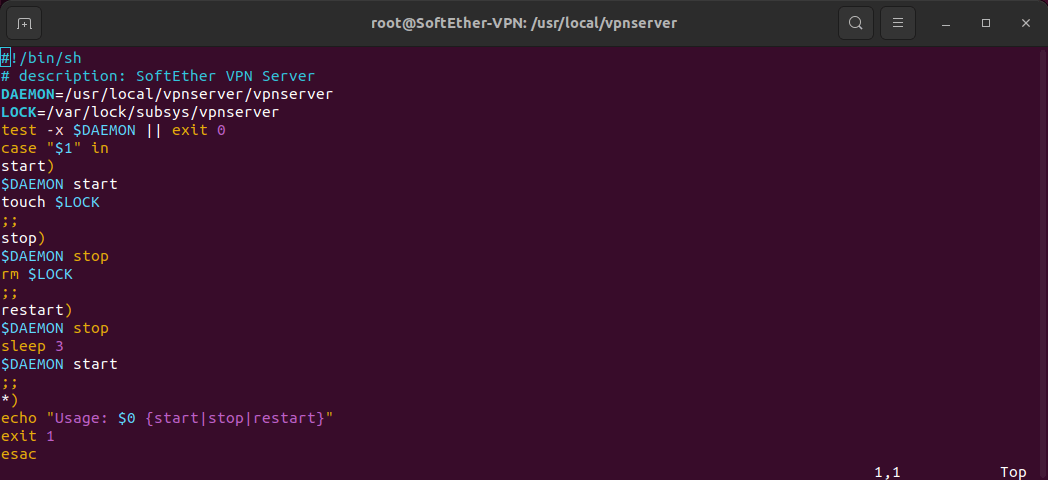
Next, press Esc and type :x to save and exit the editor.
After that, you will need to set up file permissions. You can do so with this command:
$ chmod 755 /etc/init.d/vpnserverThen, start the SoftEther VPN server:
$ /etc/init.d/vpnserver start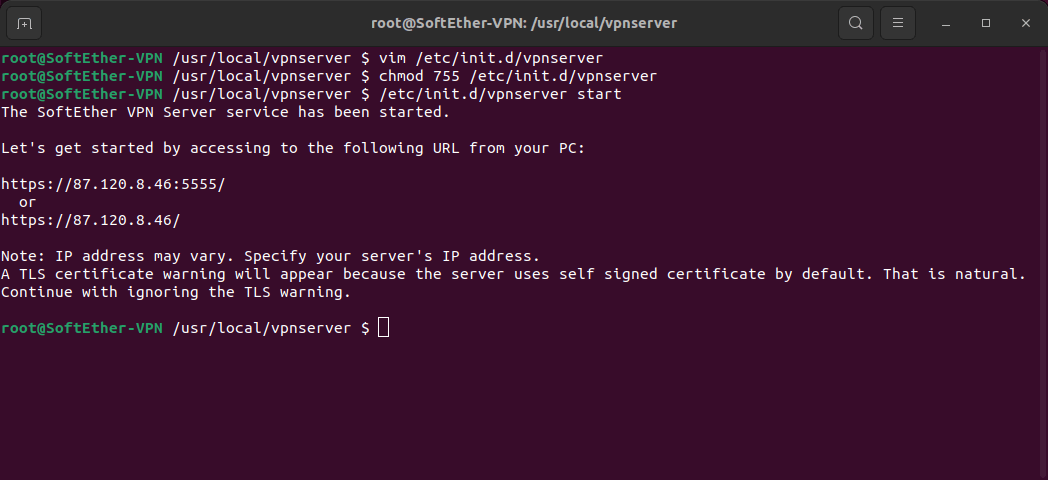
To ensure that the server boots with the OS, you will need to use the following command:
$ update-rc.d vpnserver defaults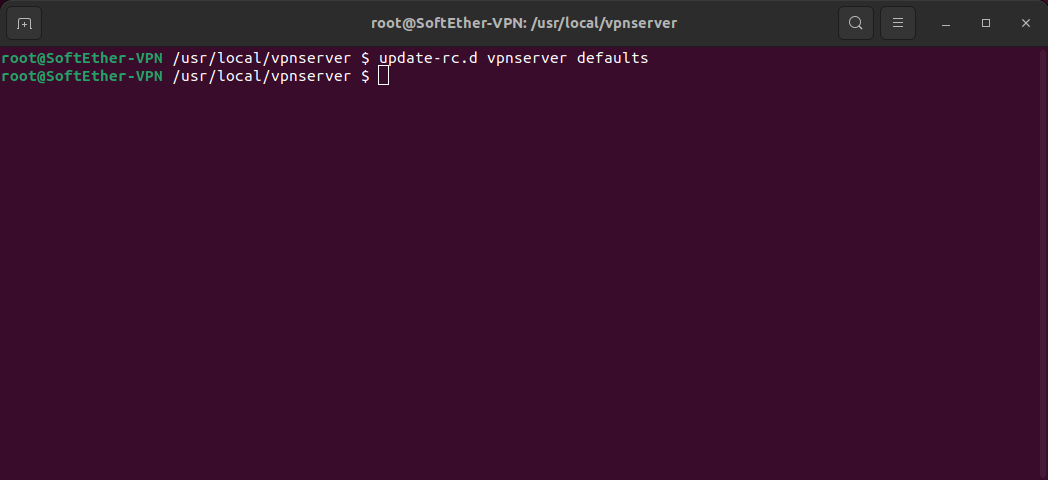
That’s it! You have successfully installed SoftEther VPN on your cloud server! You can now begin configuring your server.
How to configure a SoftEther VPN Server
To start configuring your VPN server, you will first need to navigate to the /usr/local/vpnserver folder:
cd /usr/local/vpnserver/Once there, you need to type the following command:
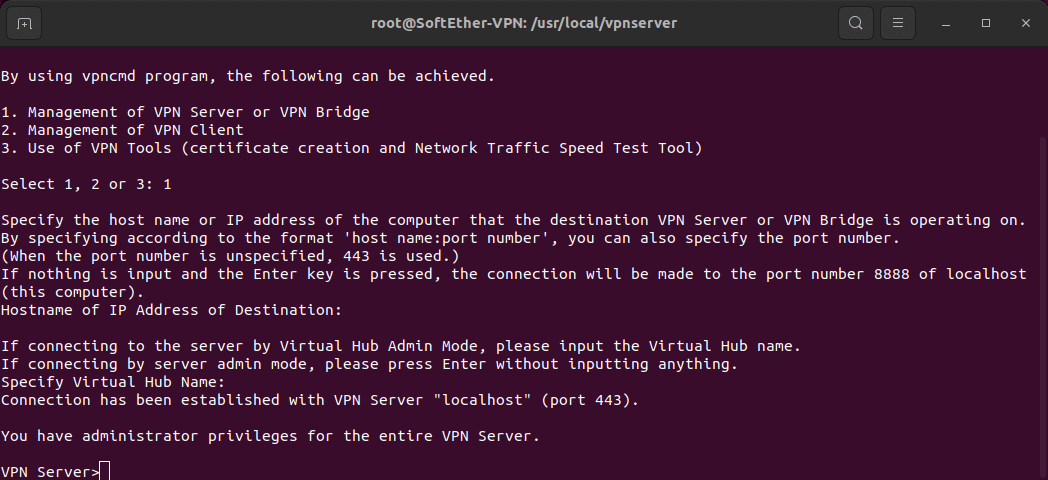
./vpncmdYou should then see this screen:

Press 1 and then press Enter.
You will then be prompted to enter a hostname. Do not enter anything, simply press Enter. After that, you will also be asked to enter a Virtual Hub Name as well - leave it empty and again press Enter. You will then enter the VPN Server Admin console, which will look like so:
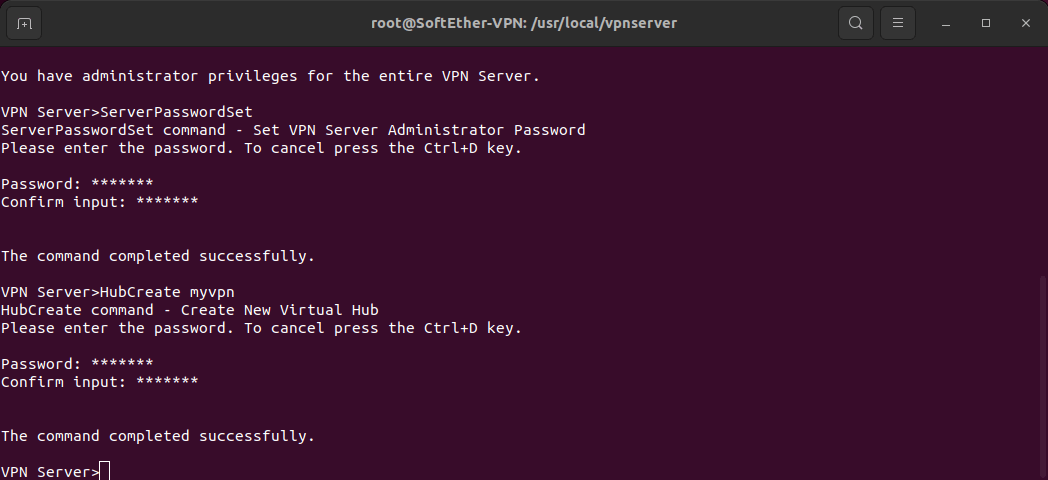
The next command you have to type is:
ServerPasswordSetYou will then be asked to enter a VPN Server Administrator password. Type a secure password, press Enter and confirm the selected password.
You will also need to create a Hub (you can replace your_hub_name with anything you want):
HubCreate your_hub_nameThen, you will need to enter a hub password. Type it in, press Enter and confirm the password.
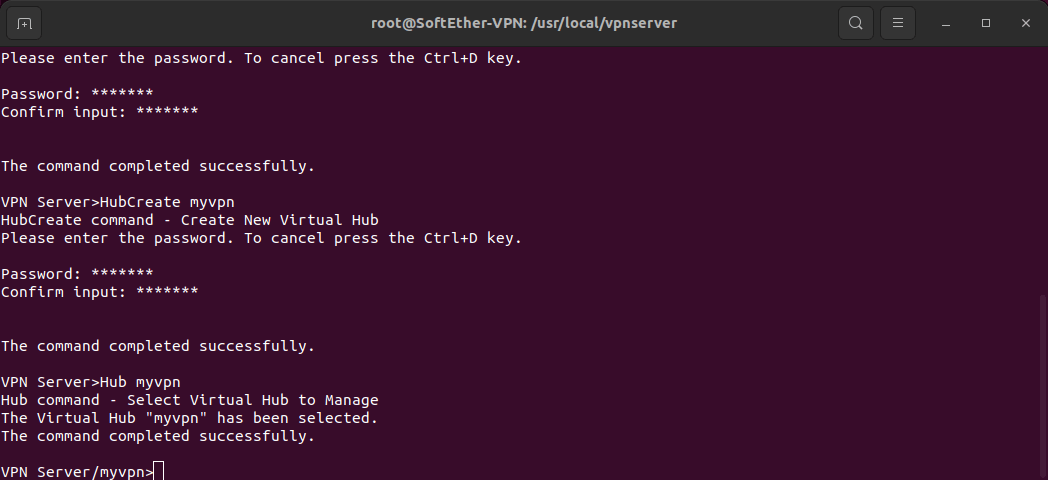
Now you will need to enter the hub you’ve just created in order to start managing it:
Hub your_hub_nameIMPORTANT: You have to replace your_hub_name with the hub name you created.
You should see the following messages in the terminal:
After that, you will need to configure the network:
SecureNatEnableThe output of the command should be:
SecureNatEnable command - Enable the Virtual NAT and DHCP Server Function (SecureNat Function)The command completed successfully.
Next, type in the following:
IPsecEnableThis will bring up a few questions, which you need to answer by typing in yes or no like so:
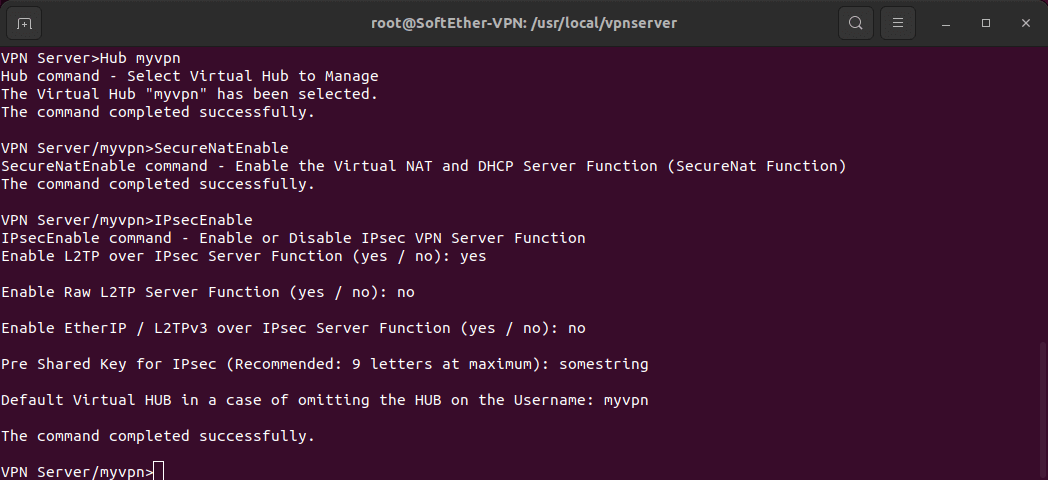
IMPORTANT: You have to replace myvpn with the hub name you have created.
You will now need to create your first user profile:
UserCreate user1IMPORTANT: You can replace user1 with anything you want. That's the username of your user.
You will be prompted to enter data, which you can skip by pressing Enter three times.
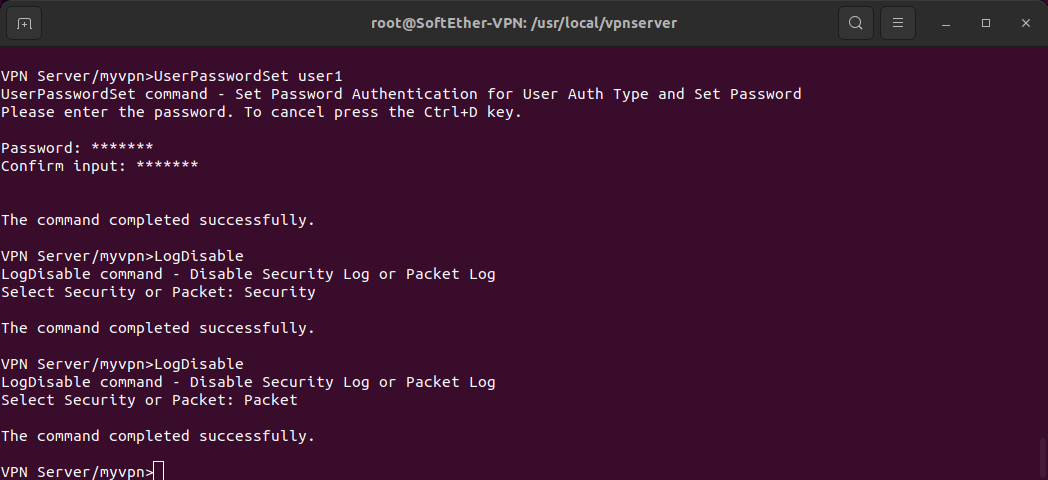
Next, you will also need to set a password for the user that you’ve just created:
UserPasswordSet user1IMPORTANT: You have to replace user1 with the username of the user you have created.
Enter the password for this user and confirm it. You will then need to disable the security logs:
LogDisableYou will be asked which log you’d like to disable. Enter Security and press Enter.
After that you will need to disable the packet logs:
LogDisableAgain, enter Packet and press Enter.
That’s it - you have created your first user profile and you have configured your SoftEther VPN server! To close the VPN server Admin console, press Ctrl + D.
That’s it! You can now start using your SoftEther VPN server! You can also check out our detailed tutorials on how to connect a desktop to your cloud VPN server as well as how to establish a connection to your mobile device and how to manage your server through the SoftEther client! We also have a tutorial on how to install and SoftEther and connect on CentOS7!

