


Manual backups are a ‘picture’ taken of your server at a specific point in time. They contain information about the files, applications and software stored on your VPSBG server at the moment of the capture, enabling you to easily restore your server to that state in case of any unwanted changes, malware or any system malfunctions.
Given that they are a powerful tool that can help you recover data on the server, it is important that you know how to create and handle them. This is why the purpose of this step-by-step tutorial will be to teach you how to take a manual backup of your VPSBG server.
Step 1: Log into your VPSBG account
Start by simply logging into our Console by entering your email and password.
Step 2: Navigate to your servers from the dashboard
Once you have successfully logged in, you should arrive at your dashboard, which should look like this:
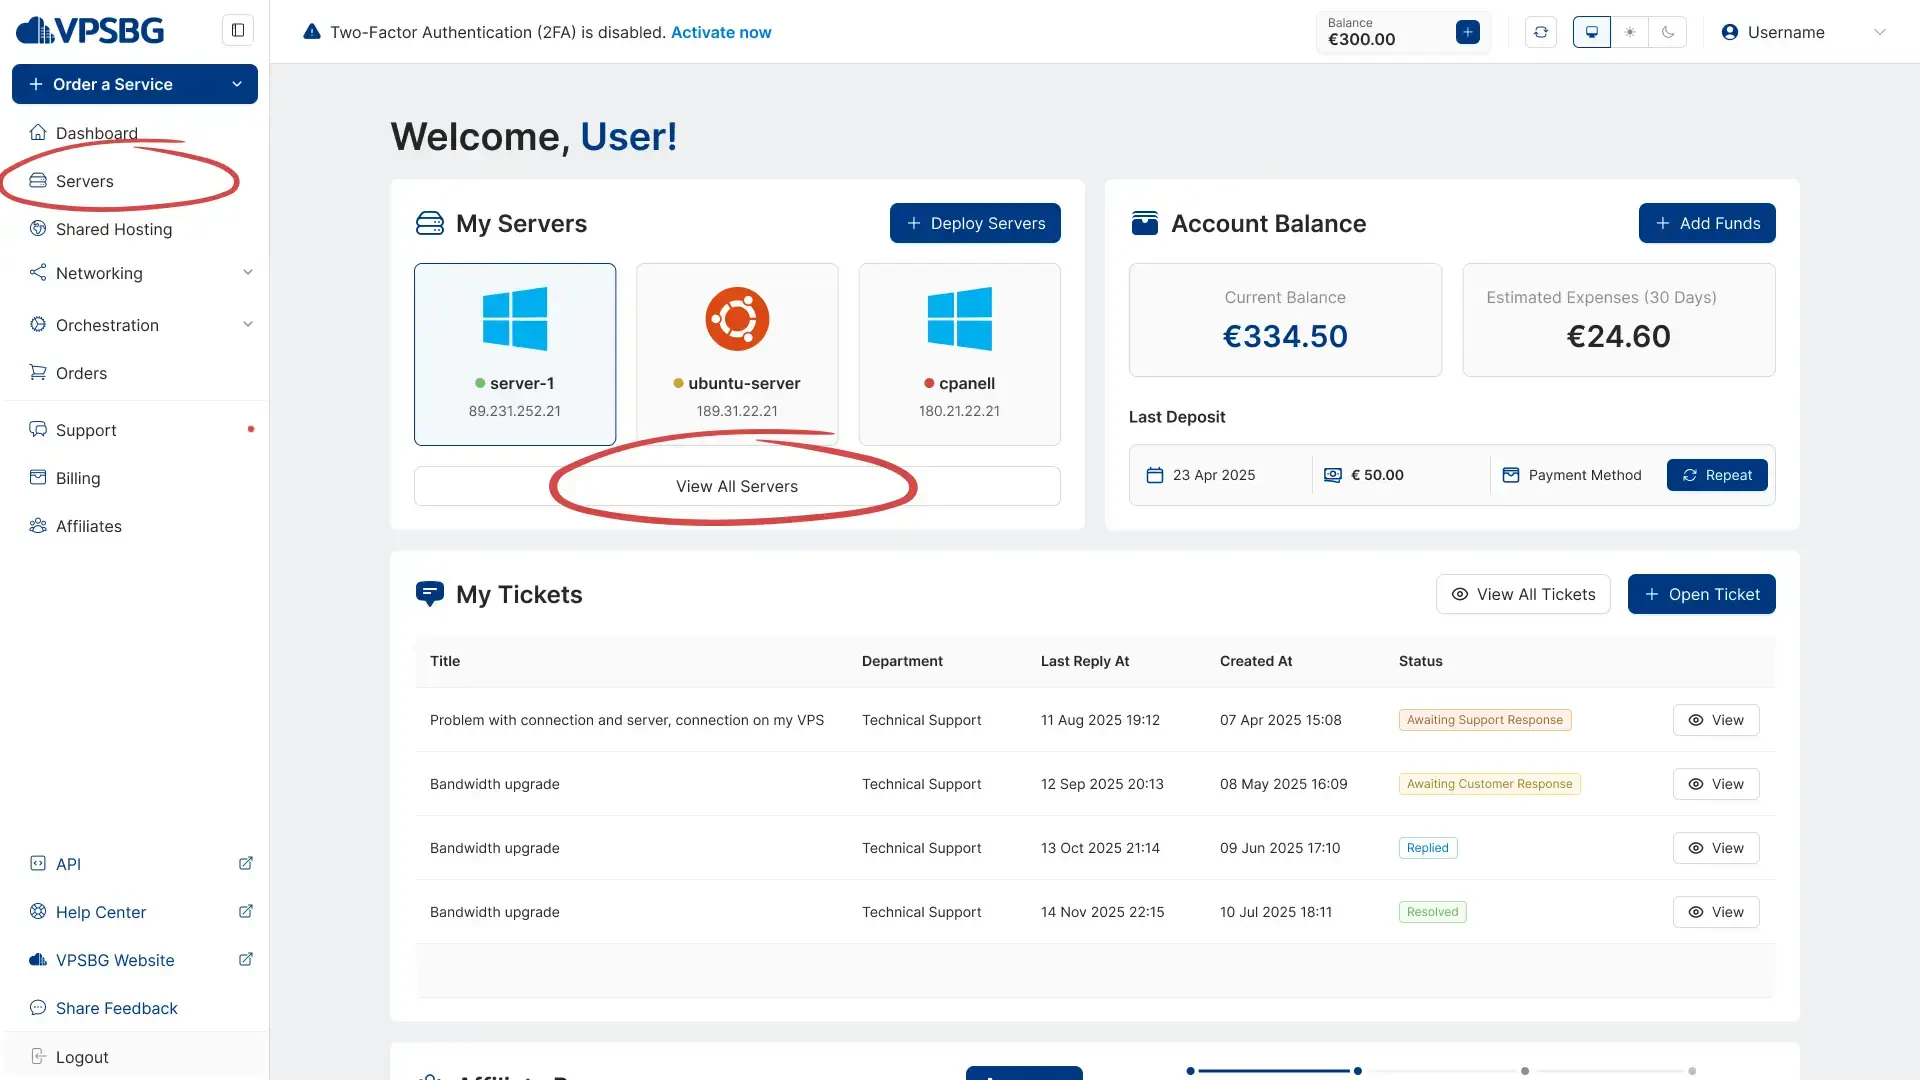
From here you want to click on the ‘Servers’ button from the menu on the left, which will then take you to a page containing a list of all of your services.
Step 3: Locate the server you want to take a manual backup of
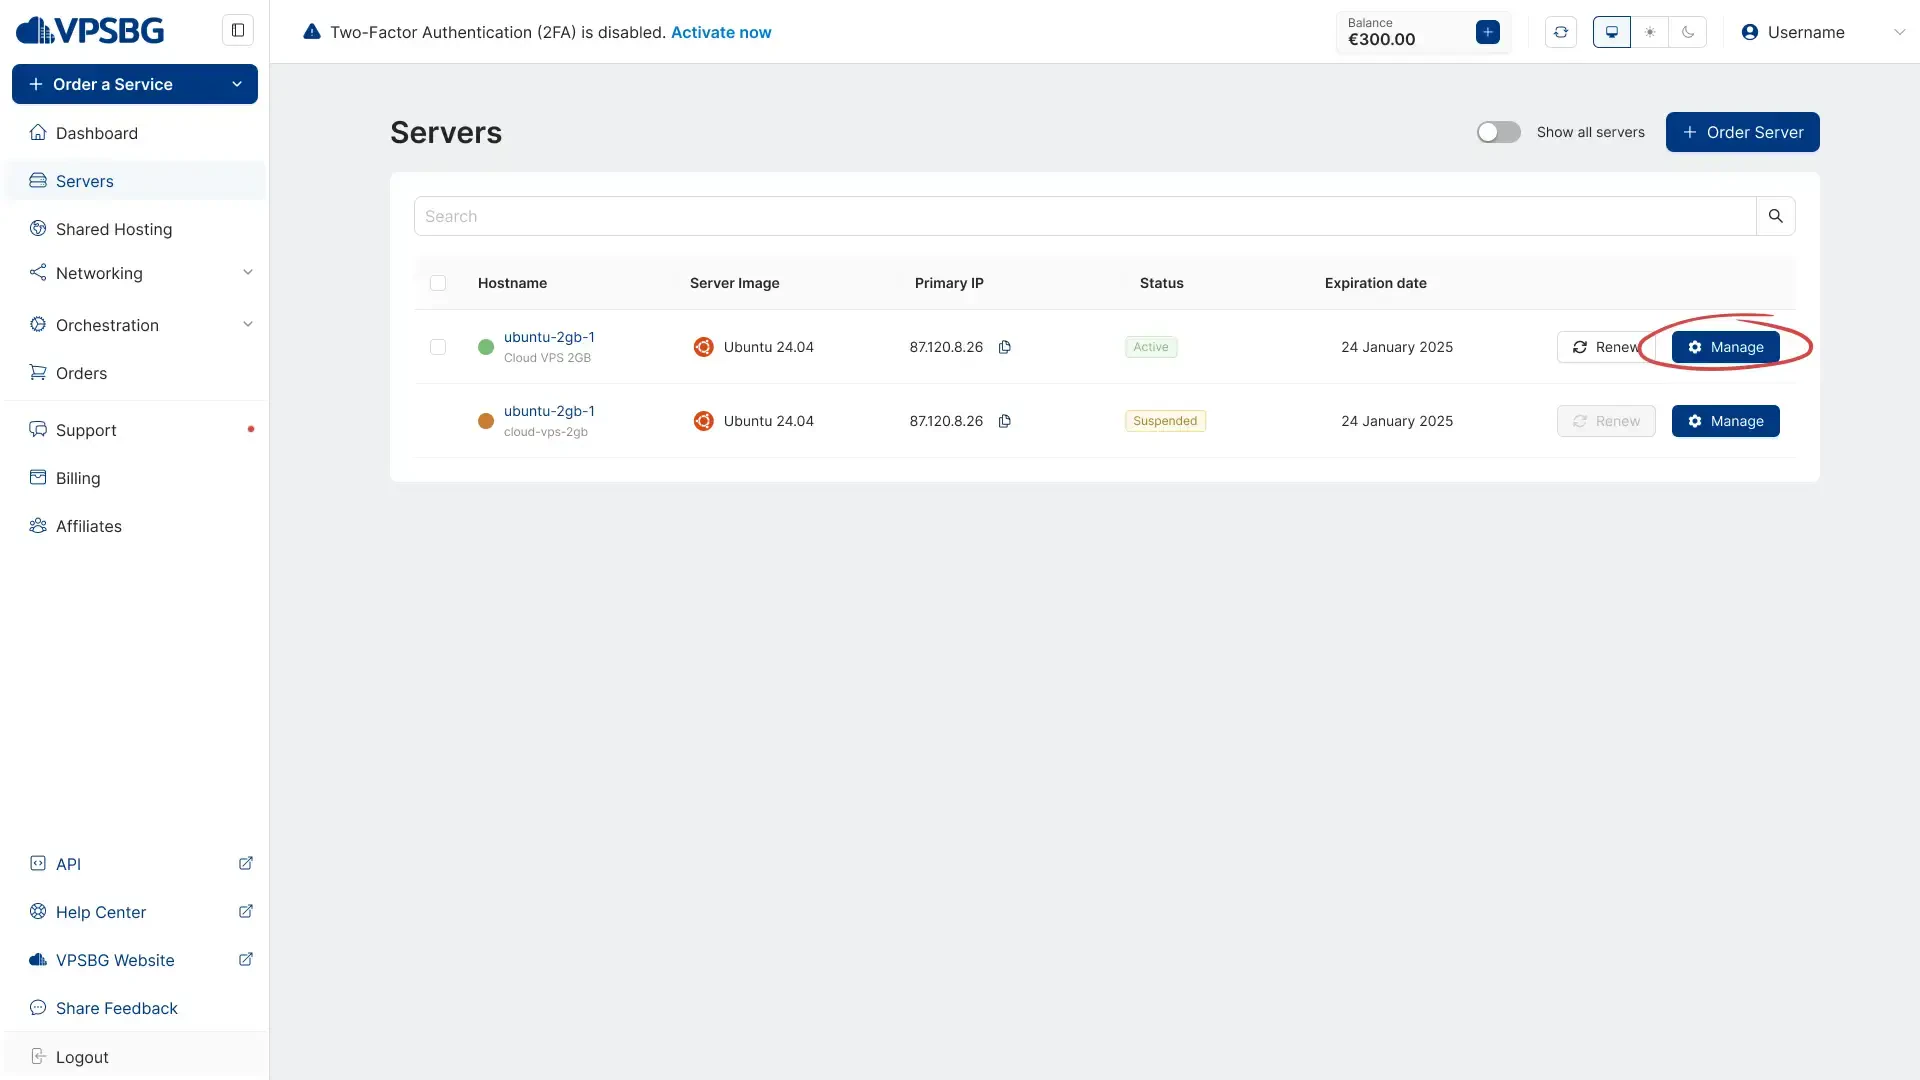
Having arrived at the servers page, you will now want to find the server you would like to take a manual backup of. You will see a green dot in front of your active servers alongside the server hostname and IP addresses attached to the server.
The next step is to simply click on the “Manage” button for your desired server.
Step 4: Arriving on the service page
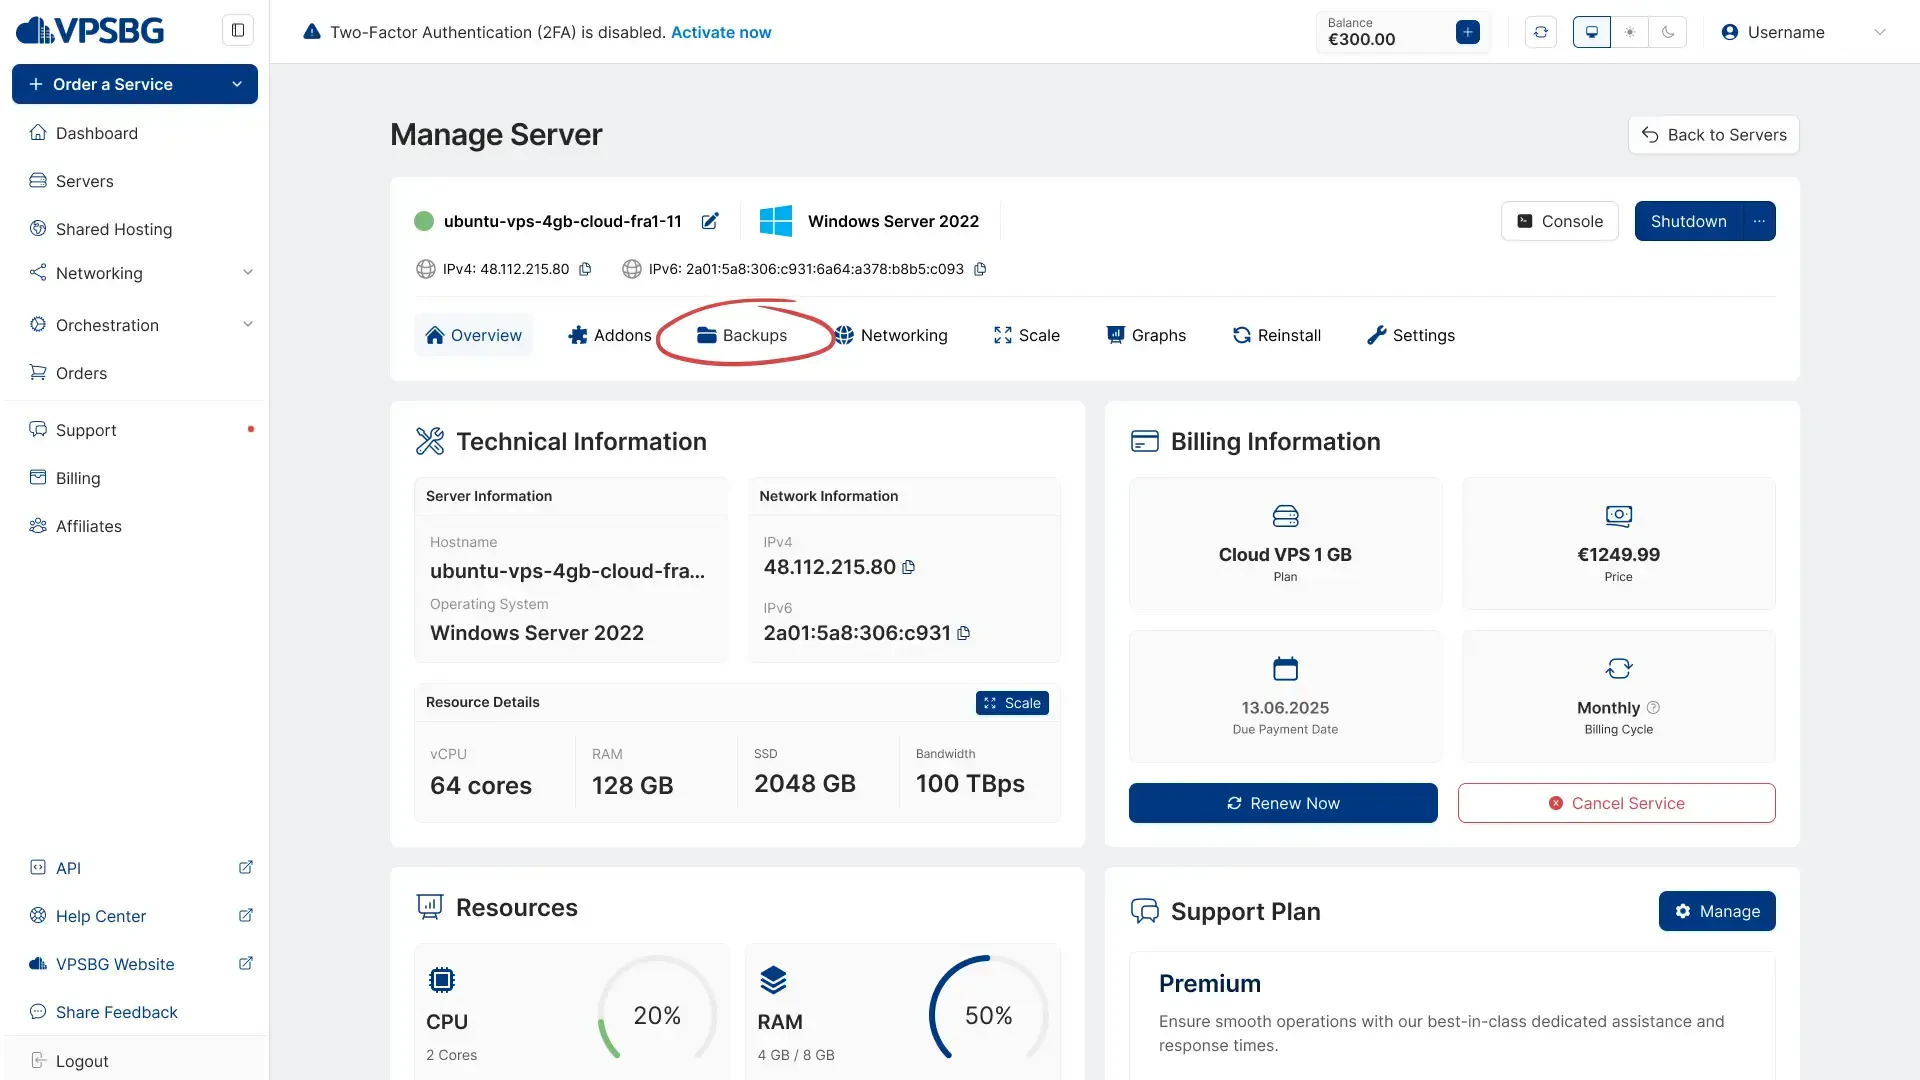
From here you want to select the ‘Backups’ tab (marked in red in the picture below).
Step 5: Open the backups page
You should now have arrived at the backups page, which will appear like so:
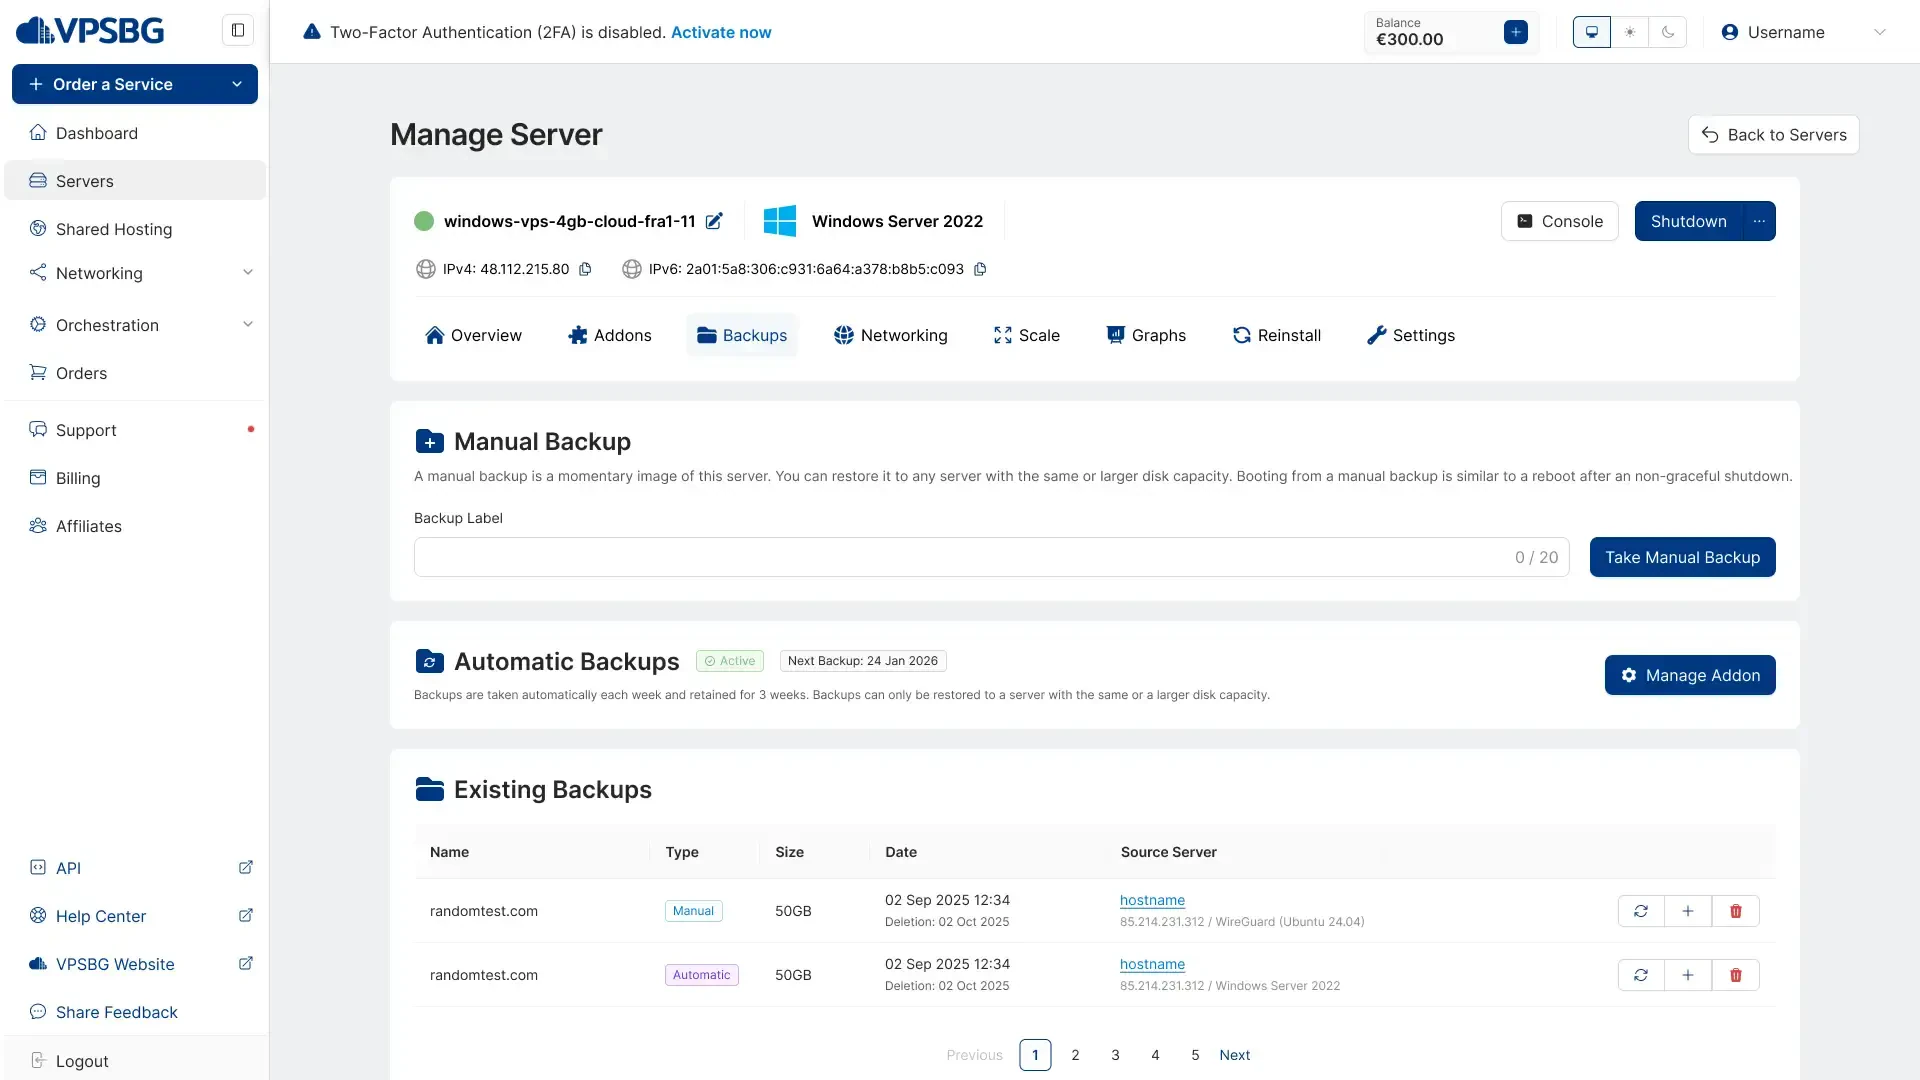
This is the place from where you can manage all of your manual and automatic backups for a given server including taking, restoring or deleting a backup.
Step 6: Take a manual backup
The process of creating a manual backup in itself is relatively straight-forward. All you need to do is to input a Backup Label (name) for your manual backup and to click the ‘Take manual backup’ button. That’s it!

Once you click on the ‘Take Manual Backup’ button the following confirmation message will appear:
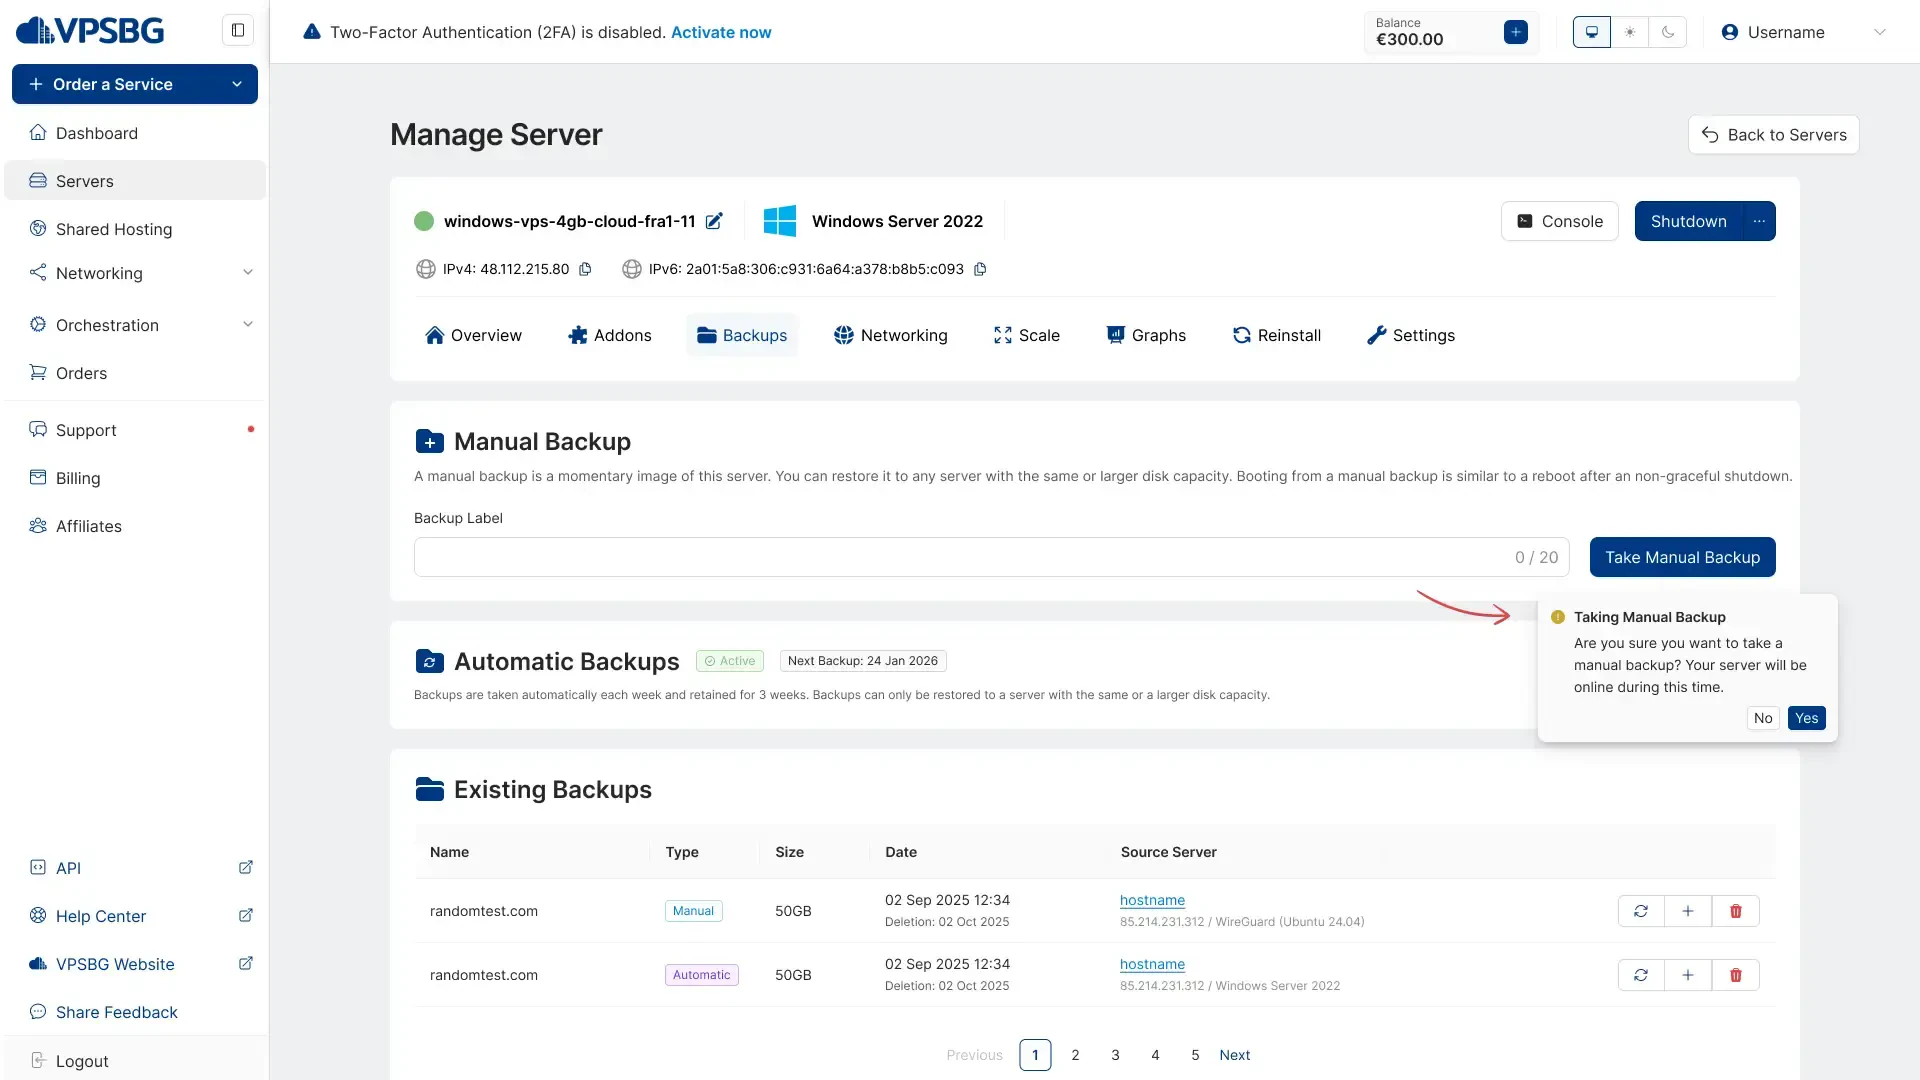
In cases where you already had a manual backup, you will need to override the previous one.
Step 7: Wait for the process to complete
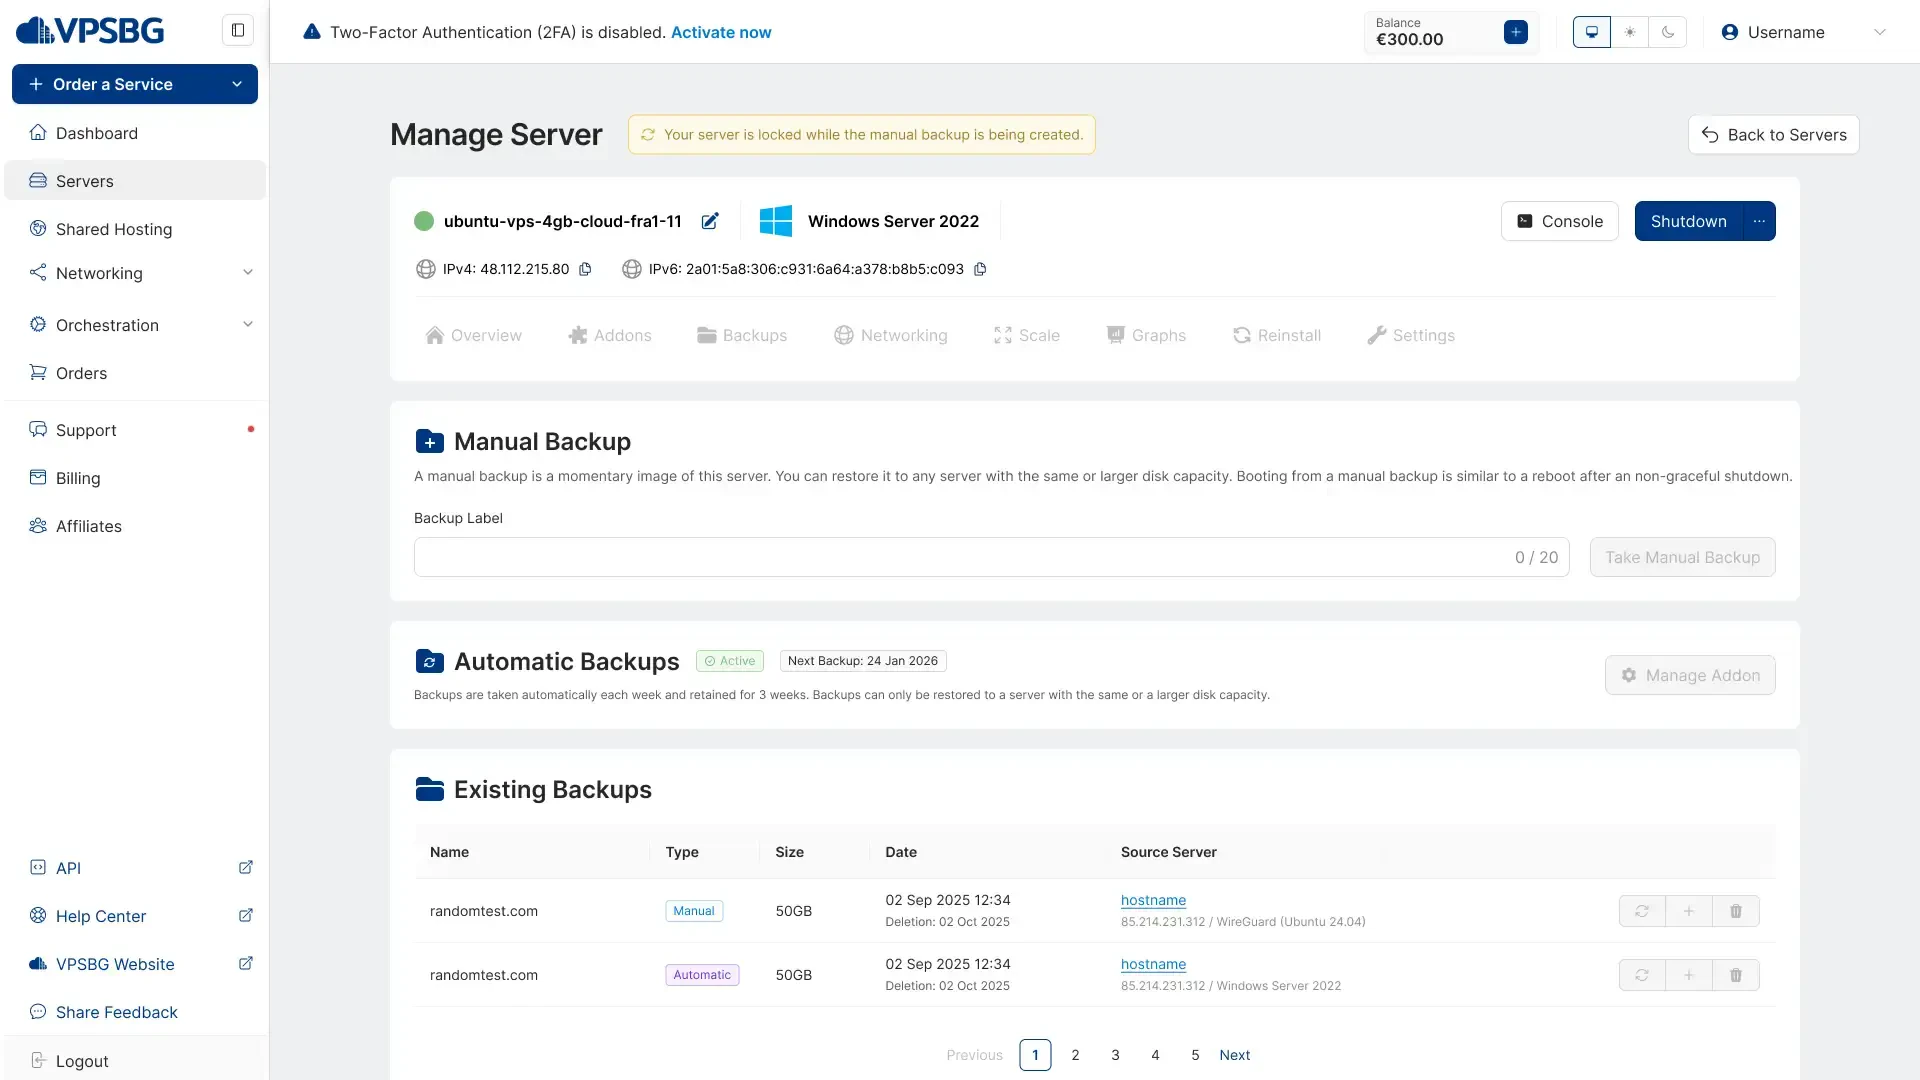
While the manual backup is being created, your server becomes locked in order to prevent any changes that can potentially disrupt the process. The manual backup will be taken once the progress bar fills up to the end. In the meantime the ‘Take Manual Backup’ button is also locked.
That’s it! We hope that this tutorial has successfully taught you how to take manual backups of your VPSBG servers.

