


Nextcloud is an open-source, self-hosted file sharing and collaborative software that comes along with a plethora of different features such as encryption, user permissions and version control, which can be quite useful for businesses and individuals working on projects remotely.
With the ever increasing demand for self-hosted software, Nextcloud finds itself at a steady growth in terms of popularity and number of users, making it a very viable alternative to mainstream data storage and file sharing platforms and its security features are just one of the reasons why more and more people are choosing to go for this software! One such security feature that sometimes remains overshadowed is the ability to add trusted domains to your Nextcloud installation, which is what we are going to be covering today!
What are Nextcloud trusted domains and how do they work?
As we already mentioned, when it comes to protecting your Nextcloud data, the software does come equipped with a lot of divergent security measures such as data encryption and permission management. However, did you know that you can enhance your Nextcloud installation’s security even further by taking advantage of its trusted domains feature?
Trusted domains act as a whitelist for authorized domain names that have permission to gain access to your Nextcloud server. This is extremely useful if you have multiple subdomains for the different features of the software such as a collaborative workspace or a file sharing environment.
In general, in order to access your server, a user needs to send an HTTP request that needs to be verified in order to allow entry. This is where trusted domains come in. After proper configuration, only users from specific domains will be able to enter remotely.
Trusted domains help protect your server from host header attacks such as poisoning which involves manipulating the HTTP header of a request in such a way that it seems that it originates from a trusted source. With Nextcloud’s protection, however, these checks are performed at a more detailed level and in a more meticulous way, ensuring that your data, files and information remains secure.
What to consider when choosing your trusted domains
Before you can assign any trusted domains, you need to identify your main domain. This is the primary domain that uses Nextcloud and is typically the domain which you defined during the installation process.
Next, you need to also take into consideration any additional subdomains or alternative domains that you might have configured in order to simplify your workflow such as one for file sharing or collaborative workspaces.
IMPORTANT: Before you can start adding any trusted domains it is absolutely crucial to make sure that you have control over them as you will need to verify ownership through their DNS records or domain registrars!
The role of DNS in configuring trusted domains
Before you add any trusted domains, you should always make sure that the DNS records for your selected domains are configured correctly. This is why it is crucial that you have ownership or access to the domains you are going to be enlisting as trusted. Due to the fact that DNS records translate domain names into IP addresses, it allows the server to identify authorized requests which it will use to grant access.
When checking your DNS records you need to check both the A and CNAME records in order to ensure that the correct IP address is pointed to your main Nextcloud domain. This is because A records take care of matching the domain names to the corresponding IP addresses, whereas CNAME records are primarily used to create aliases for domain names, which involves pointing one domain name to another, which then points to an A record that goes to the correct IP address. Because of this, it is crucial that both types of records are set up correctly.
How to add trusted domains to your Nextcloud configuration
When you have identified your domains, you can now proceed to configuring the trusted domains. This can be done in 1 of 2 ways - through the config.php file or using the occ command-line tool.
Modifying the 'config.php' file
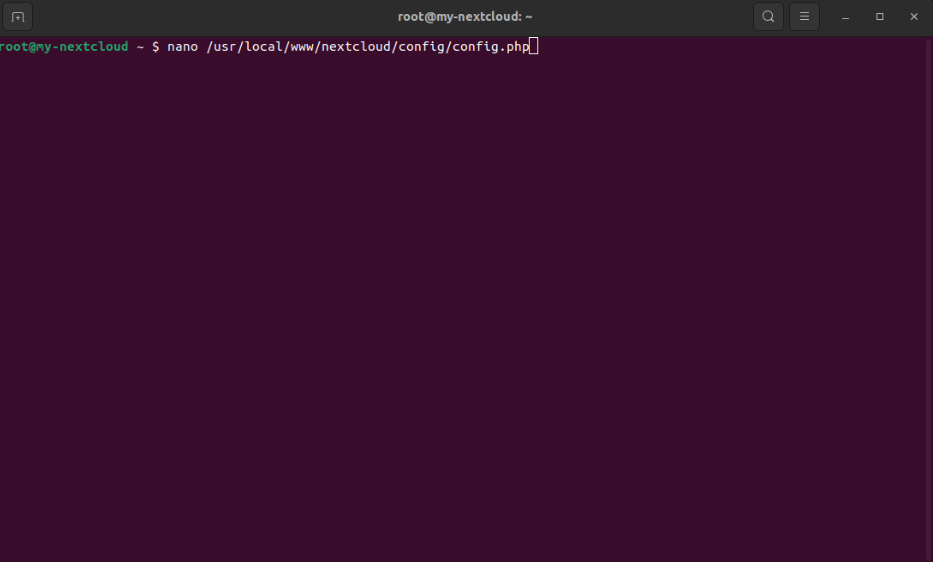
The config.php file is the central configuration file when it comes to adjusting any Nextcloud settings. In order to add any trusted domains through the file, you are going to need to first find this file in your installation directory. It is usually located in this directory
/usr/local/www/nextcloud/config/config.php
Then you need to simply open it with your preferred text editor and look for an array titled trusted_domains. We will open it with nano as it is handy for fast edits and comes preinstalled on most major Linux distributions.
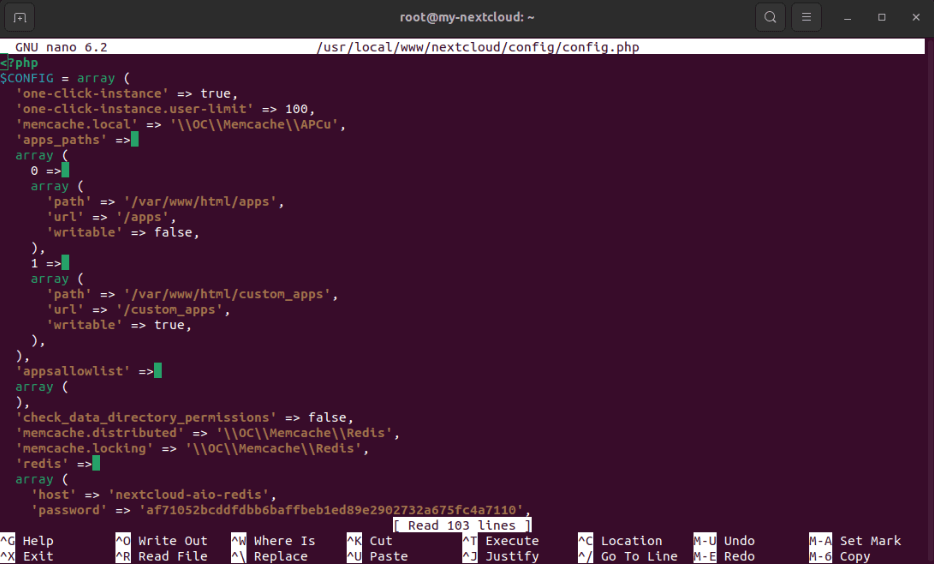
After opening the file, its contents should be similar to the ones here:
Scroll down until you see the trusted variables configuration options:
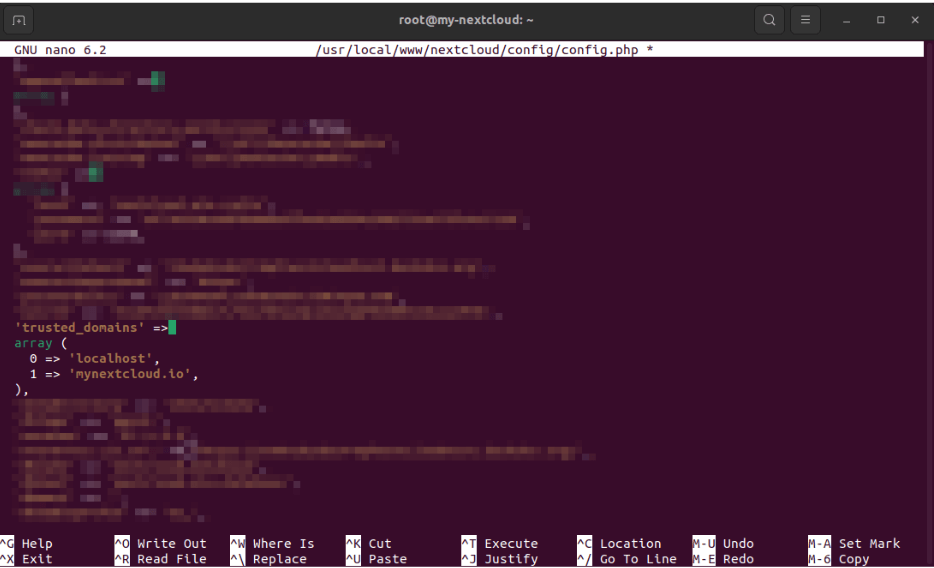
This is the place where you need to add your trusted domains, just make sure to separate them using the array separator.

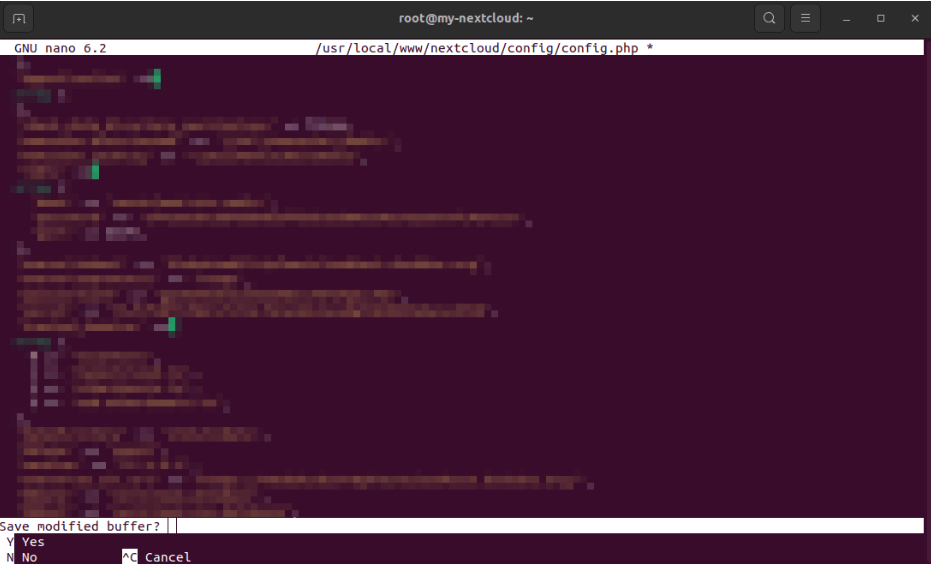
After adding the needed domains, in order to save the file you would need to press Ctrl + X on your keyboard and then y for Yes and finally Enter:
Using the 'occ' command-line tool
Another way in which you can assign trusted domains is by using the occ command-line tool. However, this requires you to first install and configure the occ tool for your Nextcloud software. When you have installed to tool, open up the command-line and start adding domains with the following command:
occ config:system:set trusted_domains 2 –value=<yourdomain.here>
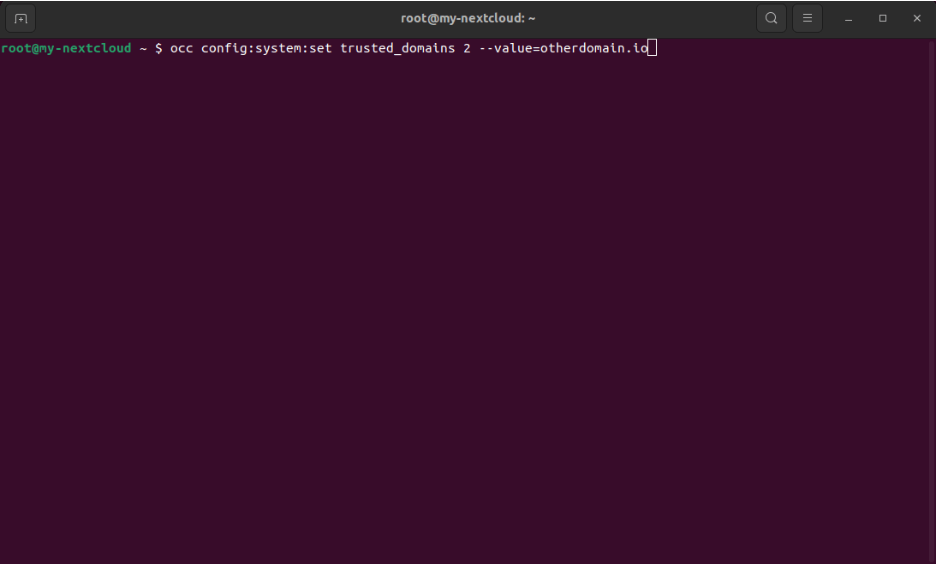
The 2 in the above example points to the trusted domain we want to edit. In this case, there are 0 and 1 already set, so to add a new one we will point to the next number, which is 2.
IMPORTANT: Before adding any domains, make sure to check their spelling and formatting! When you have added a trusted domain always make sure to restart your Nextcloud server so that the changes apply!
How to verify trusted domains
Once you have added your trusted domains, it is important to also make sure that they are being recognized by your Nextcloud installation. In order to do this, you are going to need to navigate to the Admin tab from your dashboard. Then, locate the Settings tab and click on the Trusted Domains button. This will open up a list of all authorized domains. Make sure to review all of the domains and ensure that everything is written as it should be - any inconsistencies like typos and differences in domain names could be exploitable.
How to check for trusted domain problems
If you do happen to encounter any problems while configuring your trusted domains, there are a few things that you need to remember to check:
- DNS records - ensure that the DNS records (either A or CNAME) are configured correctly
- Server configurations - review Apache or Nginx settings to verify that they allow access
- Nextcloud logs - analyze your Nextcloud logs and check for any errors or warnings
- Seek community support - you can always visit the Nextcloud documentation and forums for answers to other popular questions
Additional considerations for trusted domain management
While it is crucial to know how to add trusted domains, it is also necessary for you to know how to operate them so that you can make the most out of their potential
Implement secure HTTP headers
If you wish to further strengthen your Nextcloud, you should also consider implementing secure HTTP headers, which come equipped with further instructions for browsers and servers, helping prevent common issues.
Extra Tips
You should also consider implementing HSTS - HTTP Strict Transport Security, which will enforce HTTPS connections, which will prevent downgrade attacks coming from the HTTP requests.
Additionally, you can also start utilizing a content security policy (CSP) to restrict sources from which content can be loaded, which will also enhance security.
Next, you could also invest into getting some monitoring tools in order to track changes in domain ownership and DNS records, which will help you make necessary changes in time.
Overall, Nextcloud does have a vast majority of popular features both in terms of security and tools for collaboration! If you wish to get yourself a cloud server with Nextcloud, then you can always do so with the help of our 1-click application templates and deploy your server in minutes!

