


What is OpenClaw?
Say goodbye to tedious tasks and automate everything with your personal AI assistant directly through the messaging apps that you already use. OpenClaw utilizes modular AI agents that can execute tasks and make decisions on your behalf. The agents’ ability to interact with different tools and applications makes designing custom, flexible workflows easy, allowing you to automate everything with just a single text message. Want to run multiple workflows and agents for different tasks? Not a problem! OpenClaw was designed for server environments that address the need for concurrent, independent tasks, making it a fantastic way to test and automate your entire setup.
What you get with a OpenClaw VPS
Easy automation creation through apps you already use
Personal AI assistant that can make proactive decisions
Self-hosted version with added security
Flexibility, modularity and scalability
Concurrent, automatic task execution
Task isolation and full customization
Initial Setup
When you deploy an OpenClaw VPS or VDS from the VPSBG Console, you will have two different types of setup - automatic and manual.
Automatic Setup
if you wish to get everything automatically set up for you, enter your API key (Anthropic or OpenAI) and a Gateway Token in the VPSBG Console. OpenClaw will be fully installed, configured and running by the time your server is ready.
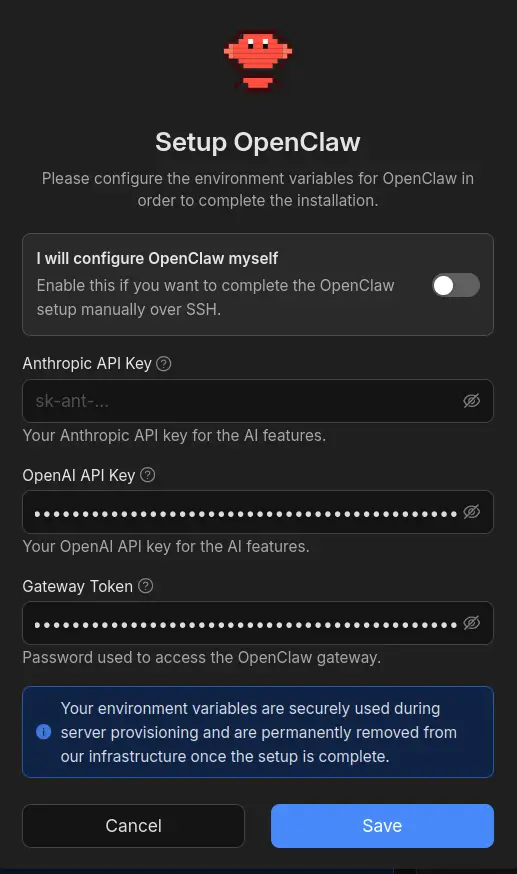
Manual setup via SSH
If you want to have greater control over the entire setup, then simply click the "I will configure OpenClaw myself" toggle in the VPSBG Console. OpenClaw will be installed with a basic configuration, allowing you to finish setting things up manually. To complete the installation, log into your server with SSH and run this command:
openclaw onboardFollow the prompts to select your AI model, configure channels and enable skills. Most options can be skipped during the initial setup and configured later.
How to access the OpenClaw dashboard
Once your server has been deployed and OpenClaw is running, you can access the web dashboard to manage your AI assistant.
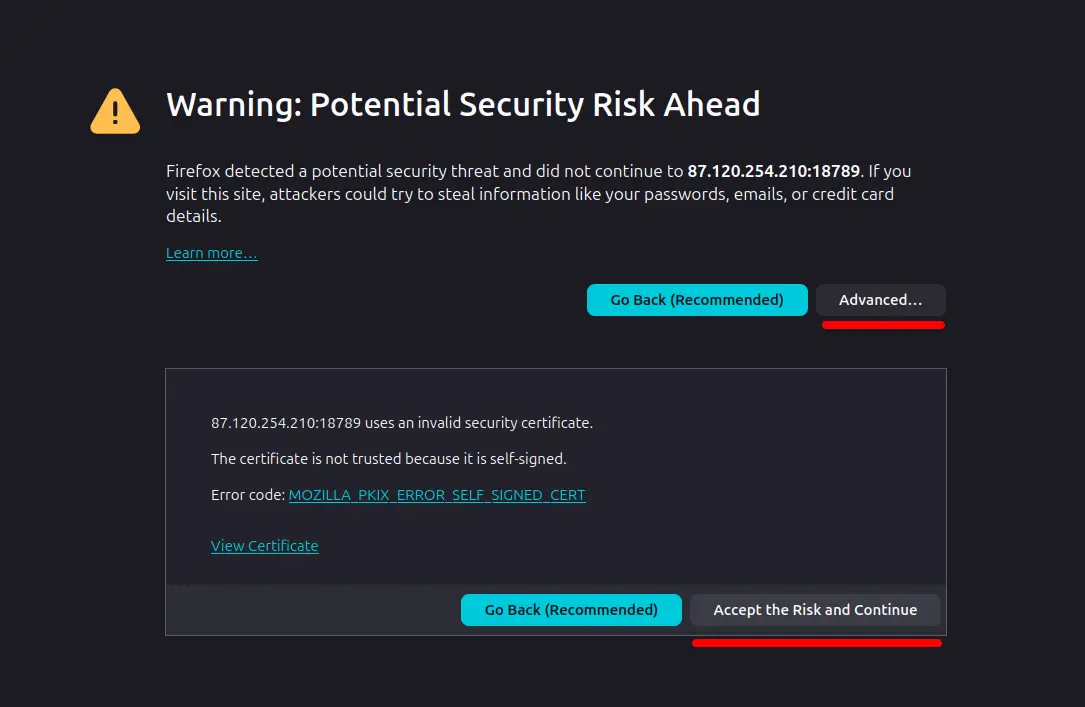
Step 1: Open the dashboard
Open the following URL in your browser (replace with your server's IP address):
https://<your-server-ip>:18789/Your browser will show a self-signed certificate warning but this is expected. Click "Advanced" and proceed to accept the certificate.
Step 2: Authenticate
Enter your Gateway Token and click Connect. If you configured your token in the VPSBG Console during deployment, use that token. If you used the manual setup option, find your auto-generated token by running:
cat /root/.openclaw/openclaw.json | jq -r '.gateway.auth.token'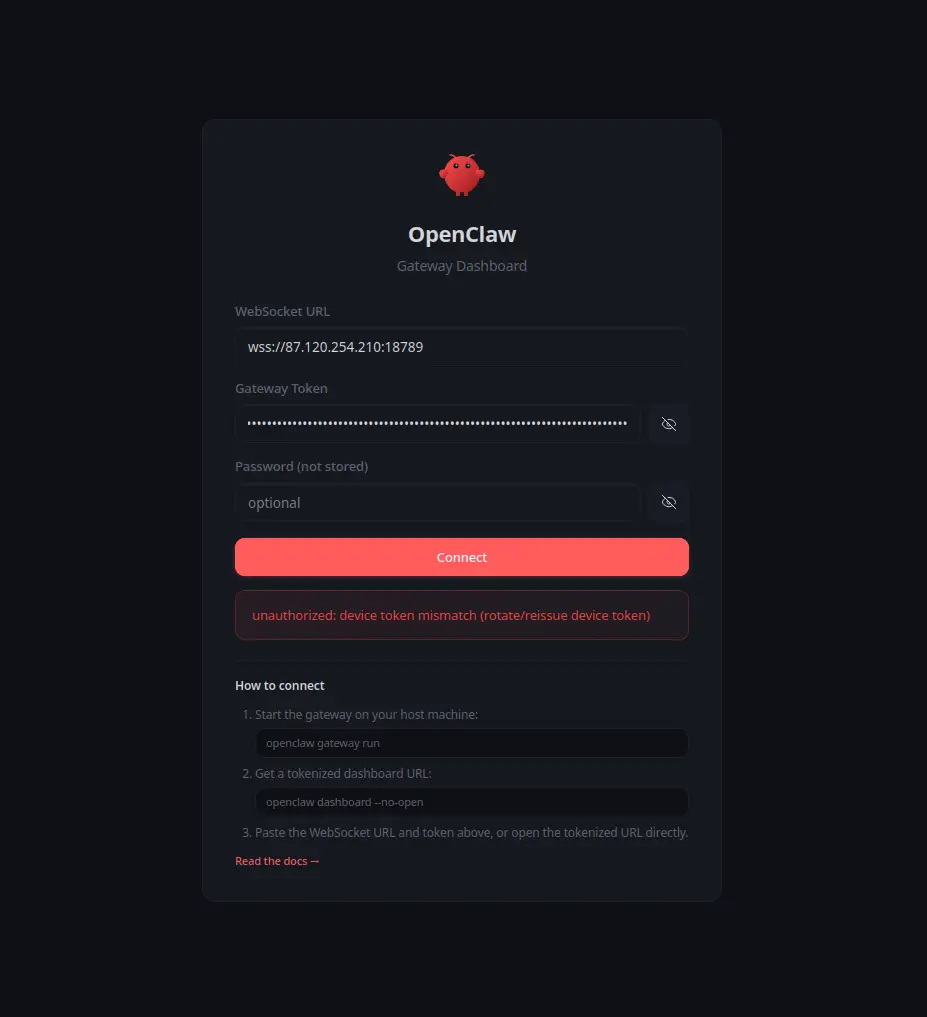
Step 3: Approve your browser
You will now see a "pairing required" message below the Connect button. This is a security feature and OpenClaw requires you to explicitly approve each device that connects to your gateway.
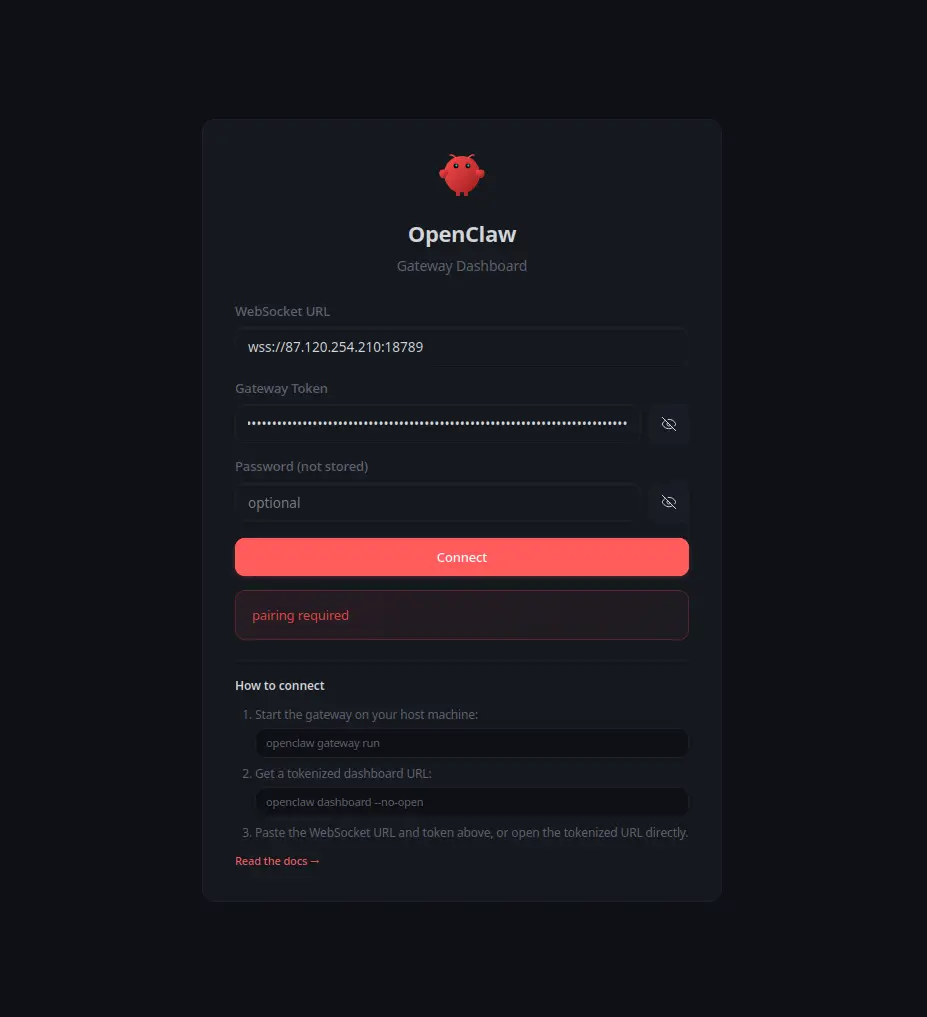
You’ll need to SSH into your server and run:
openclaw devices approve --latestThen refresh the dashboard in your browser. You are now connected and ready to use your OpenClaw VPS.
Note: This is a one-time step per browser. Once approved, your device will stay paired unless you clear your browser data.
Installation Log
If you encounter any issues during or after deployment, the full installation log is available at:
/var/log/cloud-init-output.log
