NewExtra server protection with Measured Boot & UKI images.View Measured Boot
BlogDocumentationFAQNo Third-Party CookiesContact Us
  • Pricing
Log inSign up
Cloud VPSVDSMemory-Optimized VDSStorage-Optimized VDSWindows VPSBitcoin VPSDDoS ProtectionPrivate Networking (VPC)Floating IPsAdditional Server SupportMicrosoft LicensesDatacenterNetworkDocumentationFAQNo Third-Party CookiesConfidential ComputingSelf-Hosted VPNBlogAboutBrand GuidelinesAffiliatesContact UsLegal & Compliance

Products

  • Pricing
  • Cloud VPS
  • VDS
  • RAM-Optimized VDS
  • Storage-Optimized VDS
  • Windows VPS
  • Bitcoin VPS
  • DDoS Protection
  • Private Networking (VPC)
  • Floating IPs
  • Microsoft Licenses
  • Additional Server Support

Explore

  • Documentation
  • Developers API Docs
  • FAQ
  • Datacenter
  • Network
  • Looking Glass
  • Confidential Computing
  • Cookie Policy
  • Self-Hosted VPN

Company

  • Blog
  • Contact Us
  • About Us
  • Brand Guidelines
  • Affiliates

Legal & Compliance

  • Terms of Service
  • Privacy Policy
  • Data Processing Agreement
  • Acceptable Use Policy
  • Microsoft Software Terms of Use
  • Refund Policy
  • Report Abuse

Products

  • Cloud VPS
  • VDS
  • RAM-Optimized VDS
  • Storage-Optimized VDS
  • Windows VPS
  • Bitcoin VPS
  • DDoS Protection
  • Private Networking (VPC)
  • Floating IPs
  • Microsoft Licenses
  • Additional Server Support
Pricing

Explore

  • Documentation
  • Developers API Docs
  • FAQ
  • Datacenter
  • Network
  • Looking Glass
  • Confidential Computing
  • Cookie Policy
  • Self-Hosted VPN

Company

  • Blog
  • Contact Us
  • About Us
  • Brand Guidelines
  • Affiliates

Legal & Compliance

  • Terms of Service
  • Privacy Policy
  • Data Processing Agreement
  • Acceptable Use Policy
  • Microsoft Software Terms of Use
  • Refund Policy
  • Report Abuse

© VPS.BG Ltd. 2026 · All rights reserved!

Made with passion in Bulgaria · VAT ID: BG203144520

Contents

  • Step 1: Log into your VPSBG account
  • Step 2: Navigate to your servers from the dashboard
  • Step 3: Locate the server you want to take a manual backup of
  • Step 4: Arriving on the service page
  • Step 5: Open the backups page
  • Step 6: Take a manual backup
  • Step 7: Wait for the process to complete

Subscribe to Our Newsletter

Join 5000+ subscribers and receive helpful content, deals and more! We promise no spam - 100% great content. Unsubscribe anytime.

Share Article

#Tutorial
  1. Documentation
  2. /
  3. #Tutorial
  4. /
  5. How to take a manual backup of your VPSBG server

How to take a manual backup of your VPSBG server

Published: 28 September 2021 • Updated: 13 February 2026 • 2 min read

#Tutorial#VPSBG#Security

Manual backups are a ‘picture’ taken of your server at a specific point in time. They contain information about the files, applications and software stored on your VPSBG server at the moment of the capture, enabling you to easily restore your server to that state in case of any unwanted changes, malware or any system malfunctions.

Given that they are a powerful tool that can help you recover data on the server, it is important that you know how to create and handle them. This is why the purpose of this step-by-step tutorial will be to teach you how to take a manual backup of your VPSBG server.

Step 1: Log into your VPSBG account

Start by simply logging into our Console by entering your email and password.
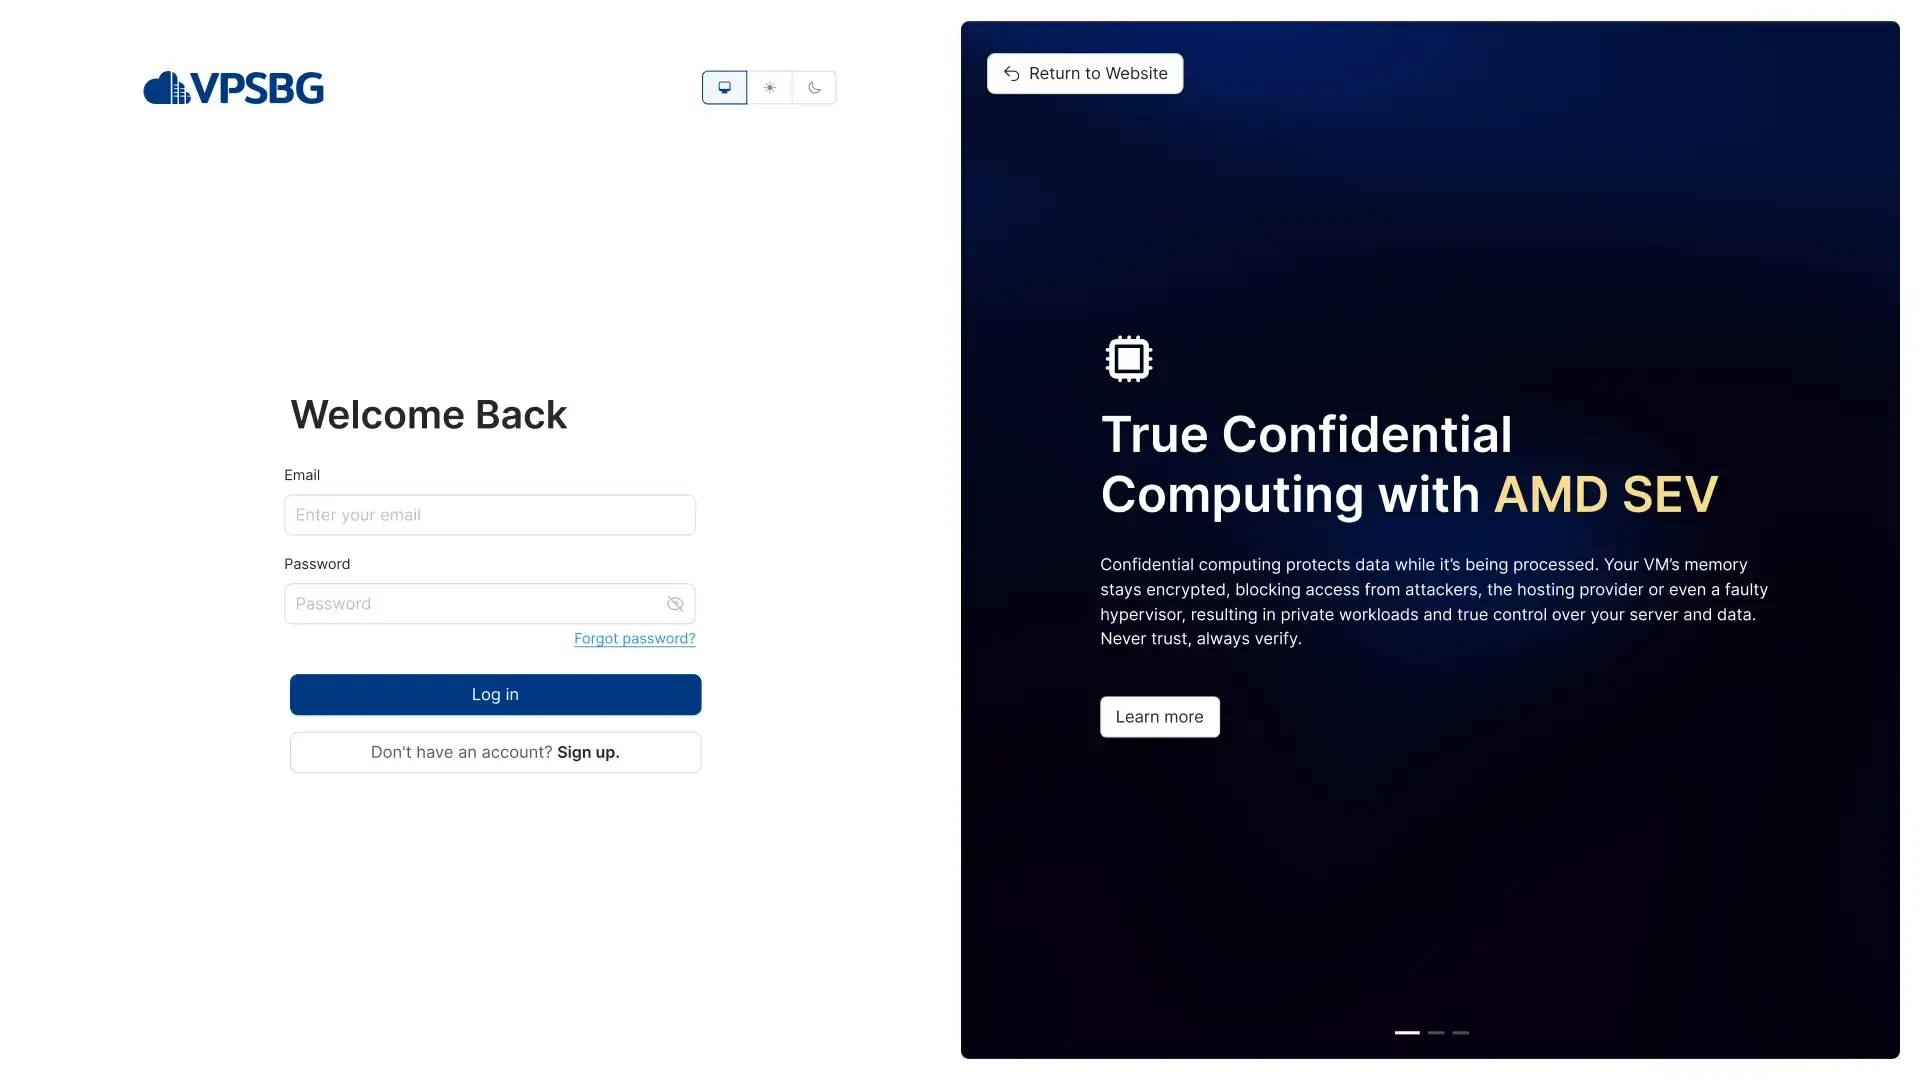
log into the console

Step 2: Navigate to your servers from the dashboard

Once you have successfully logged in, you should arrive at your dashboard, which should look like this:
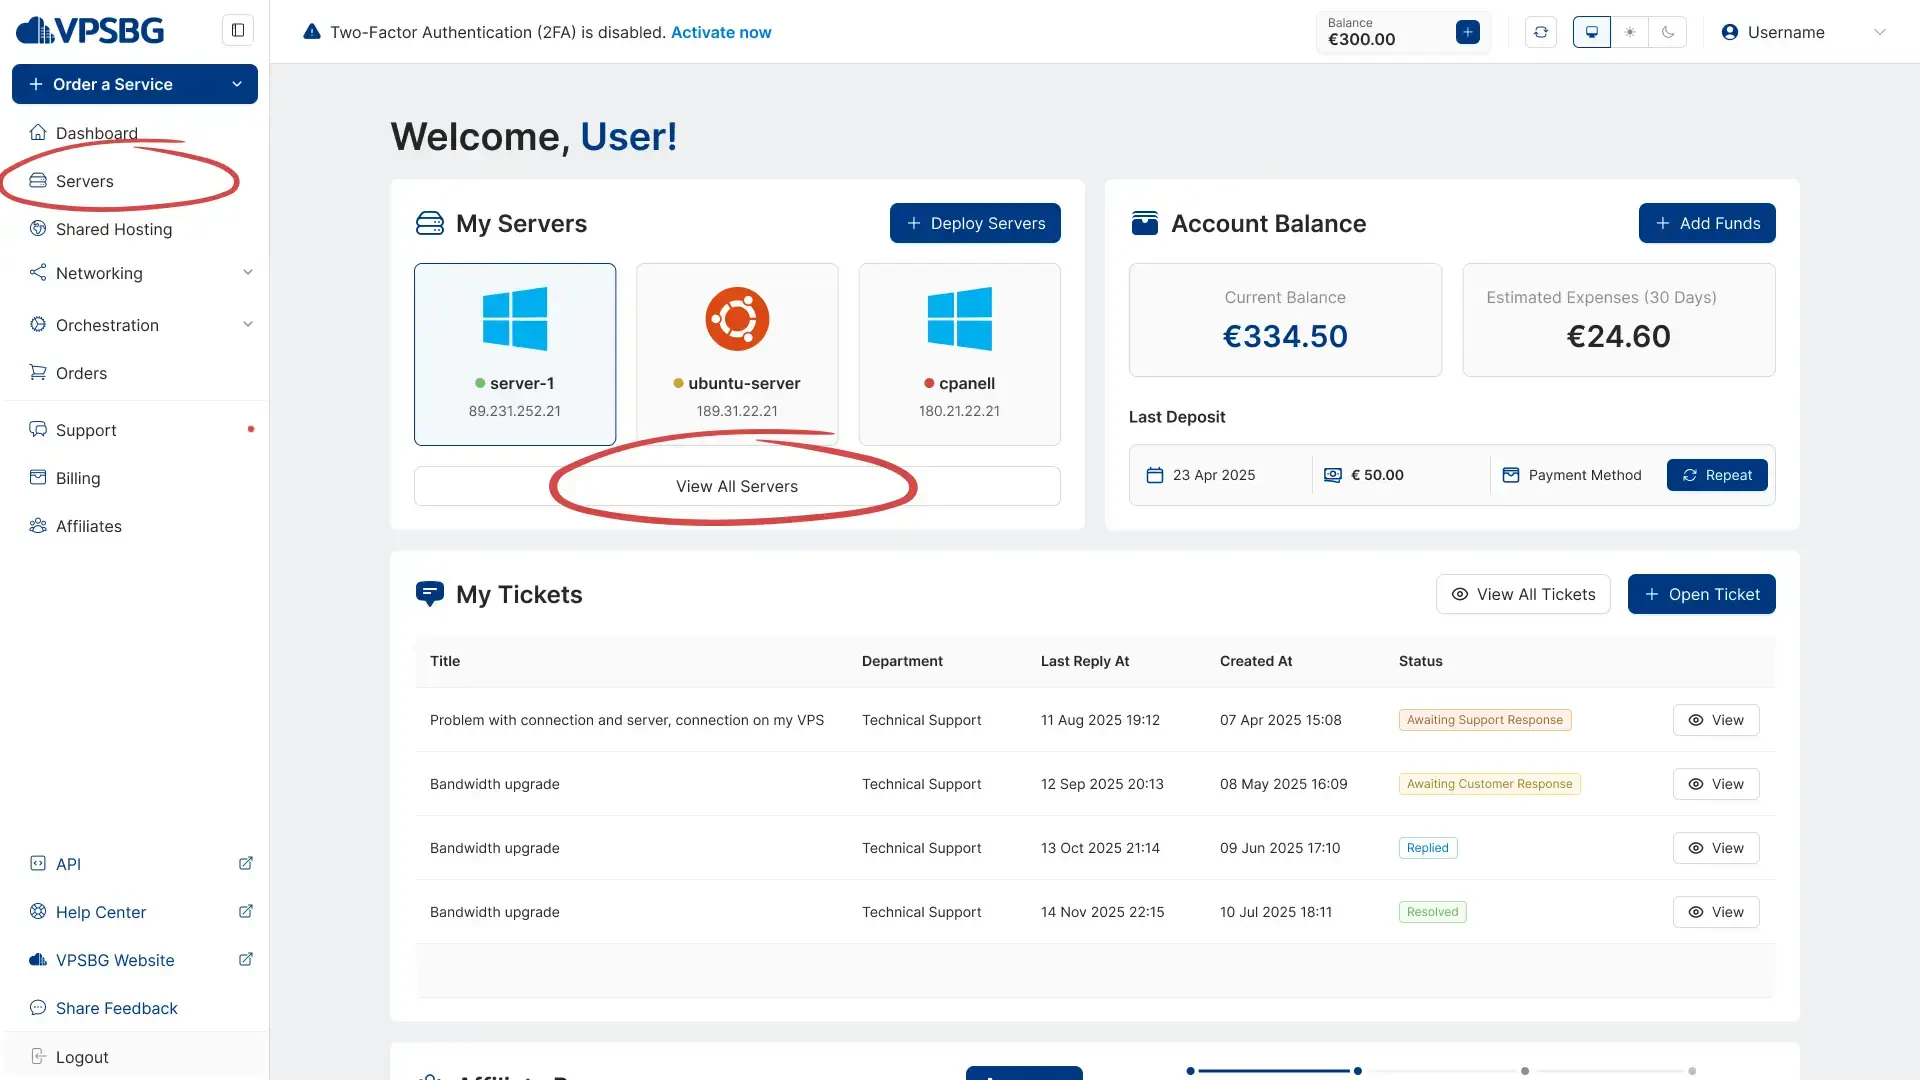
go to servers

From here you want to click on the ‘Servers’ button from the menu on the left, which will then take you to a page containing a list of all of your services.

Step 3: Locate the server you want to take a manual backup of

Having arrived at the servers page, you will now want to find the server you would like to take a manual backup of. You will see a green dot in front of your active servers alongside the server hostname and IP addresses attached to the server.

The next step is to simply click on the “Manage” button for your desired server.
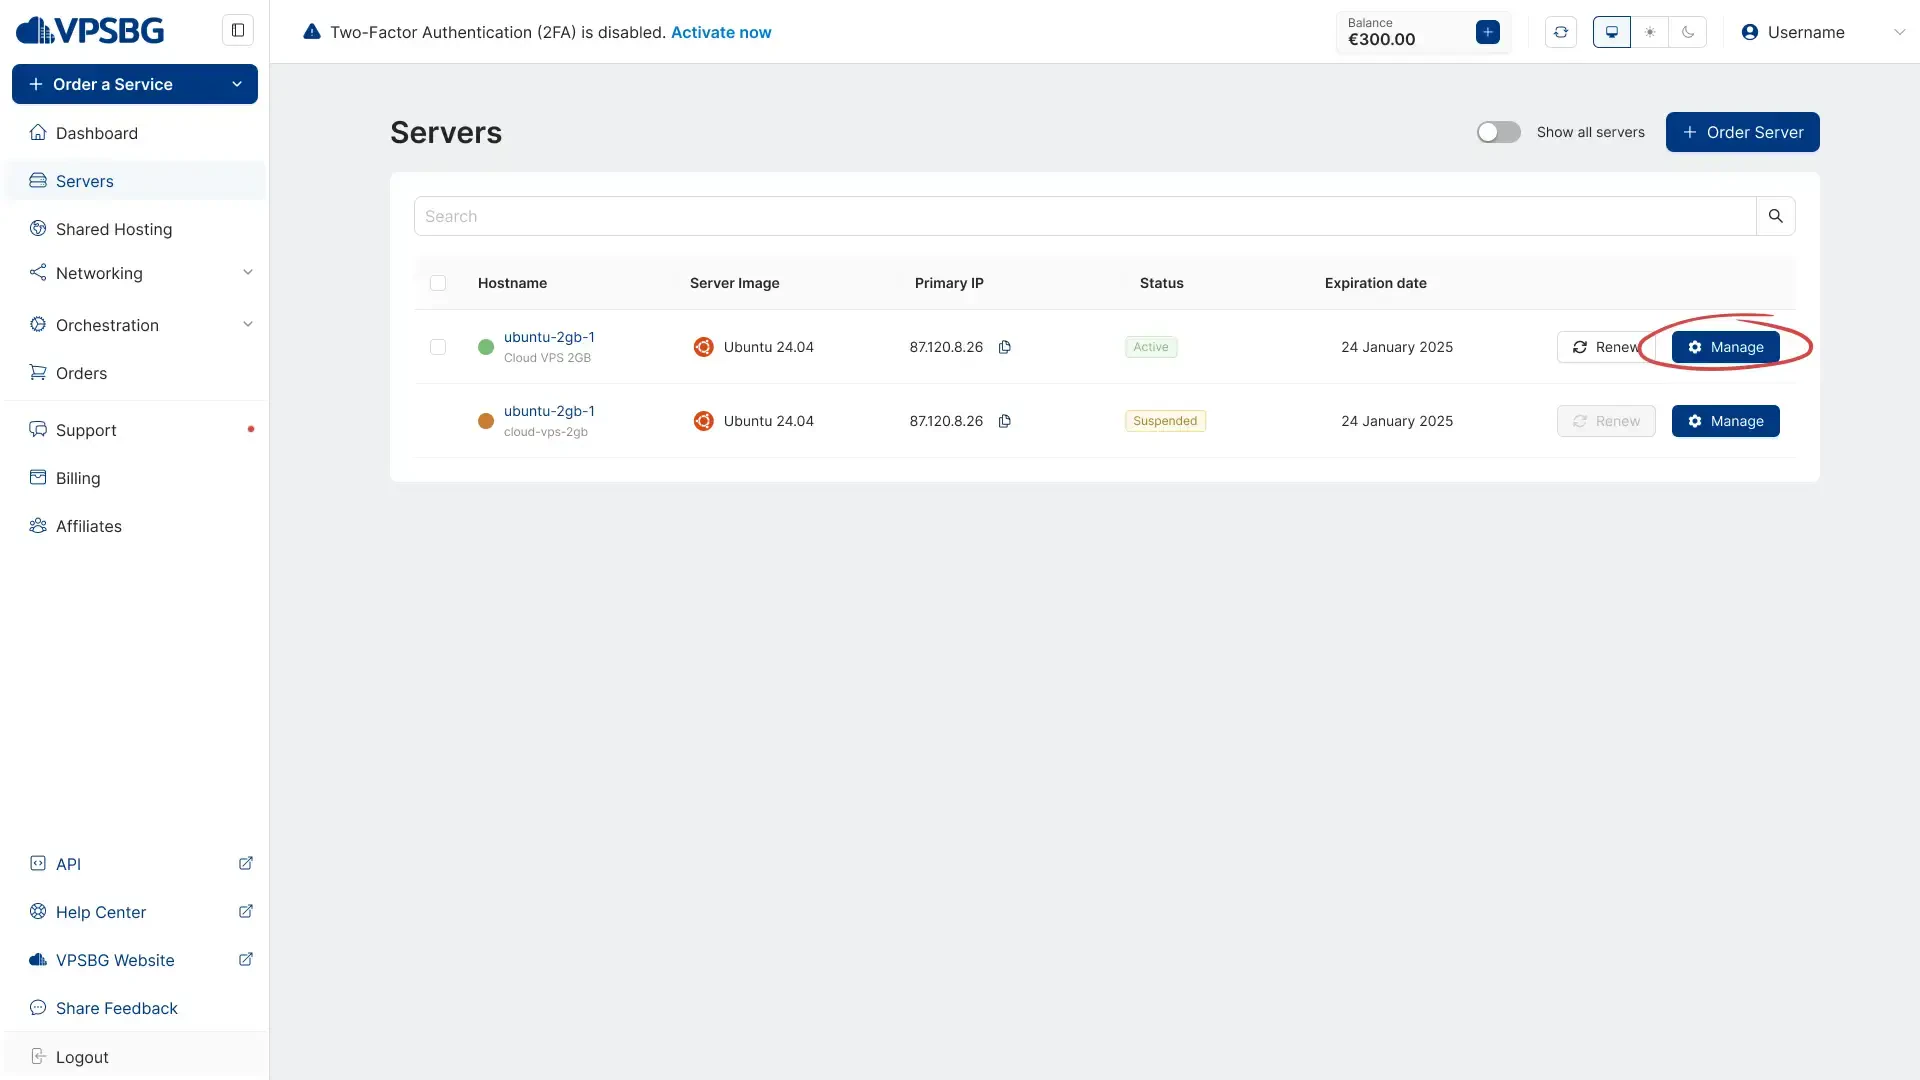
go to manage server

Step 4: Arriving on the service page

From here you want to select the ‘Backups’ tab (marked in red in the picture below).
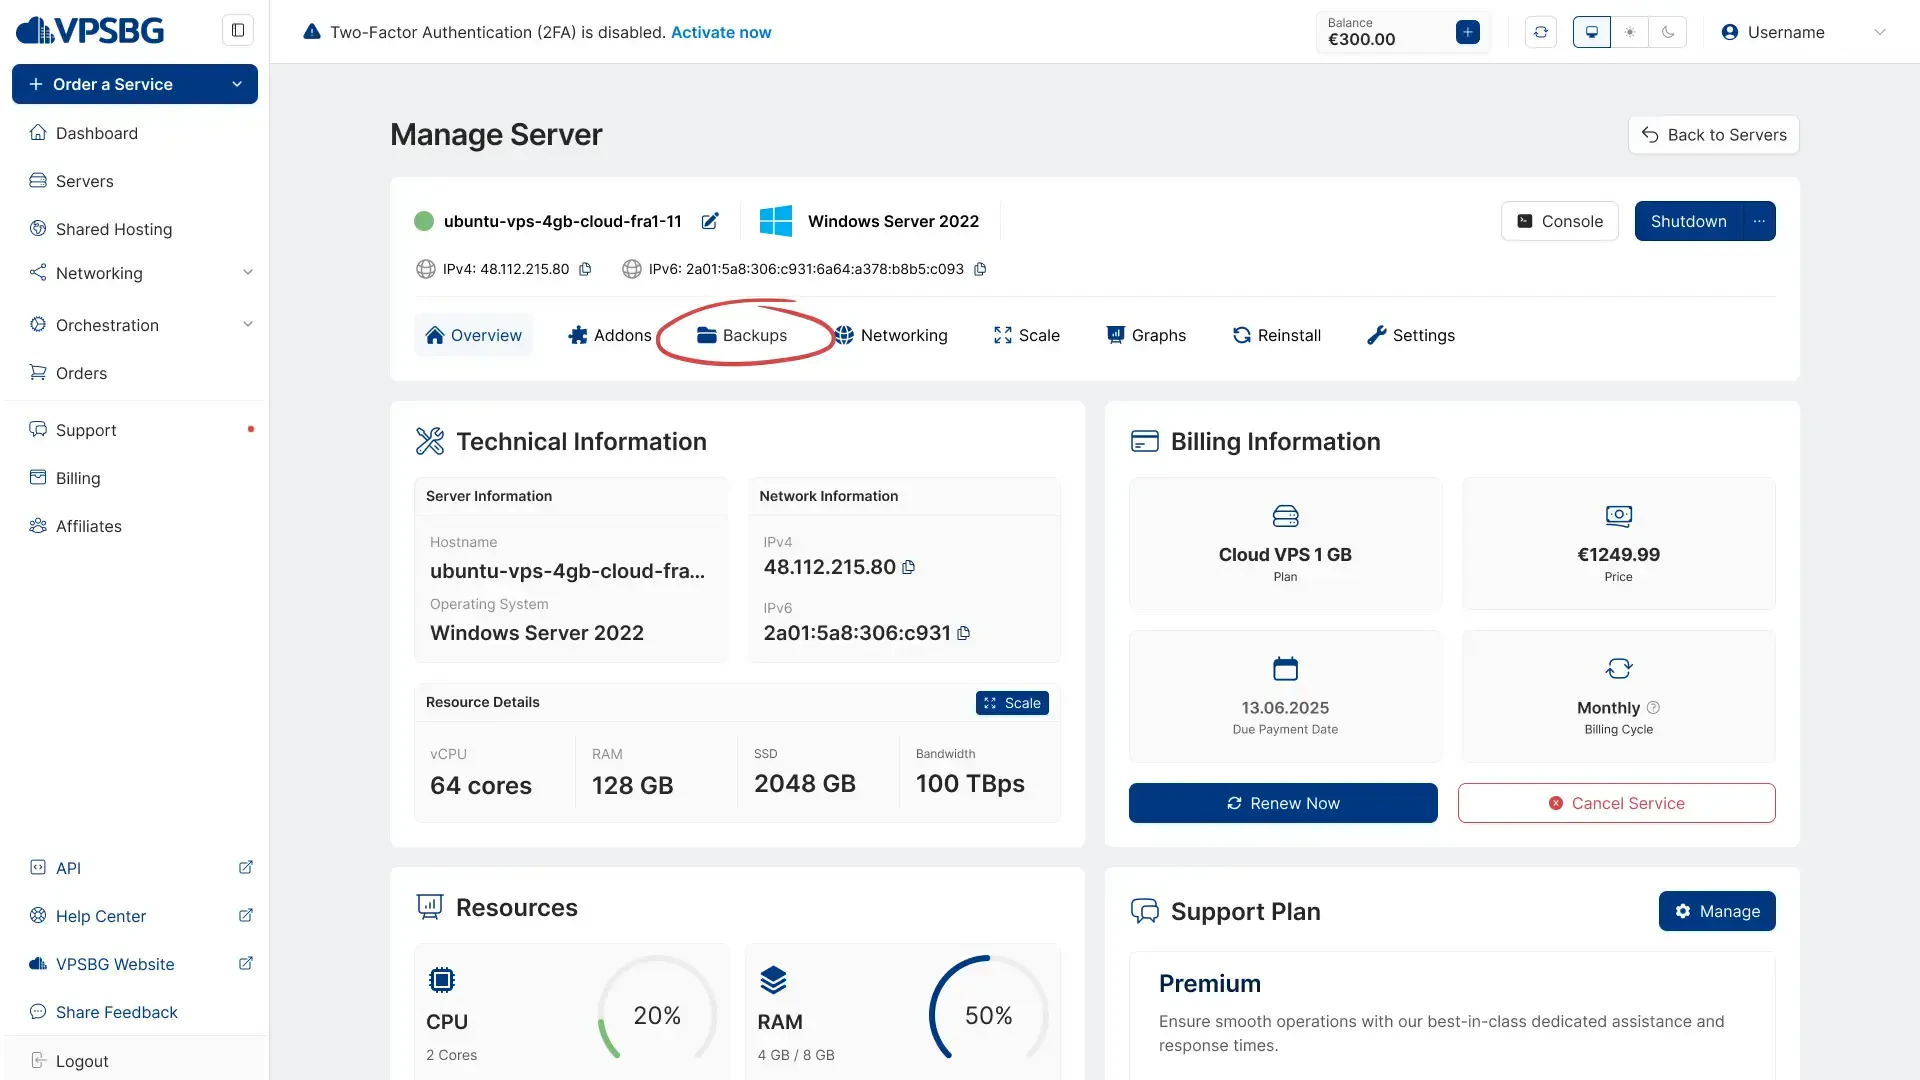
backups tab

Step 5: Open the backups page

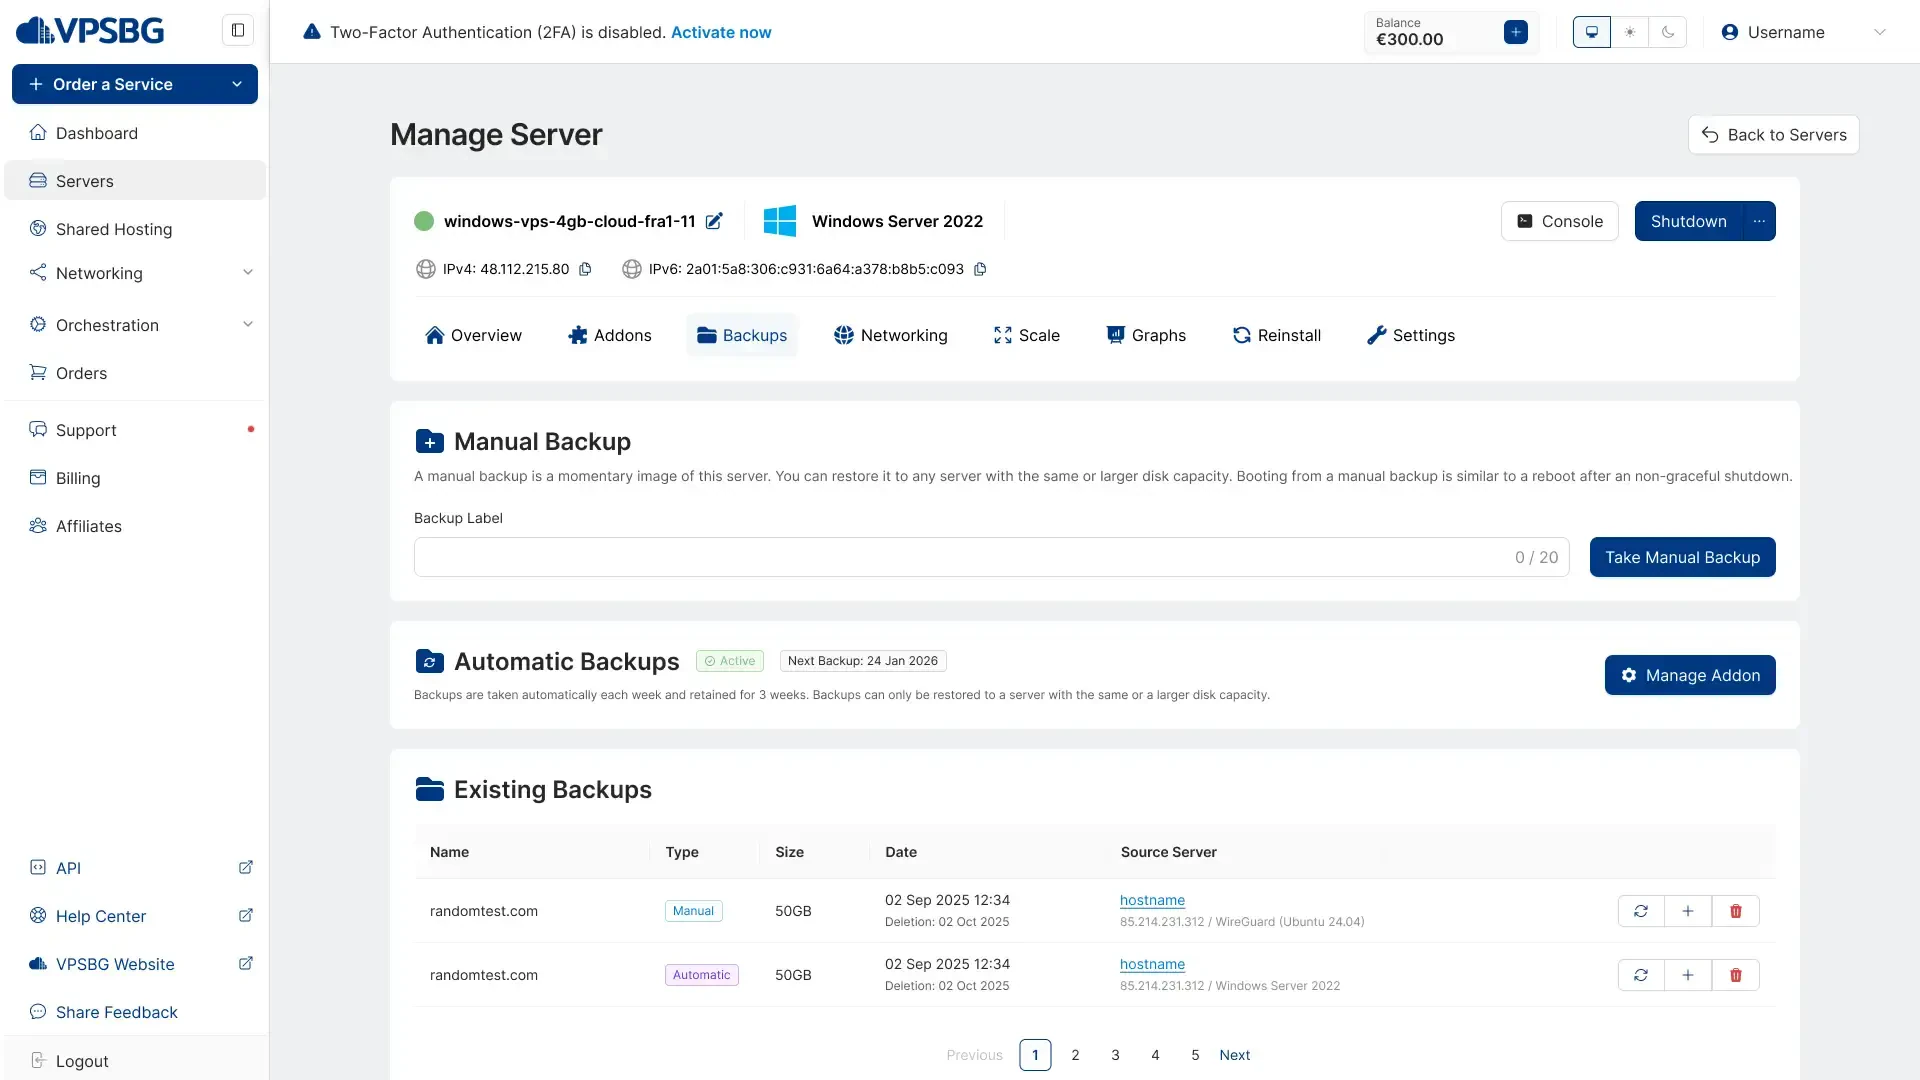
You should now have arrived at the backups page, which will appear like so:
all backups

This is the place from where you can manage all of your manual and automatic backups for a given server including taking, restoring or deleting a backup.

Step 6: Take a manual backup

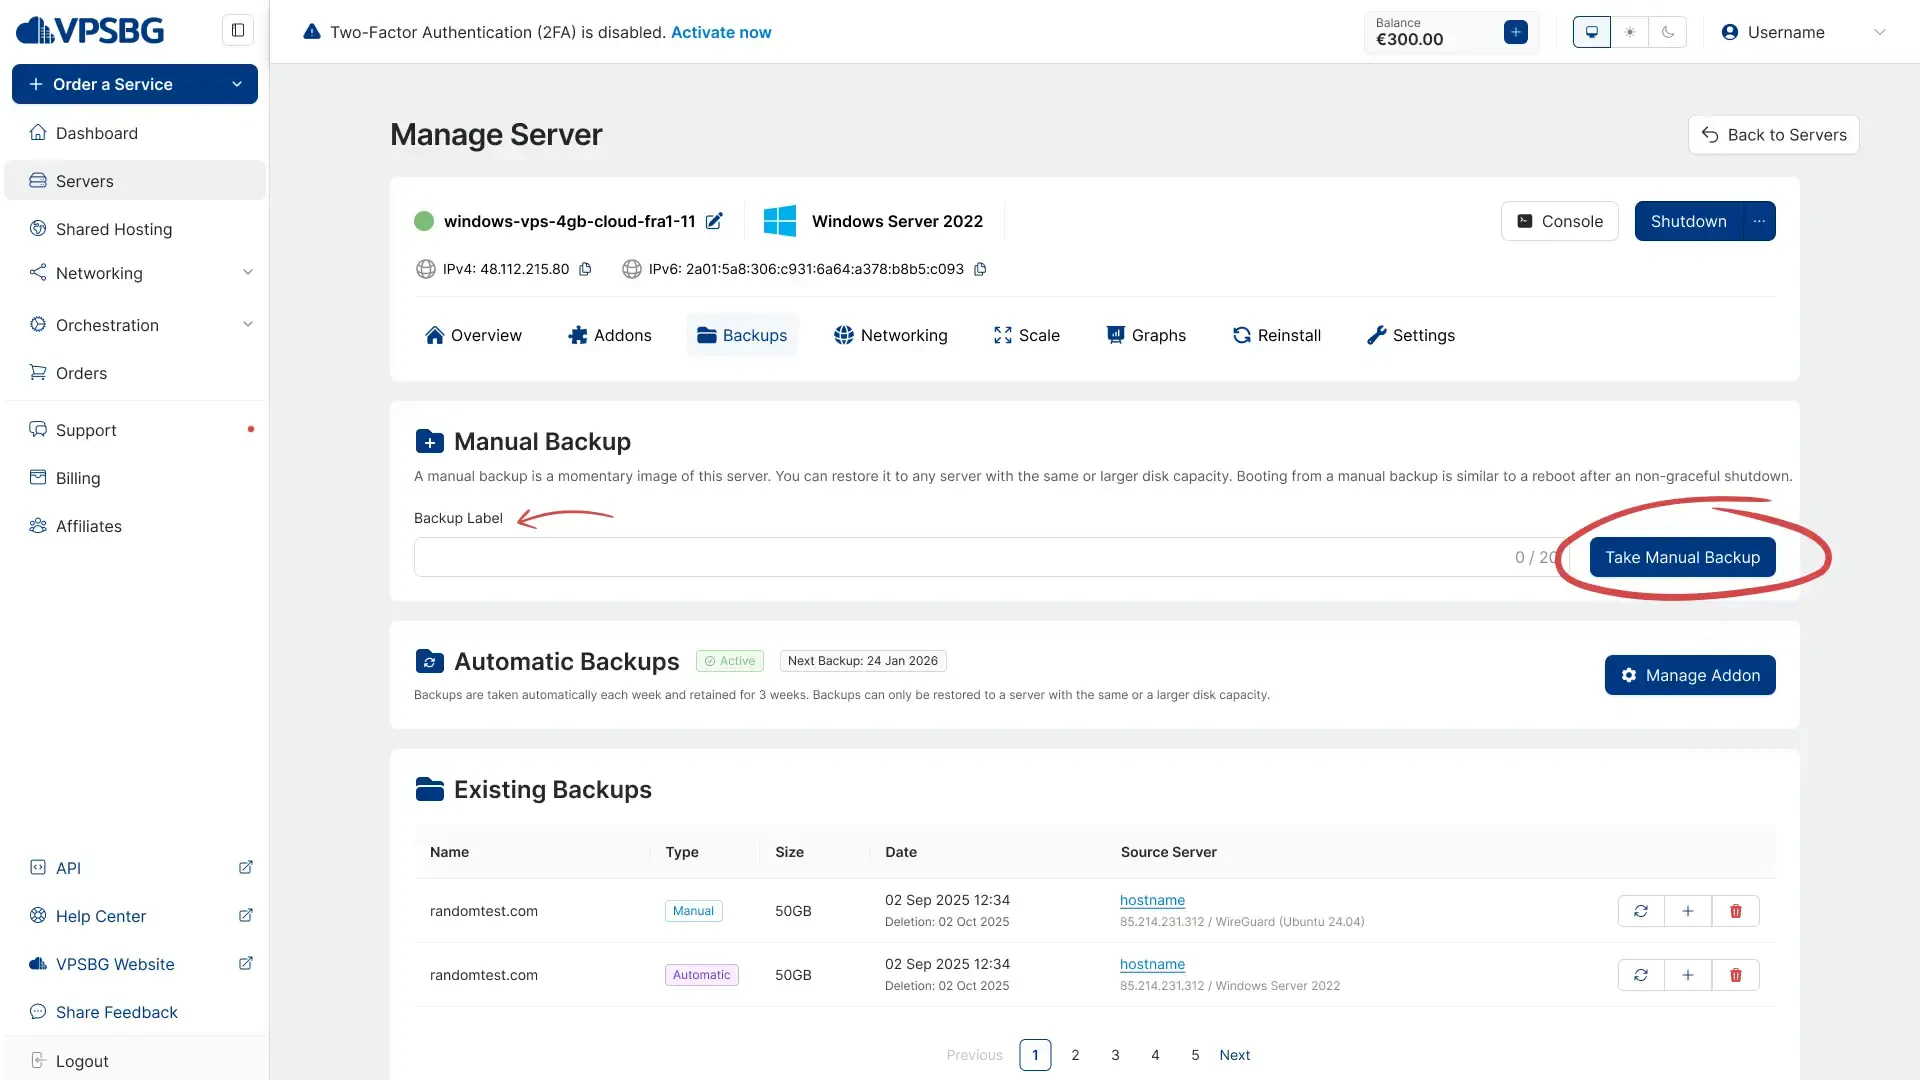
The process of creating a manual backup in itself is relatively straight-forward. All you need to do is to input a Backup Label (name) for your manual backup and to click the ‘Take manual backup’ button. That’s it!
take backup

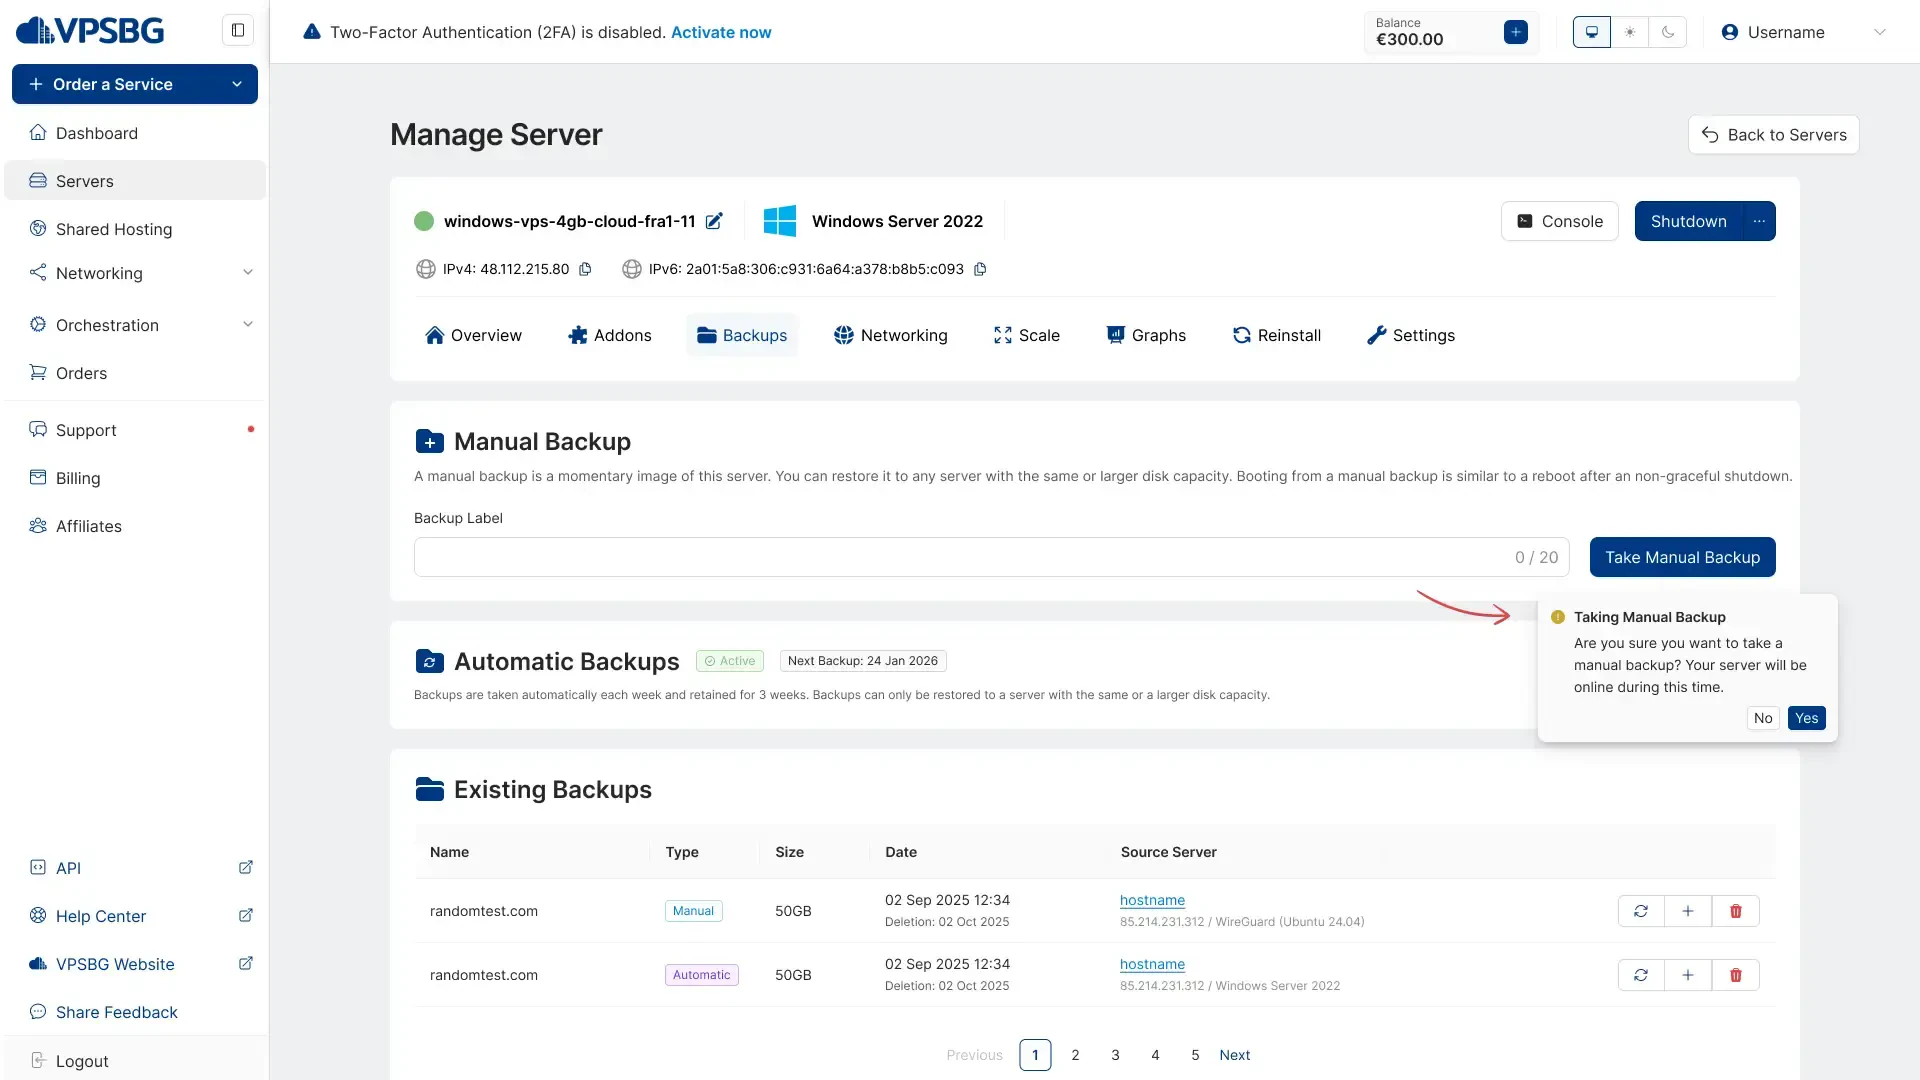
Once you click on the ‘Take Manual Backup’ button the following confirmation message will appear:
take backup confirmation

In cases where you already had a manual backup, you will need to override the previous one.

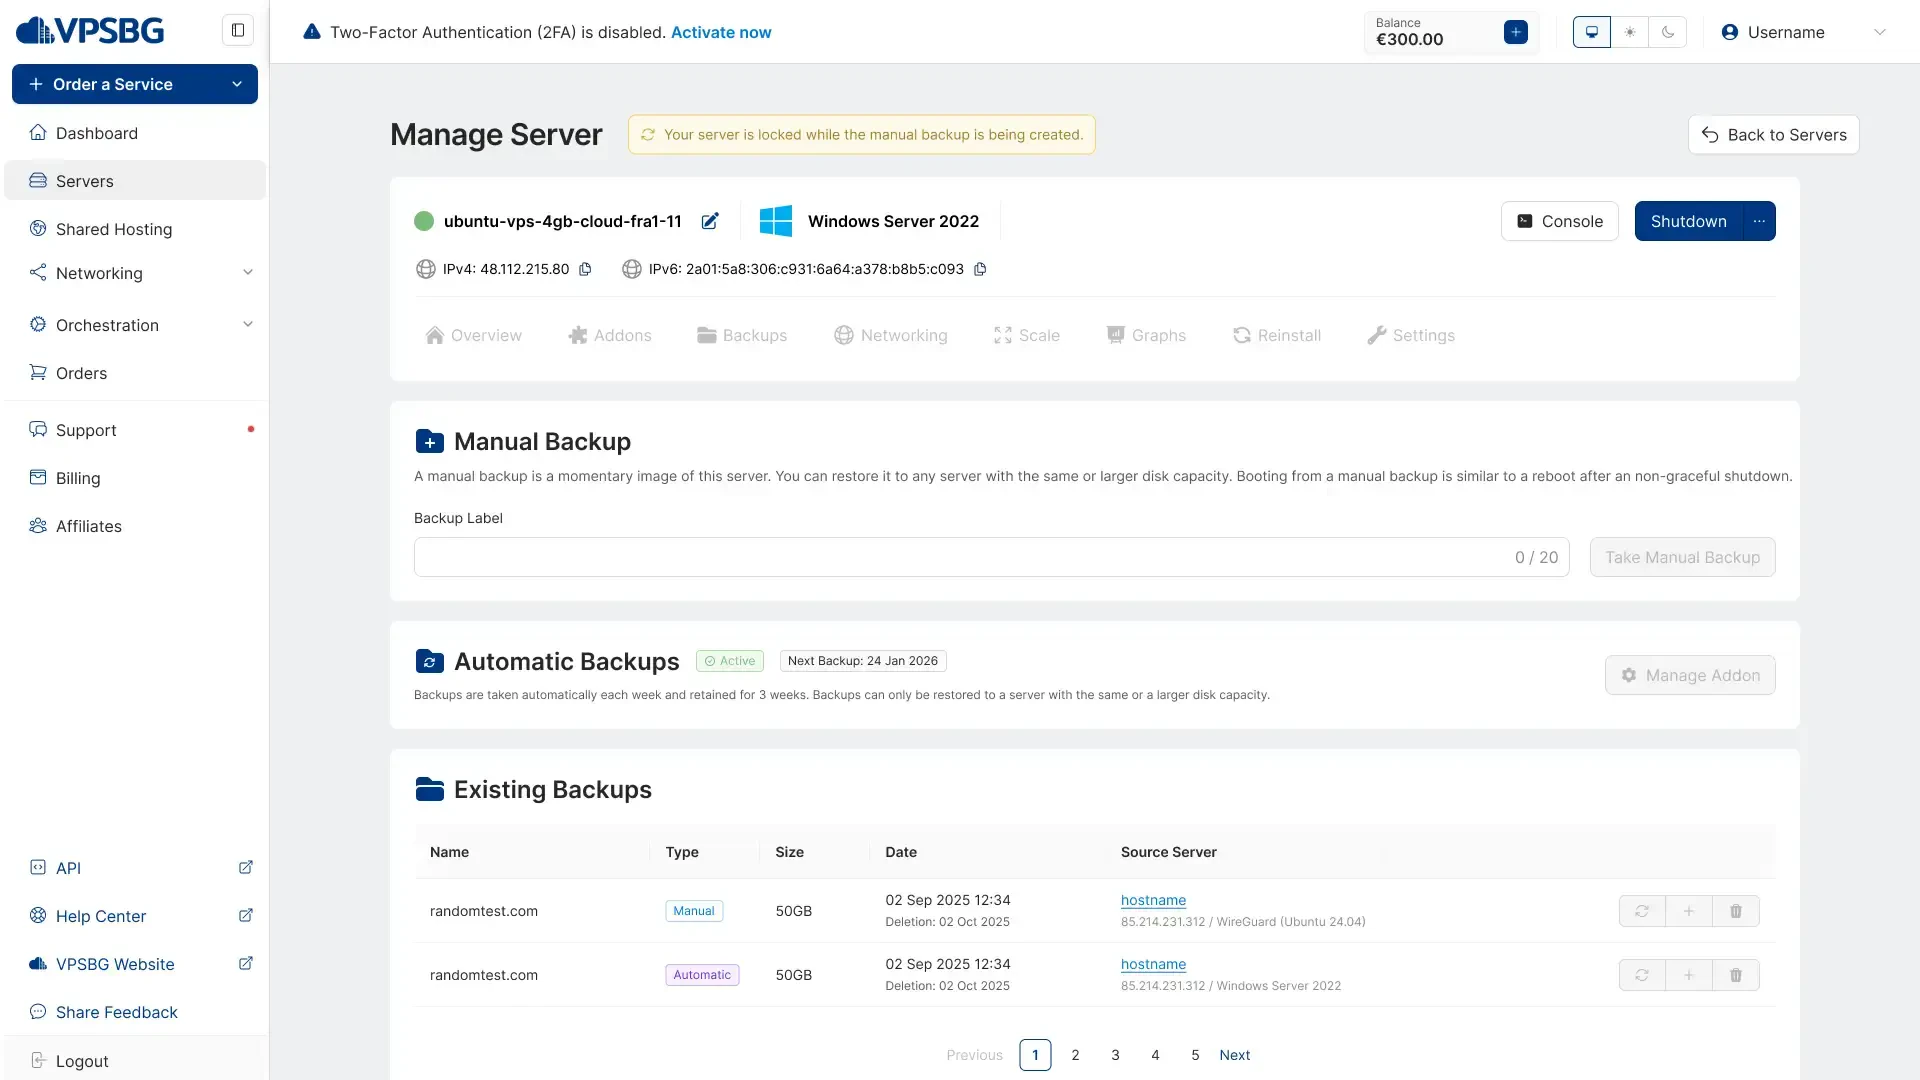
Step 7: Wait for the process to complete
wait for backup to complete

While the manual backup is being created, your server becomes locked in order to prevent any changes that can potentially disrupt the process. The manual backup will be taken once the progress bar fills up to the end. In the meantime the ‘Take Manual Backup’ button is also locked.

That’s it! We hope that this tutorial has successfully taught you how to take manual backups of your VPSBG servers.

Subscribe to Our Newsletter

Join 5000+ subscribers and receive helpful content, deals and more! We promise no spam - 100% great content. Unsubscribe anytime.

Share Article

Related Content

01 April 2025

How to perform AMD SEV-SNP attestation inside a guest virtual machine

In this tutorial, we are going to show you how to perform AMD SEV-SNP attestation inside a guest virtual machine to verify trust and security.

#Tutorial#SEV
15 January 2023

How to set up Laravel Forge on your VPS server

Learn how to install Laravel Forge on your VPS or VDS and start managing your Linux server. Deploy PHP applications and databases with ease.

#Tutorial#Laravel
19 July 2023

How to install Windows on a cloud server

In this tutorial, we are going to show you how to install Windows OS on your cloud server from an ISO file with Windows Server 2022 & VirtuIO drivers.

#Tutorial#Windows

Unrivaled Performance & Security

Deploy a powerful and reliable Cloud VPS today to ensure your privacy. SEV-SNP included for maximum protection.

Configure VPSContact Us