


n8n is a powerful, open-source workflow automation tool. It allows you to connect different applications and services to create automated workflows, enabling you to automate repetitive tasks, synchronize data between platforms and build complex processes without writing a single line of code, saving you time and effort.
When getting a powerful VPSBG cloud server for your n8n installation, you also get the Caddy webserver, which automatically obtains and renews a free Let’s Encrypt SSL certificate for your domain, ensuring that your connection always remains HTTPS-active.
n8n Installation requirements
Even though the n8n application template can save you time and effort during the installation, there are some things that you will need in order to complete the n8n setup on your VPS or VDS. These requirements include:
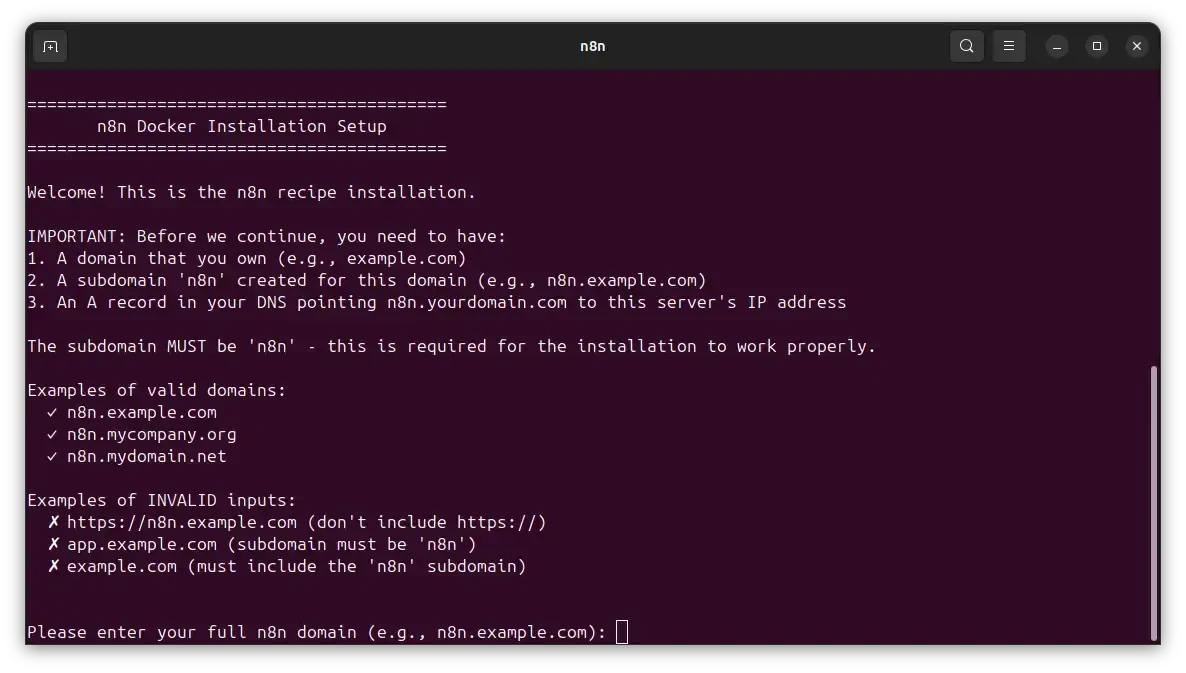
- A domain name that you own (e.g., "example.com").
- A subdomain named "n8n" created for that domain (e.g., "n8n.example.com").
- An A record in your DNS settings that points your "n8n.yourdomain.com" subdomain to your server's IP address.
First, if you don’t have a domain, you’ll need to purchase one from a domain name registrar. If you have a domain already, then go ahead and create the n8n subdomain through your domain registrar’s management interface. The steps here will vary based on your chosen domain registrar and their user interface.
How to point a domain to your n8n server
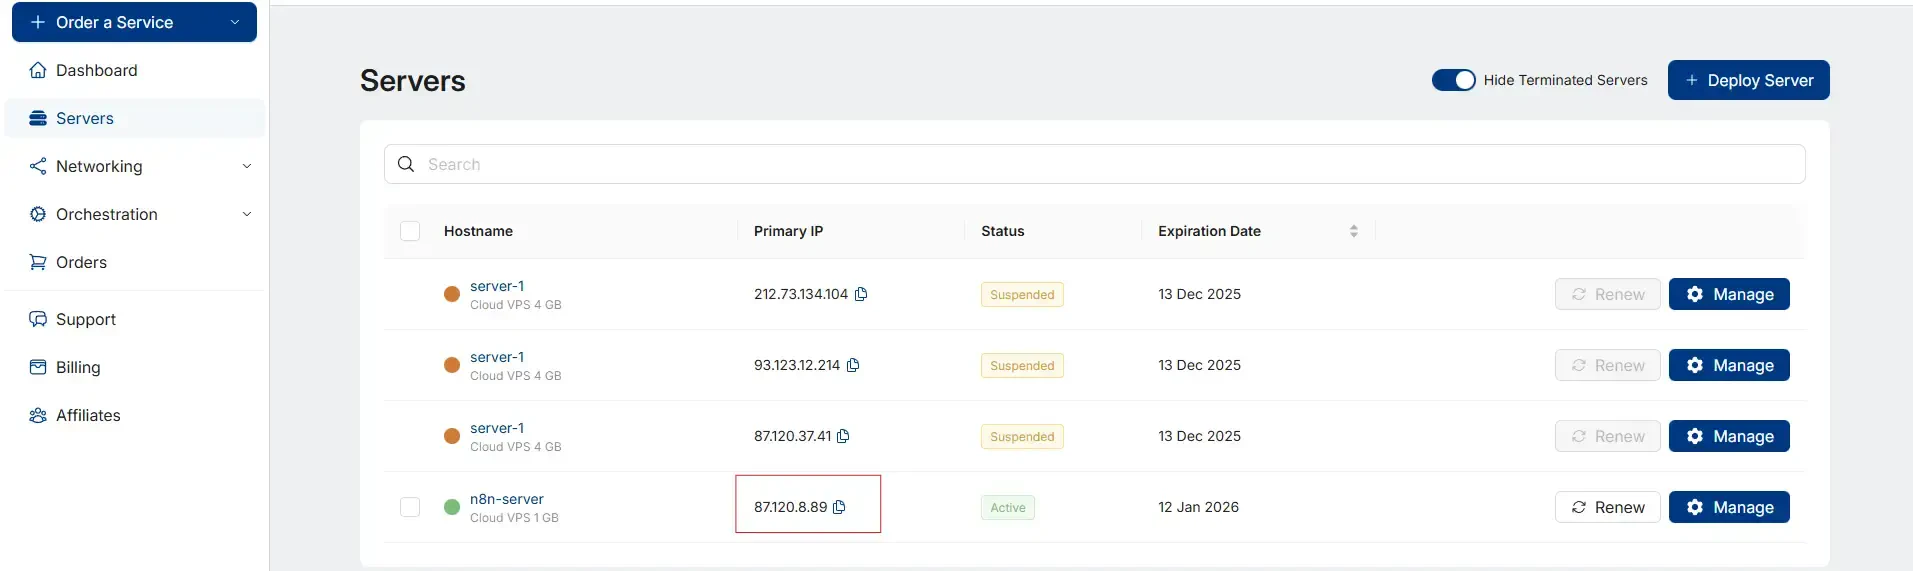
Start by getting the IP address of your cloud server. To do this navigate to the VPSBG Console and click on the Servers tab from the menu on the left. Then simply click on the IP address of your server to copy it.
Next, log into your domain registrar account if you haven’t already and look for the DNS (Domain Name System) settings or a DNS management menu section. From there, go and add a new "A" record (alternatively, you can also modify and existing one). Once there, enter the IP address that you’ve already copied in the record's value field and save the changes.
IMPORTANT: This could take up to 48 hours to apply although most changes become active in less than an hour.
Finally, in order to check that everything is set up correctly, you can use the DNS Propagation Checker tool.
IMPORTANT: These steps might be different based on your domain registrar.
How to install n8n on a cloud server
Once you have all of the required things set up, you can now proceed to finalizing the n8n installation.
Provide your domain
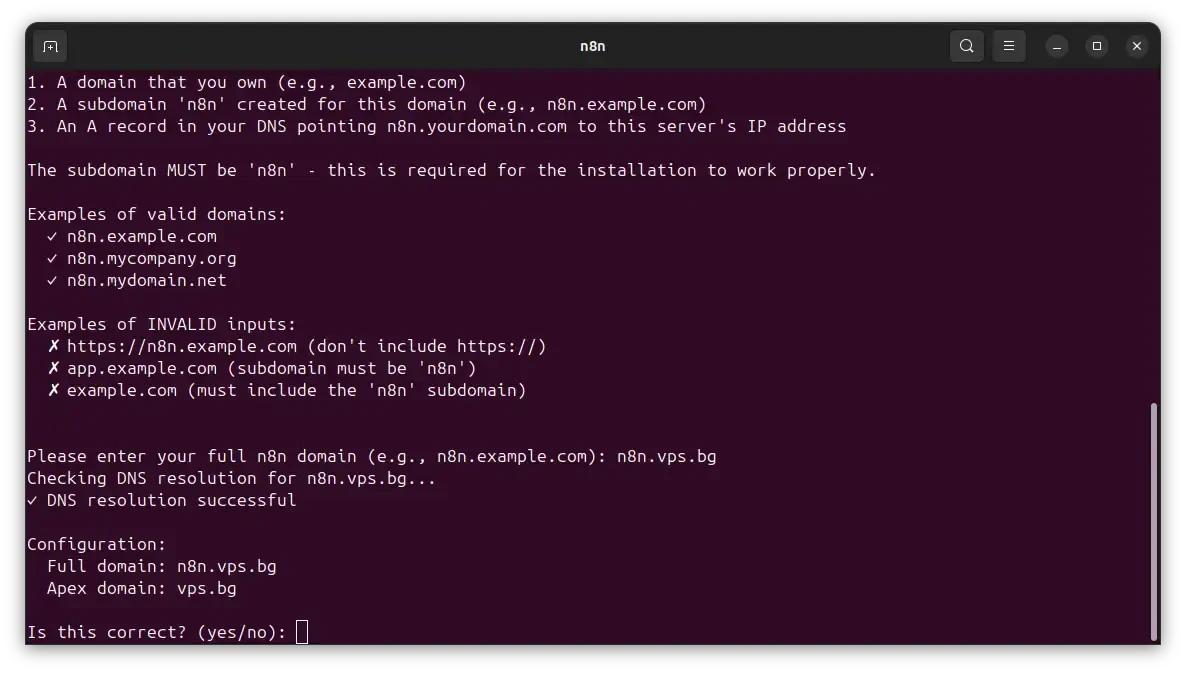
When launching n8n, you will be prompted to enter your full n8n domain. It is crucial to enter the domain correctly, including the "n8n" prefix for the subdomain. For example, if your domain is "example.com", you will need to enter "n8n.example.com".
The installation script will then check if the DNS resolution is successful and ask you to confirm the configuration. Type ‘‘yes’’ and press Enter to proceed:
Complete the installation
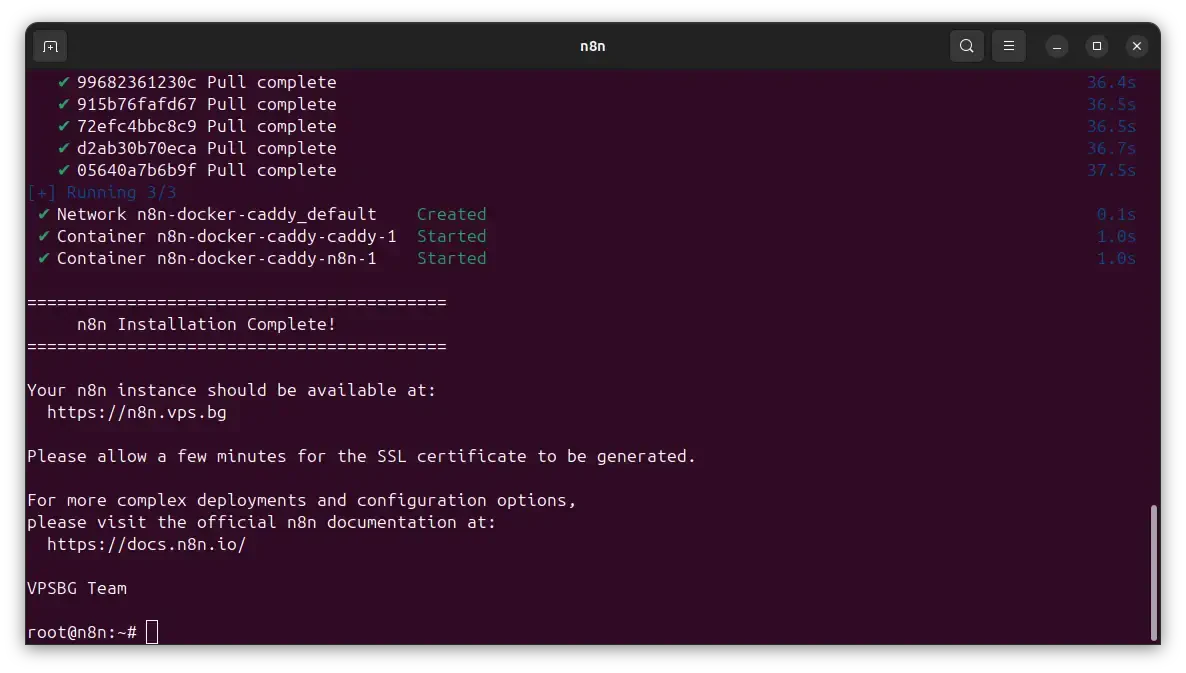
After confirmation, the necessary Docker images will be downloaded and the n8n services will start. Once finished, you will see an "n8n Installation Complete!" message.
You will also be able to see a success message in the output the URL for your new n8n instance.
IMPORTANT: Please note that it can take a few minutes for the SSL certificate to be fully generated and for the n8n web portal to become fully available.
To finish the installation, you need to connect to the server via SSH.
How to create a n8n Owner account
Once you have n8n up and running, you will need to set up an administrator account. To do this, simply open your browser and navigate to the URL provided by the script (e.g., "https://n8n.example.org"). You will be greeted with a page that will allow you to create your owner account.
IMPORTANT: Create a strong password! This will be the primary account for managing your workflows, users, and credentials within n8n.
With your owner account created, your n8n instance is now fully installed and ready to use!
How to manage your n8n Server via CLI
While most of your day-to-day work in n8n will happen in the web interface, some essential management tasks like updating, troubleshooting, and backing up are done using the command line.
All management commands must be run from the directory where your n8n configuration files are stored. The VPSBG n8n template places these files in "/root/n8n-docker-caddy/".
IMPORTANT: Make sure you are in this directory before running any of the commands below!
How to start and stop n8n
If you need to stop the service for maintenance or apply a configuration change, you can use these simple commands.
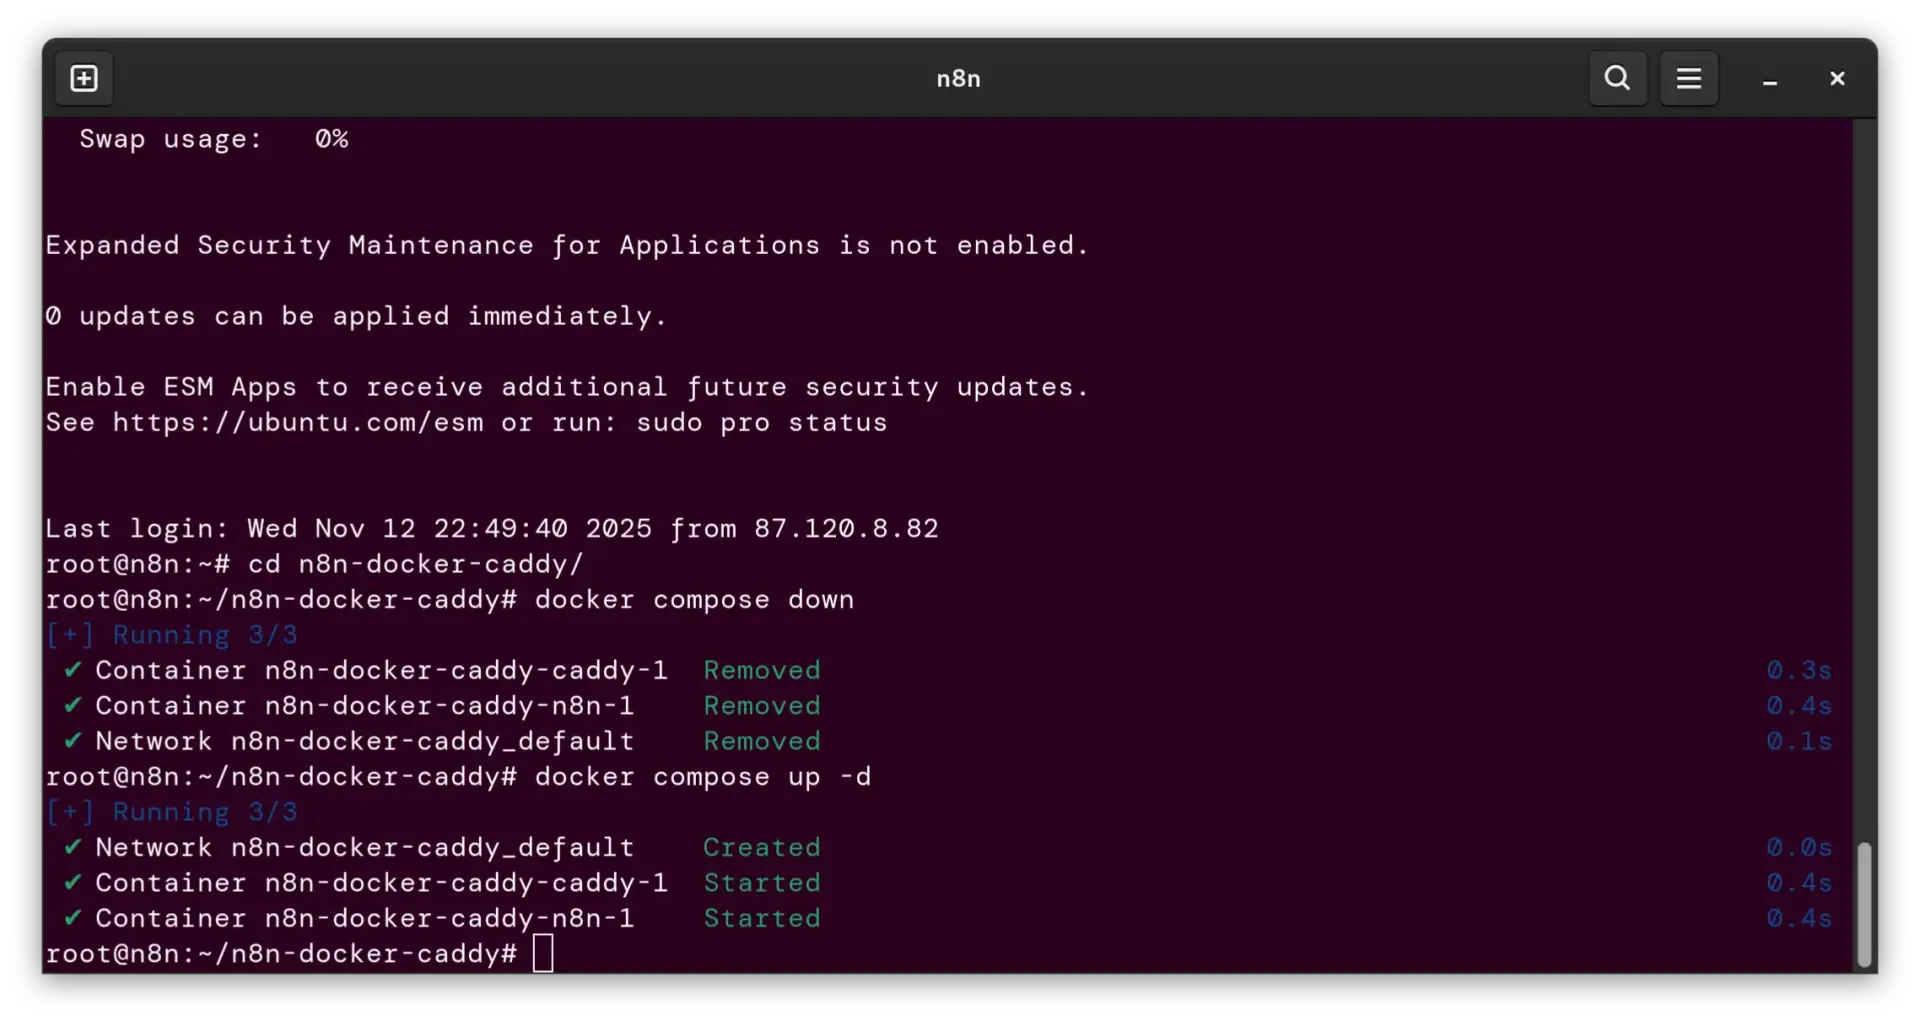
To stop the running n8n and Caddy containers:
docker compose downTo start the containers again:
docker compose up -dIMPORTANT: With the "-d" flag, the containers are ran in the background, instead of displaying logs directly in your terminal.
How to update n8n to the latest version
It is crucial to keep your n8n instance updated to benefit from the latest features, security patches and bug fixes. The update process involves two simple steps - pulling the latest Docker images and recreating the containers.
In order to pull the latest Docker images, you can use the following command:
docker compose pull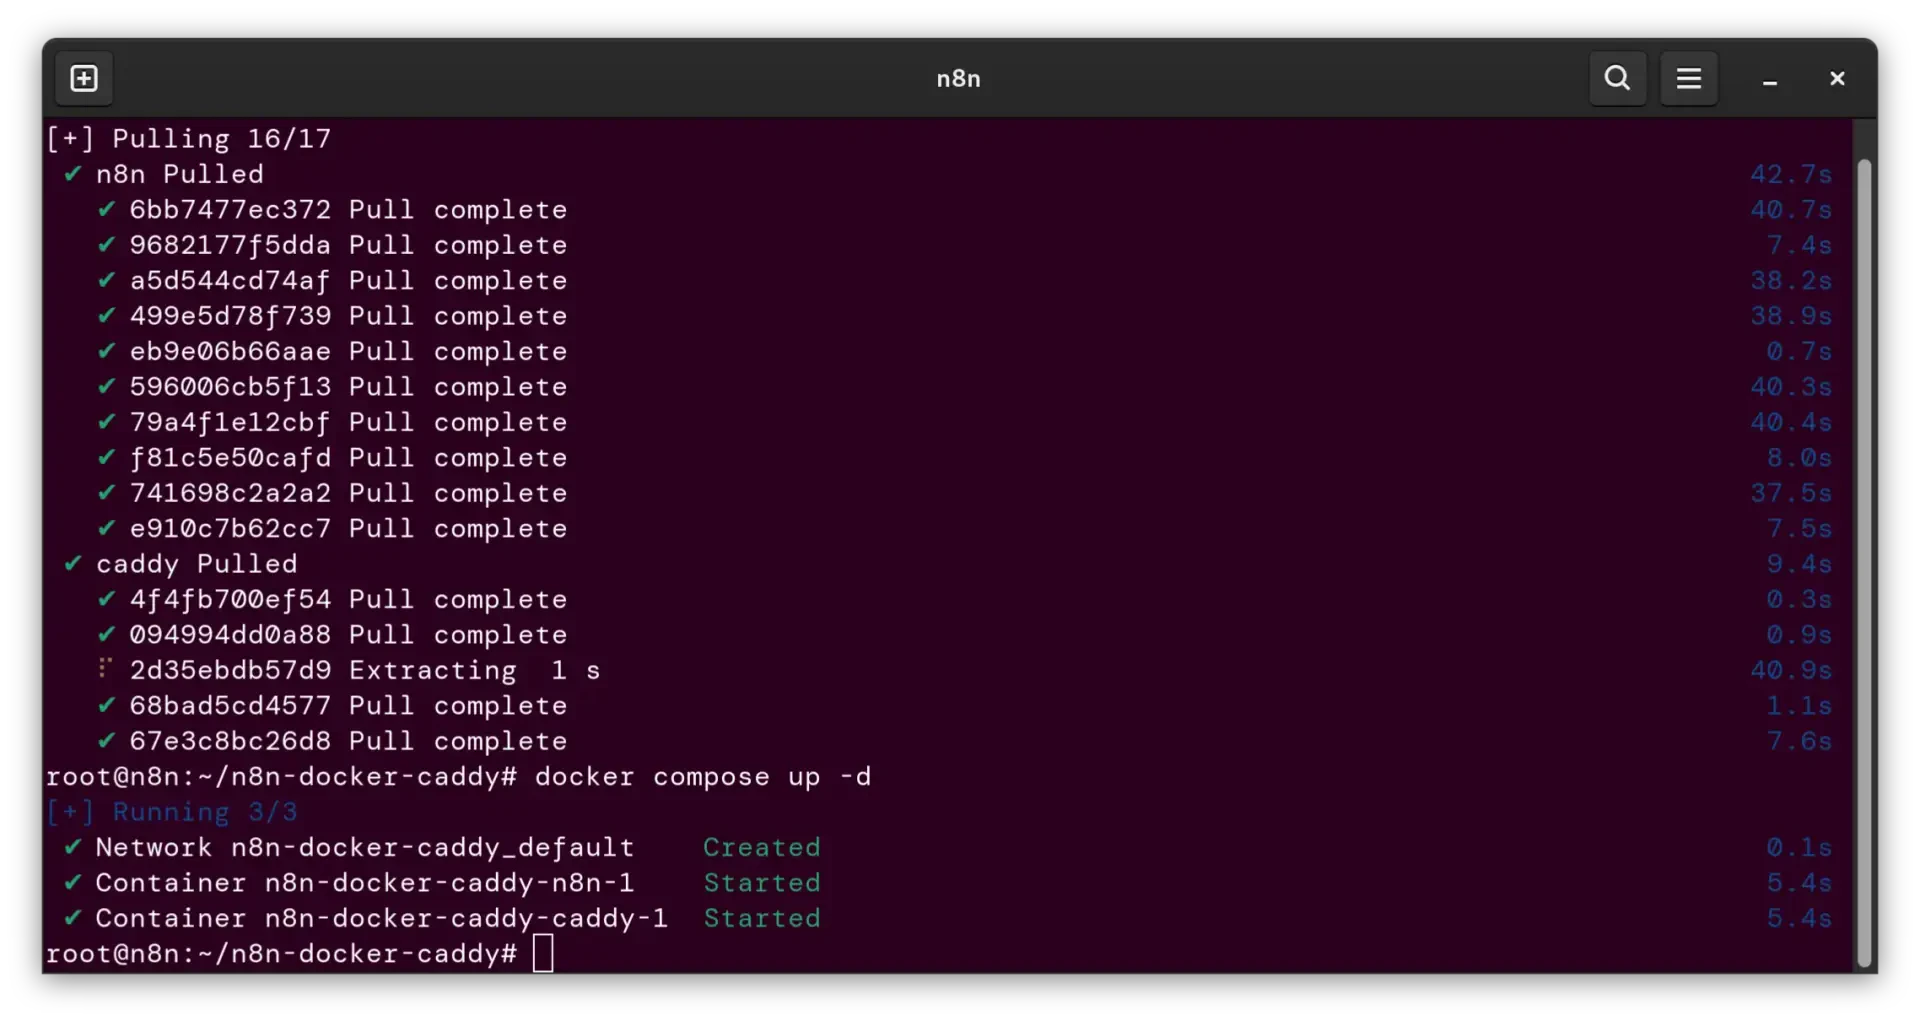
This will download the newest versions of n8n and Caddy without stopping your current instance.
Next, you will need to recreate the containers with the same `docker compose` commands as before:
docker compose downAnd then:
docker compose up -dThis will safely stop your old containers and restart them using the new images that you’ve just downloaded. Your data and workflows will be preserved.
How to back up your n8n data
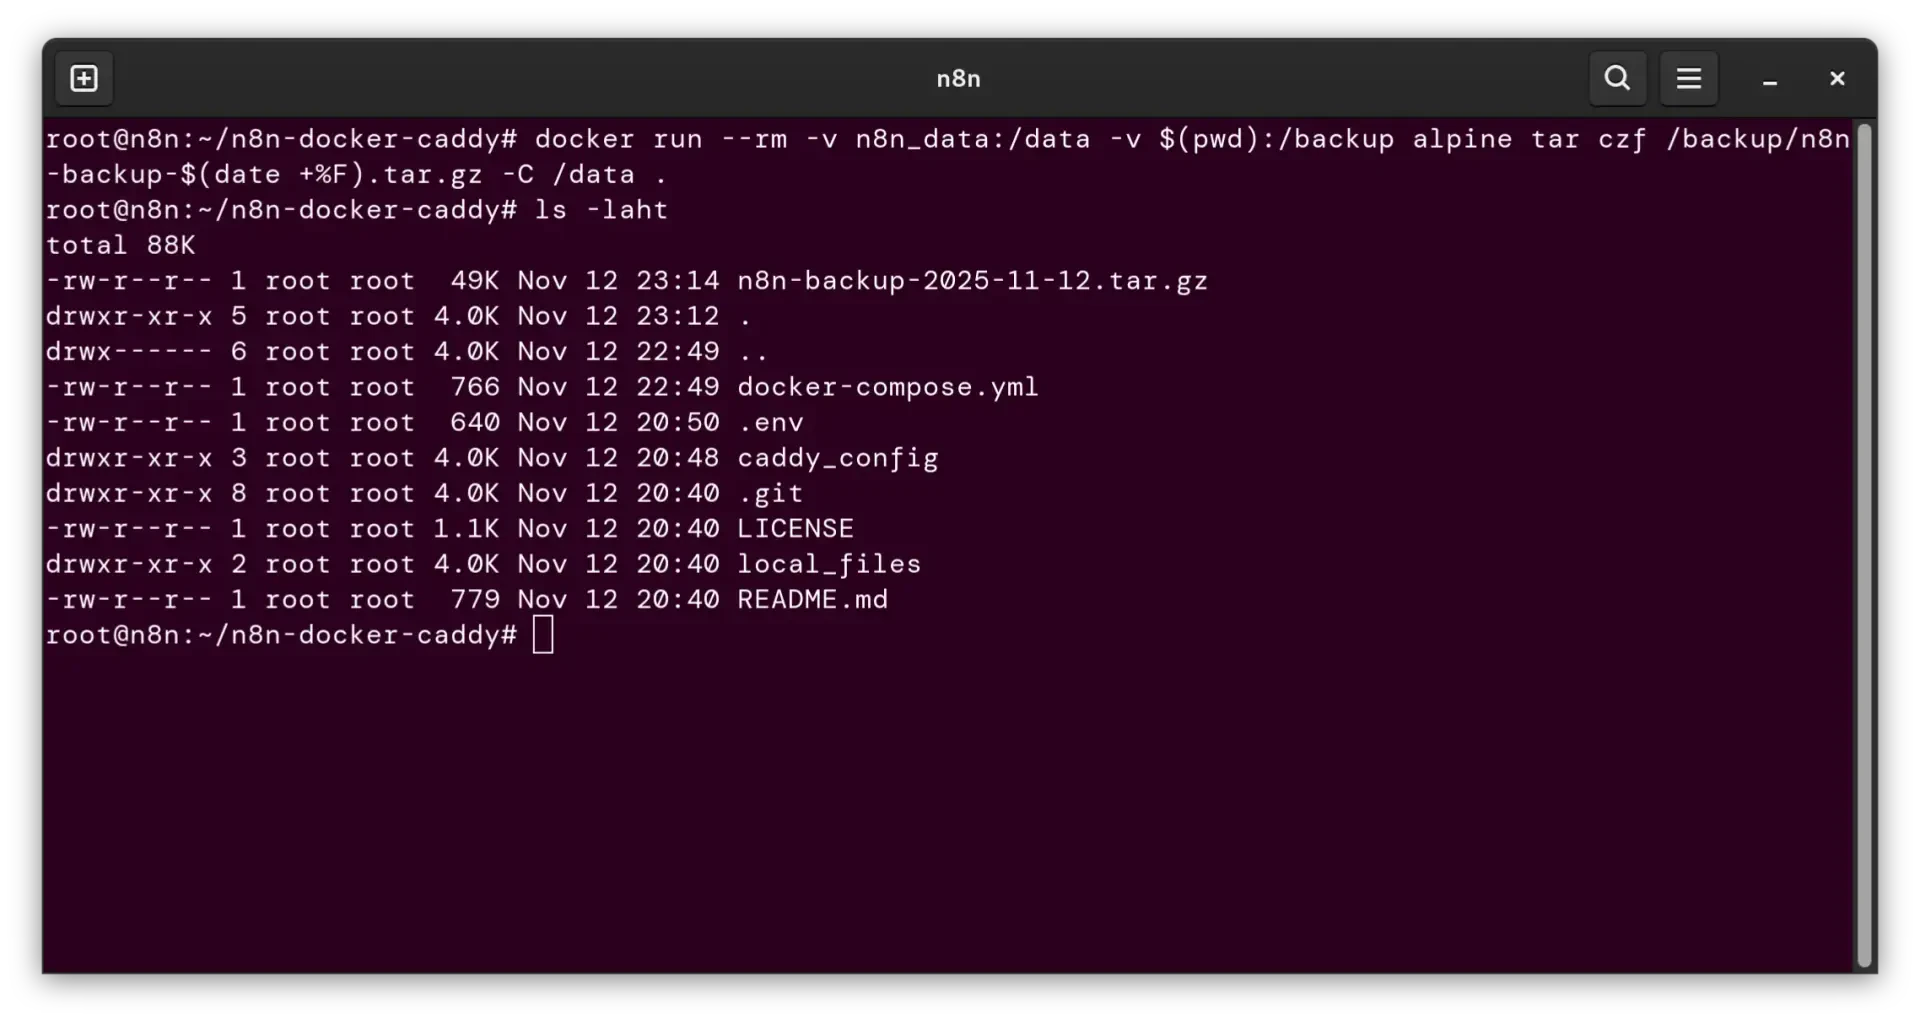
Your workflows, credentials, and execution data are the most valuable parts of your n8n instance. This is why regularly backing them up is essential. All n8n data is stored in a dedicated Docker volume.
The following command will create a compressed "tar.gz" archive of your entire n8n data volume and save it in your current directory ("/root/n8n-docker-caddy/"):
docker run --rm -v n8n_data:/data -v $(pwd):/backup alpine tar czf /backup/n8n-backup-$(date +%F).tar.gz -C /dataYou can then inspect the directory for the newly-created archive with the following command:
ls -lahtIf done successfully, you should see a file like "n8n-backup-YYYY-MM-DD.tar.gz". It is highly recommended to download this file using a tool like scp or rsync and store it in a secure location or on your server. Keeping this backup file ensures that you can quickly restore all of your workflows and credentials onto a fresh instance if needed. You can also recover everything if something happens.
If you ever need help restoring from a backup, do not hesitate to contact our support team!
You are now equipped with the essential information to install, manage and update your new n8n server! With all of this covered, you can now focus on what n8n does best: building powerful workflows to automate your digital operations. For inspiration and detailed guides on creating automations, be sure to explore the official n8n documentation and community forums.
n8n installation script
We value your privacy, which is why we also want to remain fully transparent with our application templates. Because of this, we add all of our app template installation scripts to our VPSBG GitHub repository so that you can manually check it out if needed.

