


As you already know, we value your privacy and security, always striving to improve our data protection methods while still maintaining high performance and availability.
This is why we offer powerful and reliable DDoS protection in the form of floating IPs that can easily and automatically mitigate high volumetric attacks up to 5 Tbps across multiple layers without adding any additional latency.
But how flexible are our DDoS-protected floating IPs and how difficult is everything to manage? It’s actually quite simple and in this tutorial, we are going to go over everything from purchasing to setup and management.
How to order a DDoS-protected floating IP
To start, you must first log into our client area using your email and password. Upon entering the client area you will land at your account dashboard. From here, click on “Order New Service” and choose “Floating IP”.

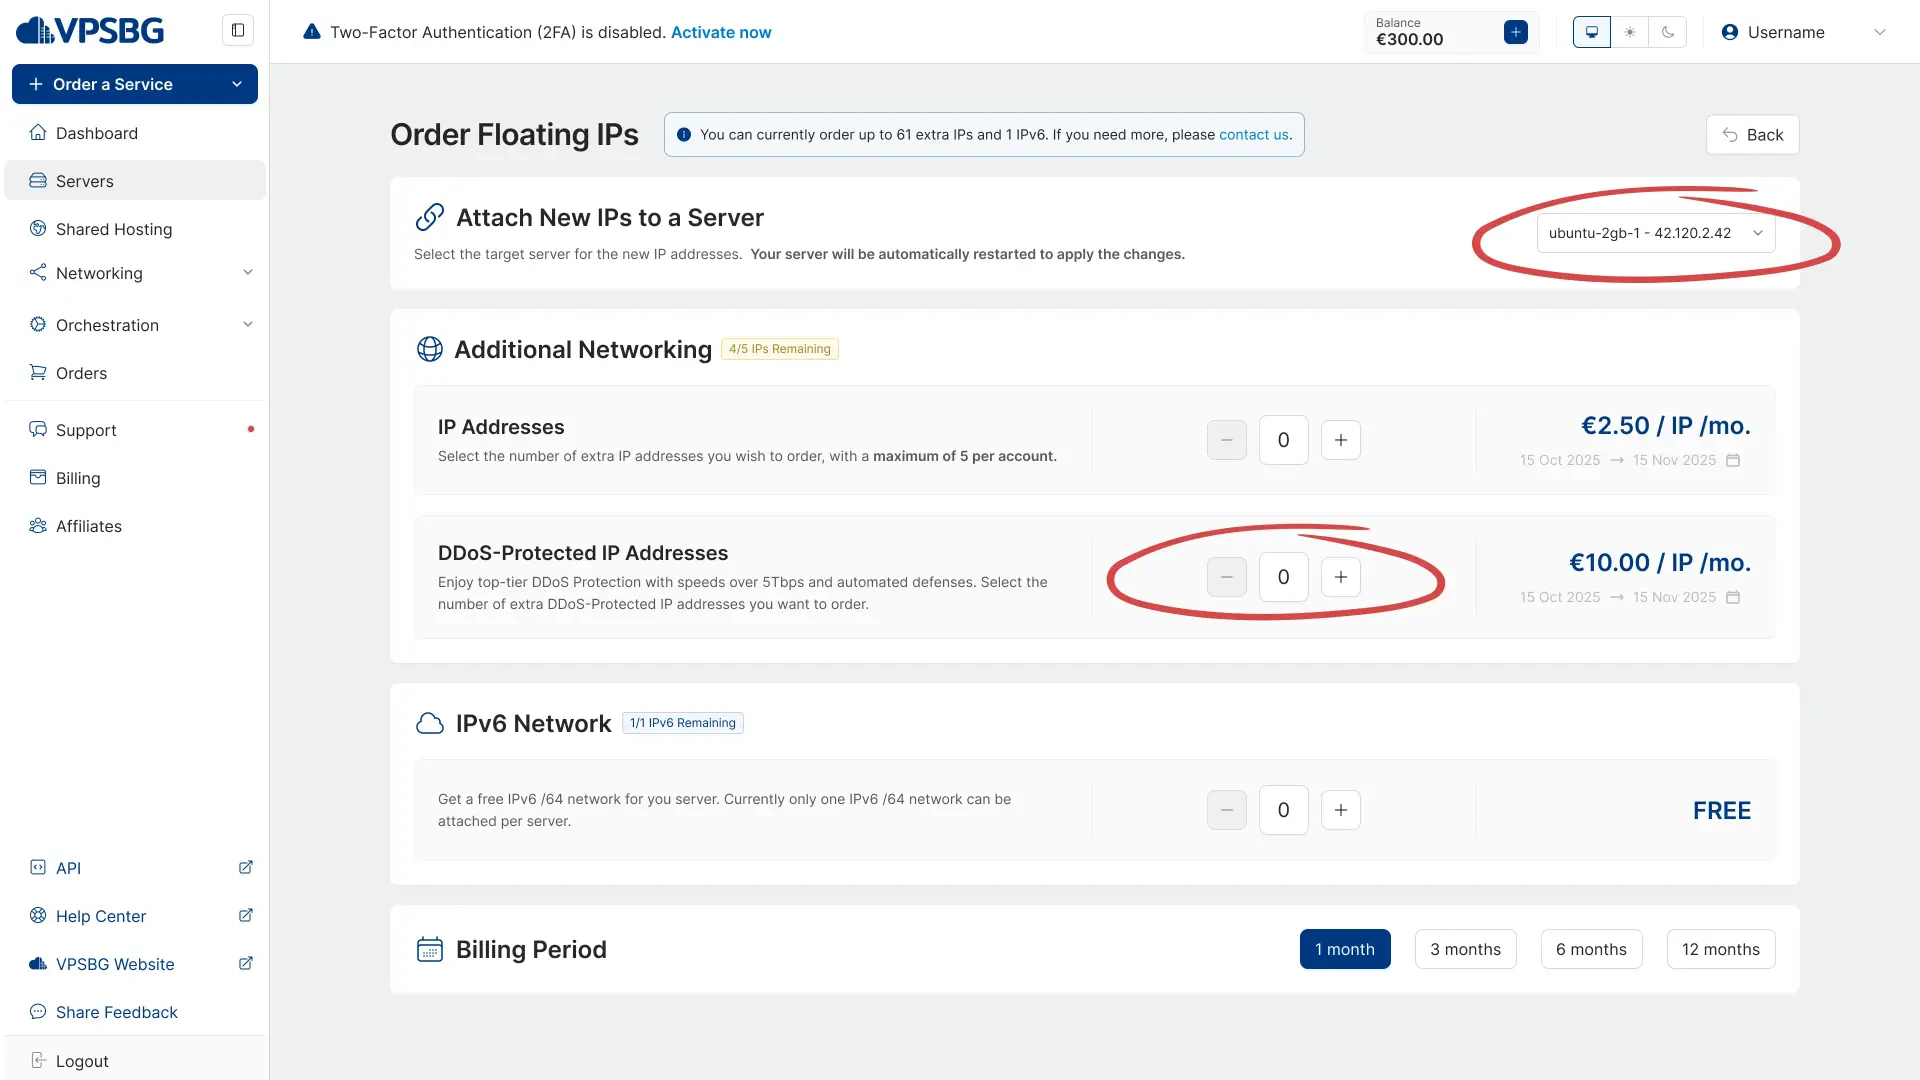
This will take you to the floating IP purchasing page. You will notice that there are 2 options available - standard floating IPs and DDoS-protected floating IPs. Using the selector or the input field, type the desired number of IPs that you want to purchase.
IMPORTANT: Both our standard and the DDoS-protected IPs share the same limit pool. Each account has a maximum limit of 5 floating IPs that can be purchased, meaning that you can have any number of both as long as their total doesn’t go over 5. If you wish to extend your limit, please contact us.
Once you have selected the amount of IPs that you need, you will have the option to attach them to one of your servers. Doing this will automatically sync the billing cycle of your IPs with that of your desired server.
If you don’t want to immediately attach your IPs, you can still do so later, but you will need to choose a billing cycle.
IMPORTANT: Some floating IPs will require you to manually assign them to your server after purchase! You can easily do so, by following our tutorial on how to attach, detach and manage your floating IPs.
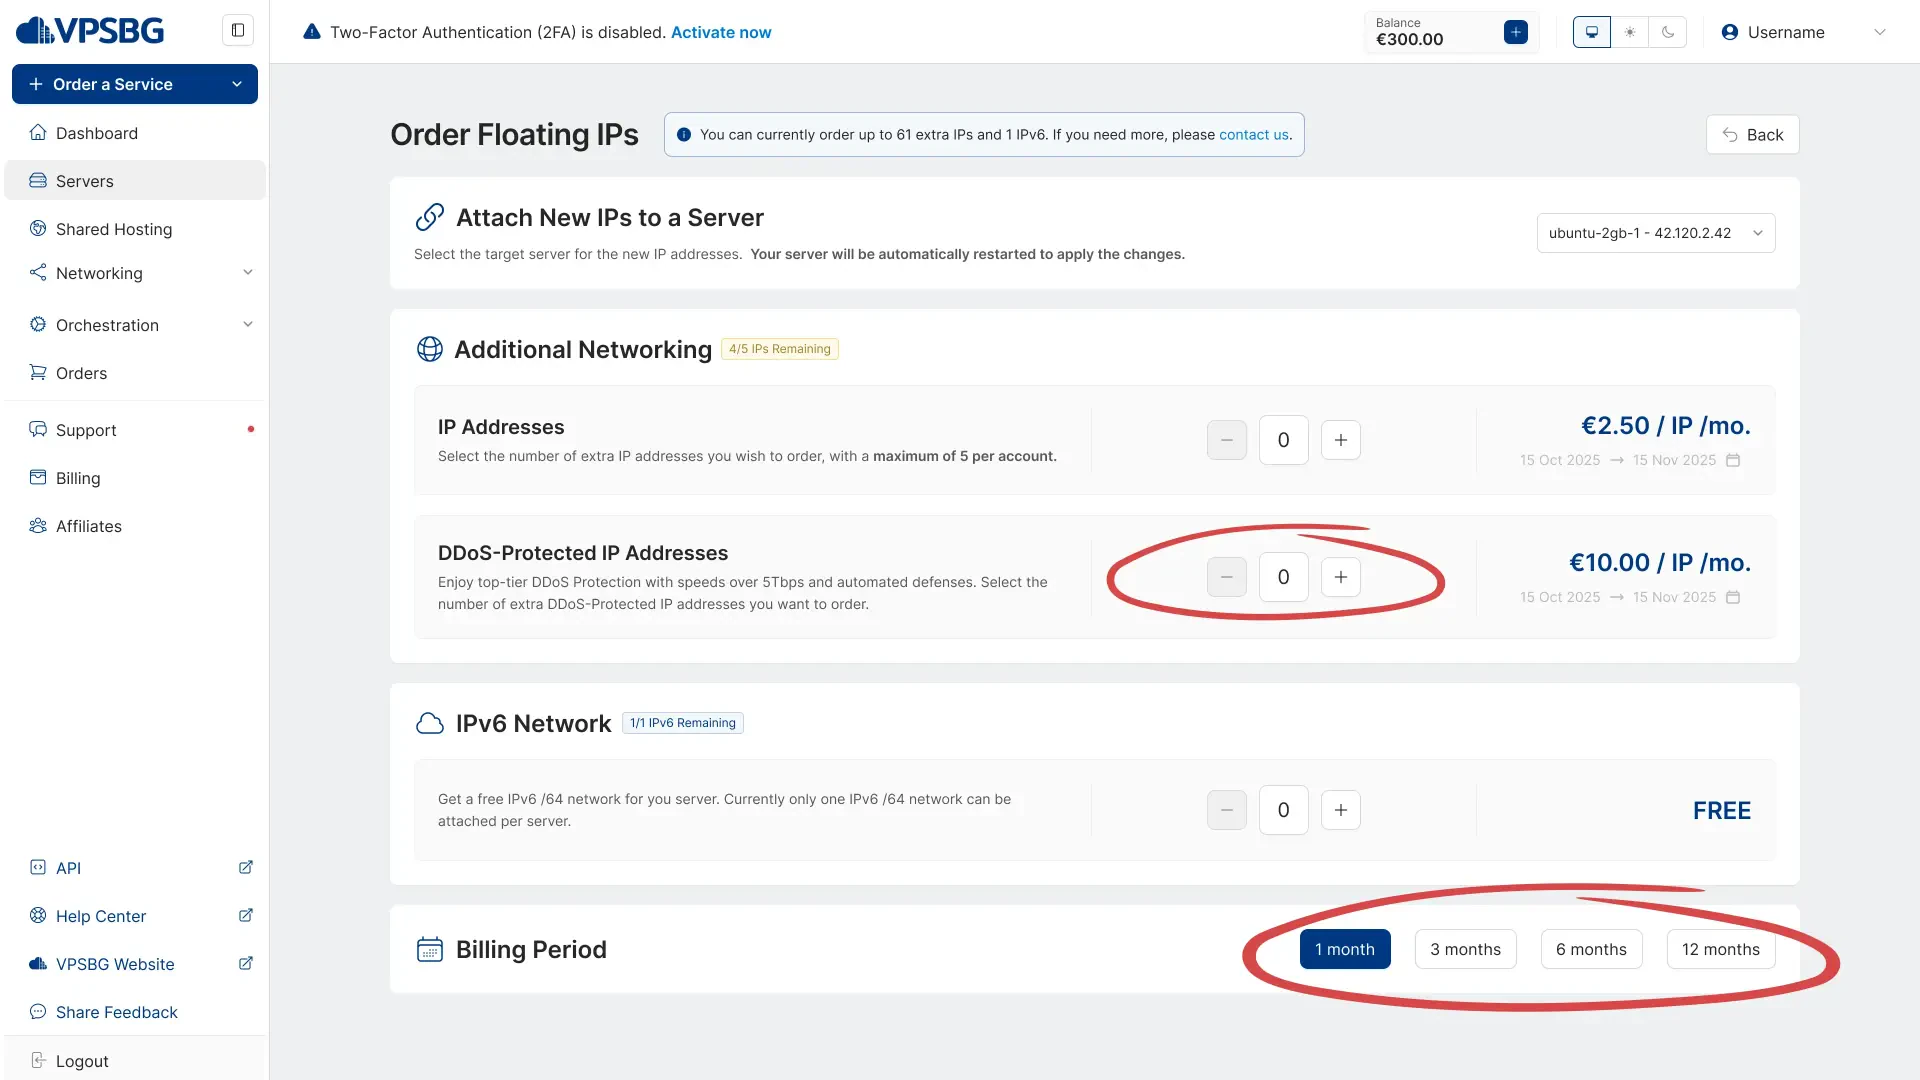
Just click on the purchase button and your IPs will be added to your account.
How to manage a DDoS-protected floating IP
In order to find and manage your IPs, you will need to click on the Networking tab from the menu on the left and select Floating IPs.
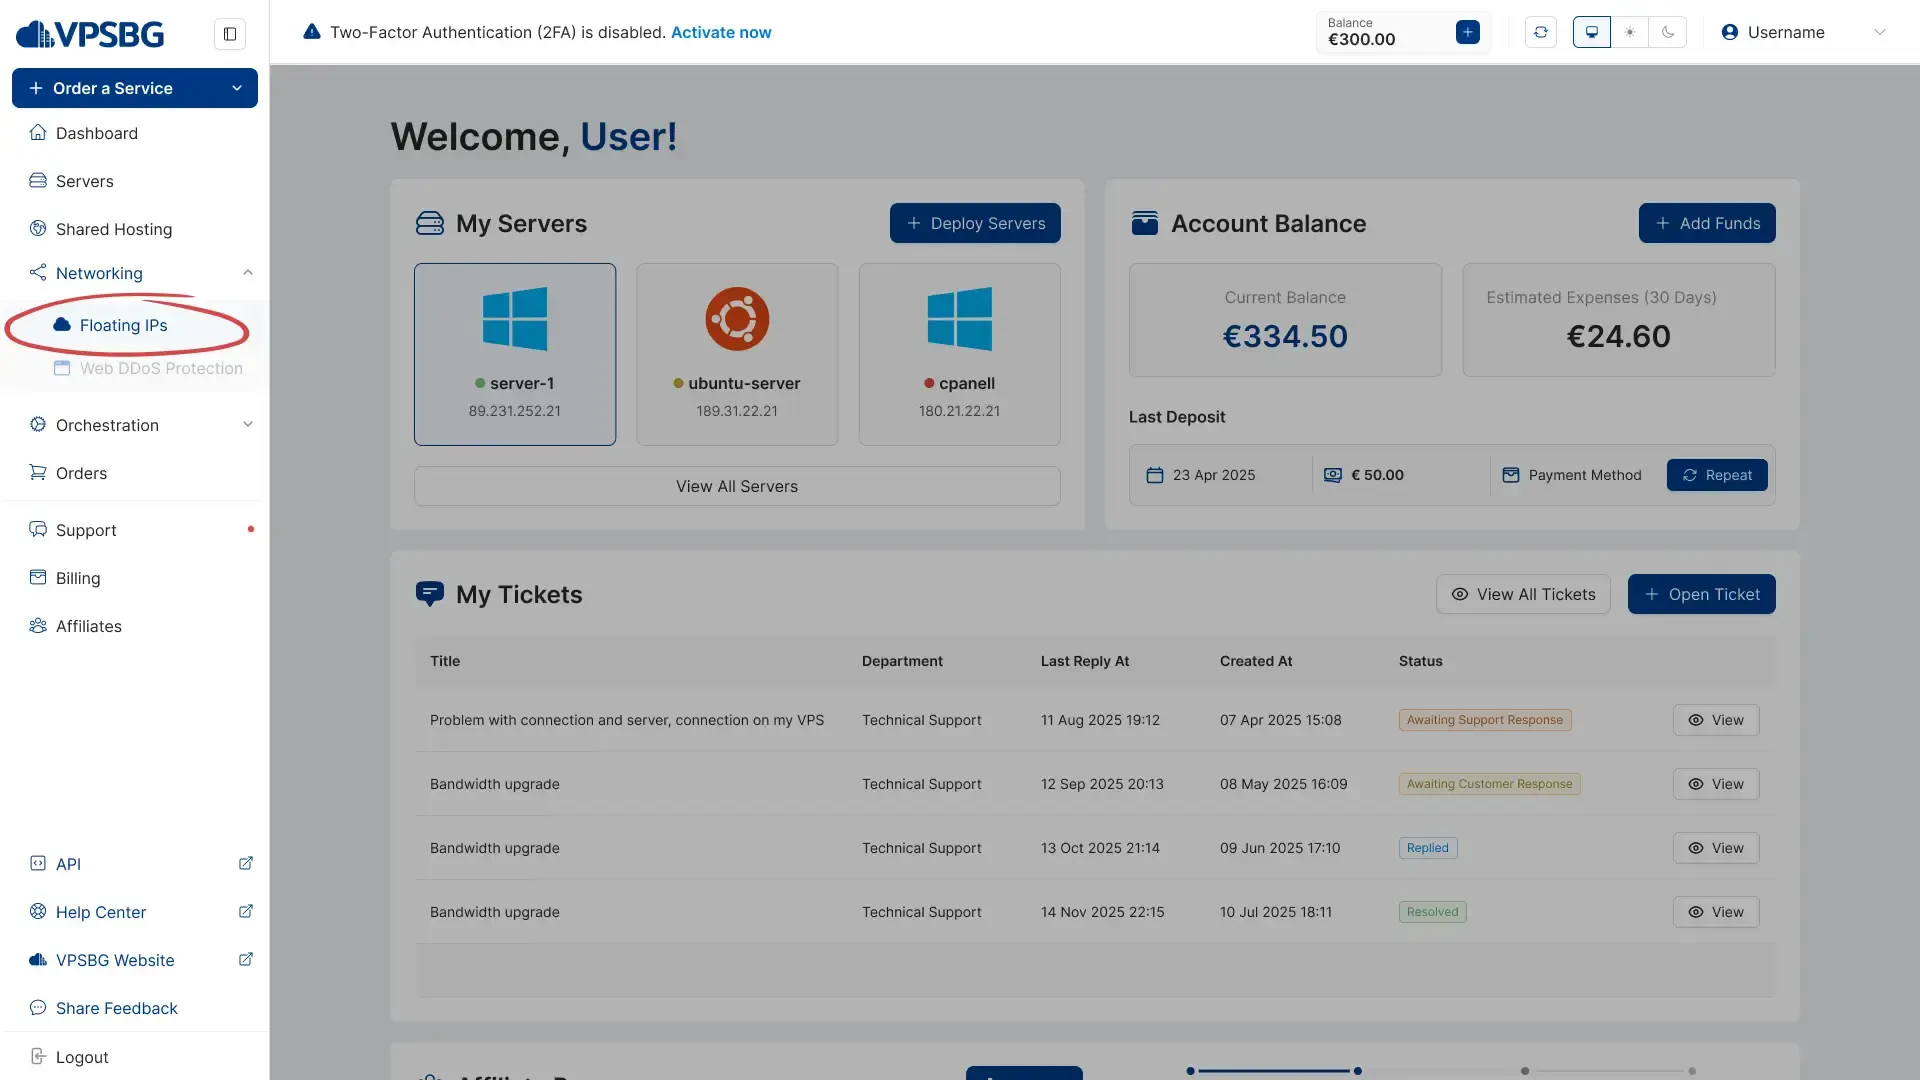
You will then arrive at the IP management page, which will contain all options and actions that you can do with your floating IPs.
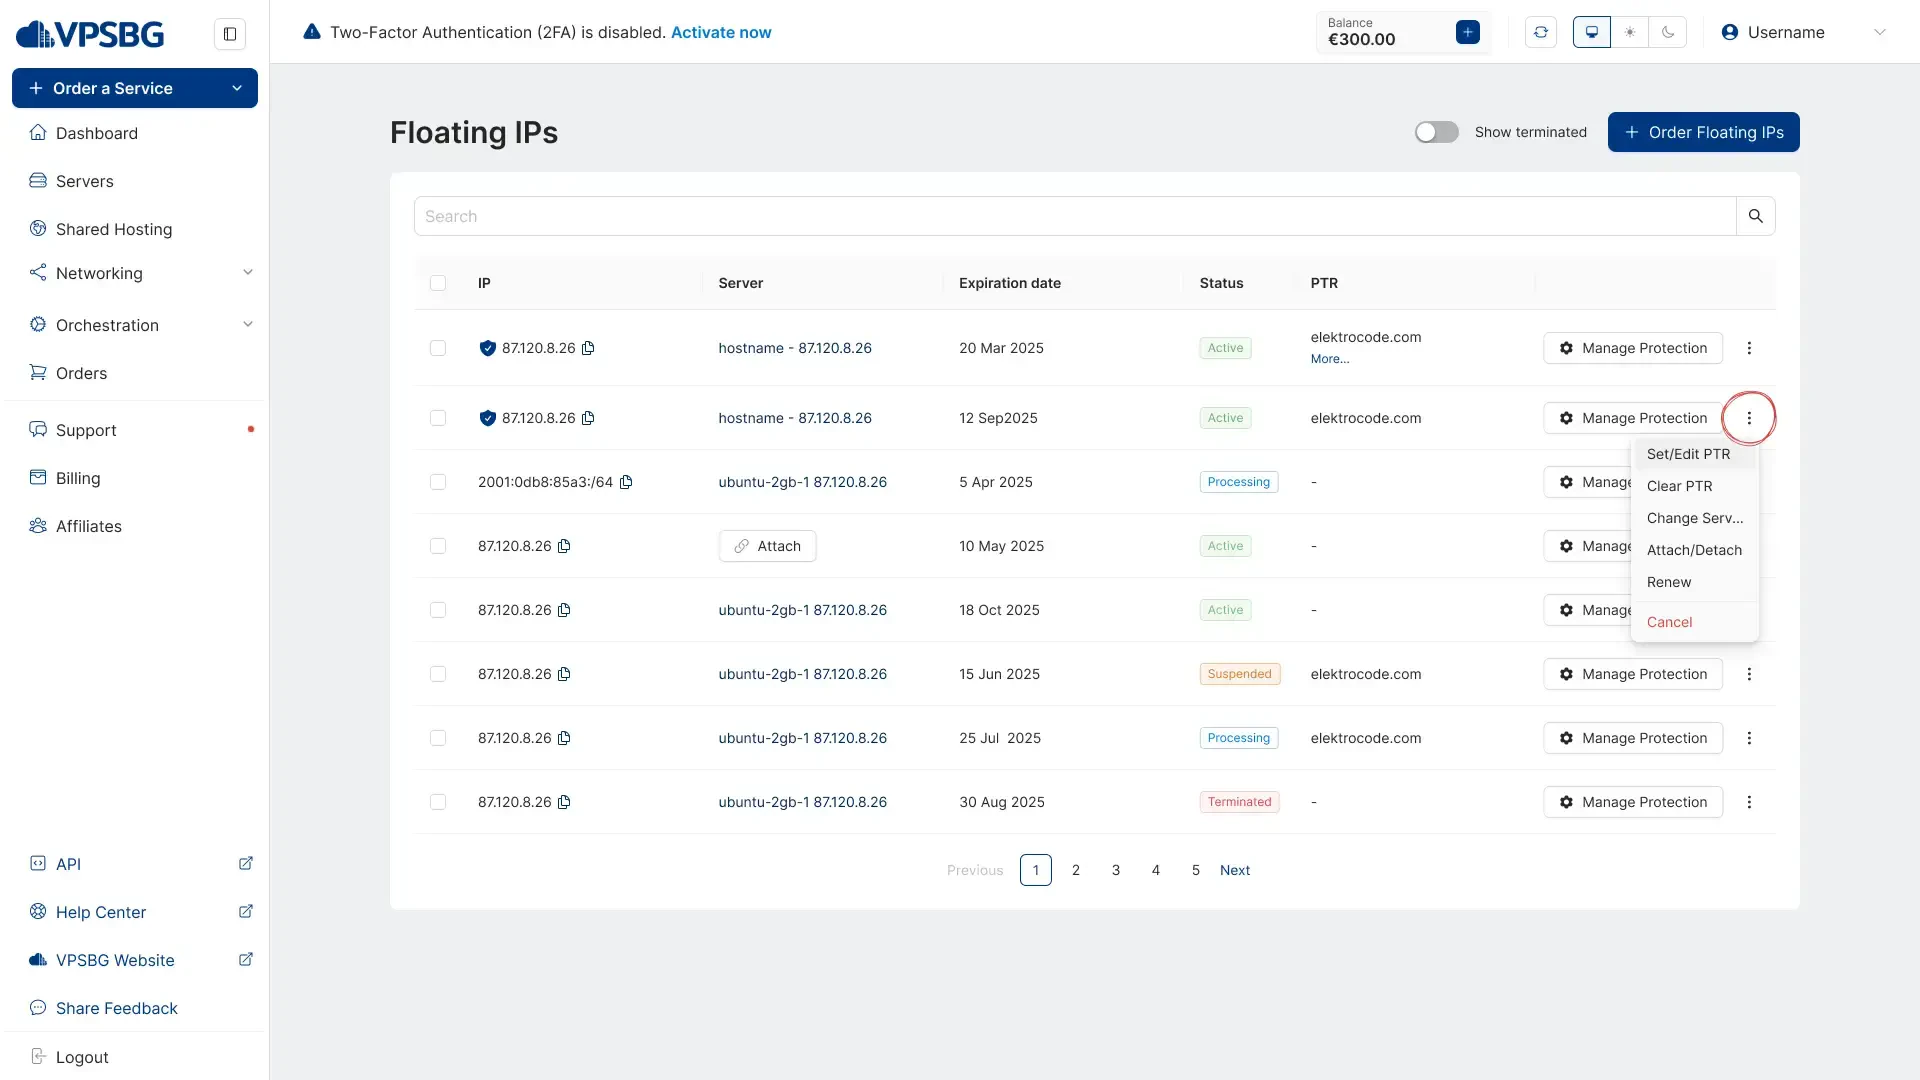
Using the 3 dots at the end of each row, you can access a list of options for your floating IPs including attaching, detaching, switching servers, setting or editing PTR and cancelling the IP.
IMPORTANT: When attaching or detaching an IP from a server, the server will need to restart in order to apply the changes.
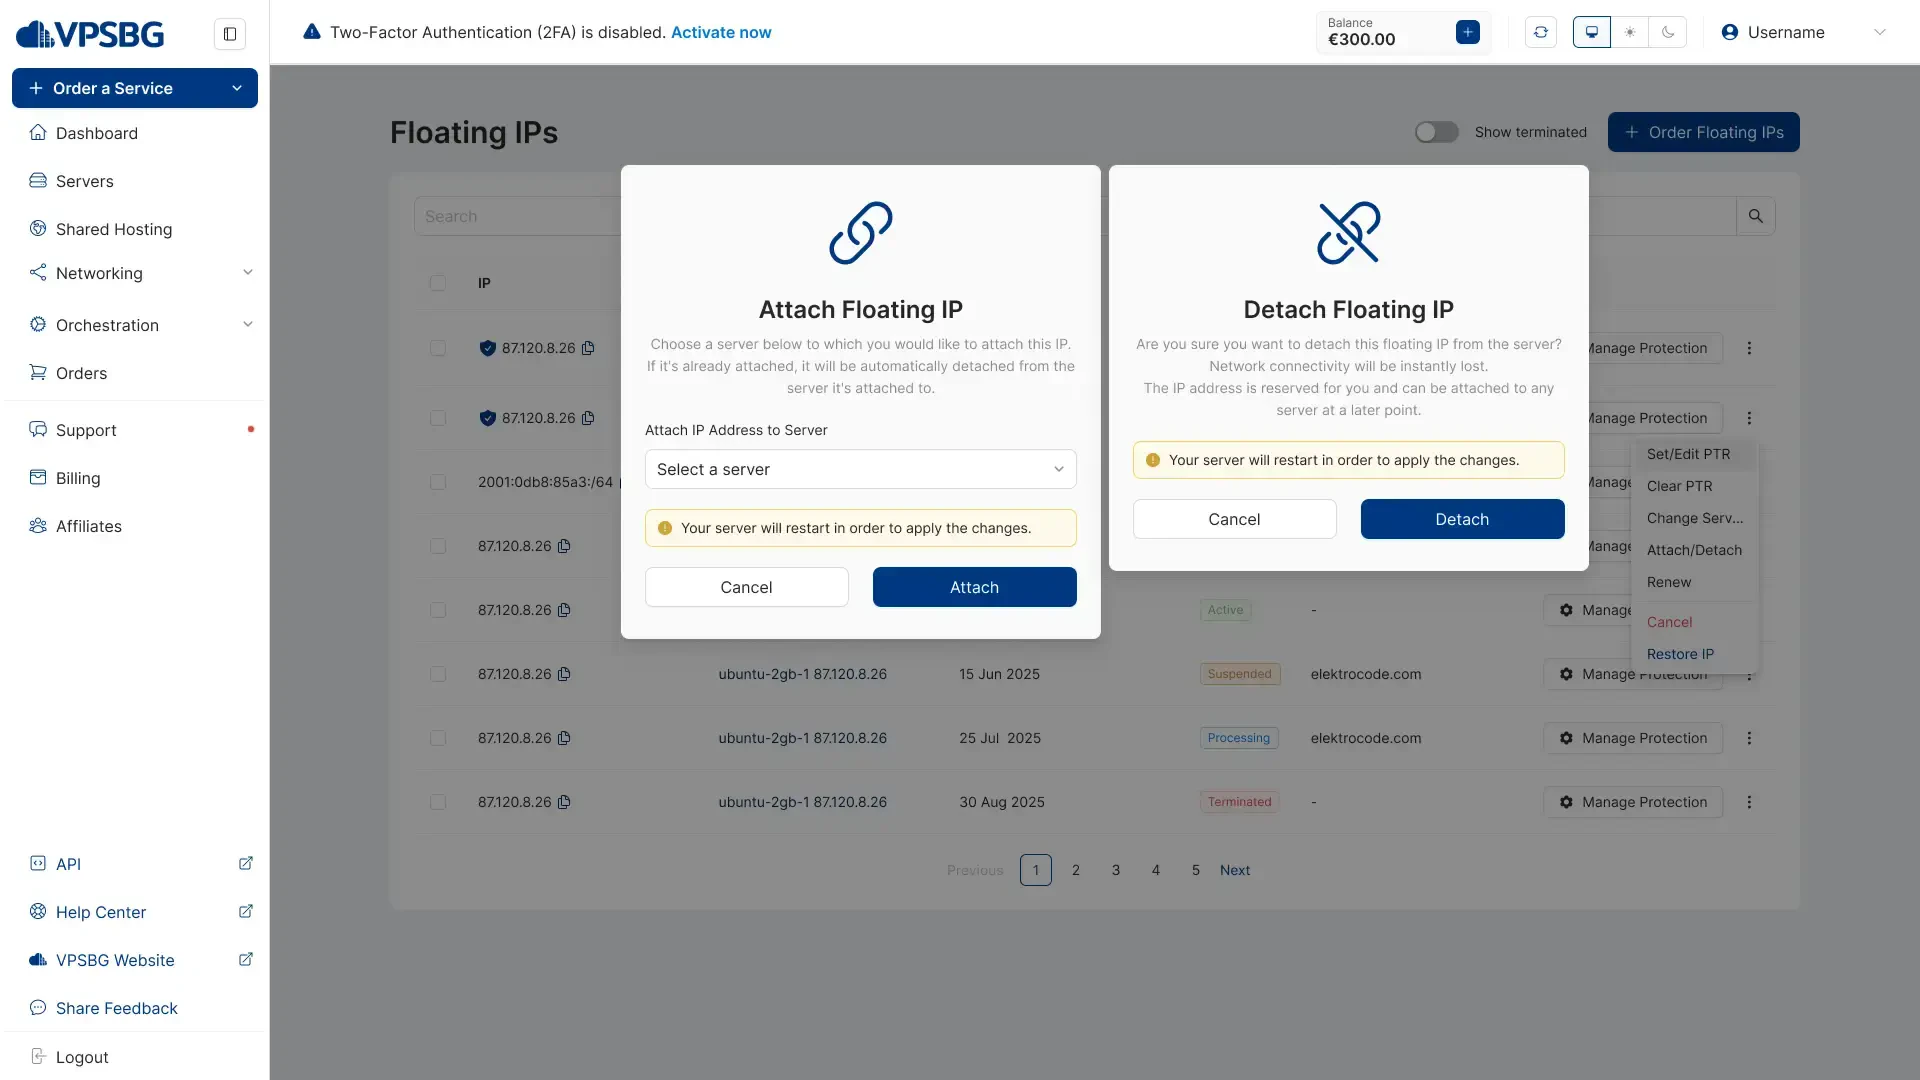
For all DDoS-protected floating IPs, you will also see a Manage Protection button which when clicked will take you to the settings page, where you can tailor the protection to your needs.
DDoS-protection settings
When clicking on the button, you will first arrive at the overview section for your protection. Here, you can see the bandwidth to your IP after filtration as well as the most recent attacks. For a full list of all attacks, you can click on the Attack History tab.
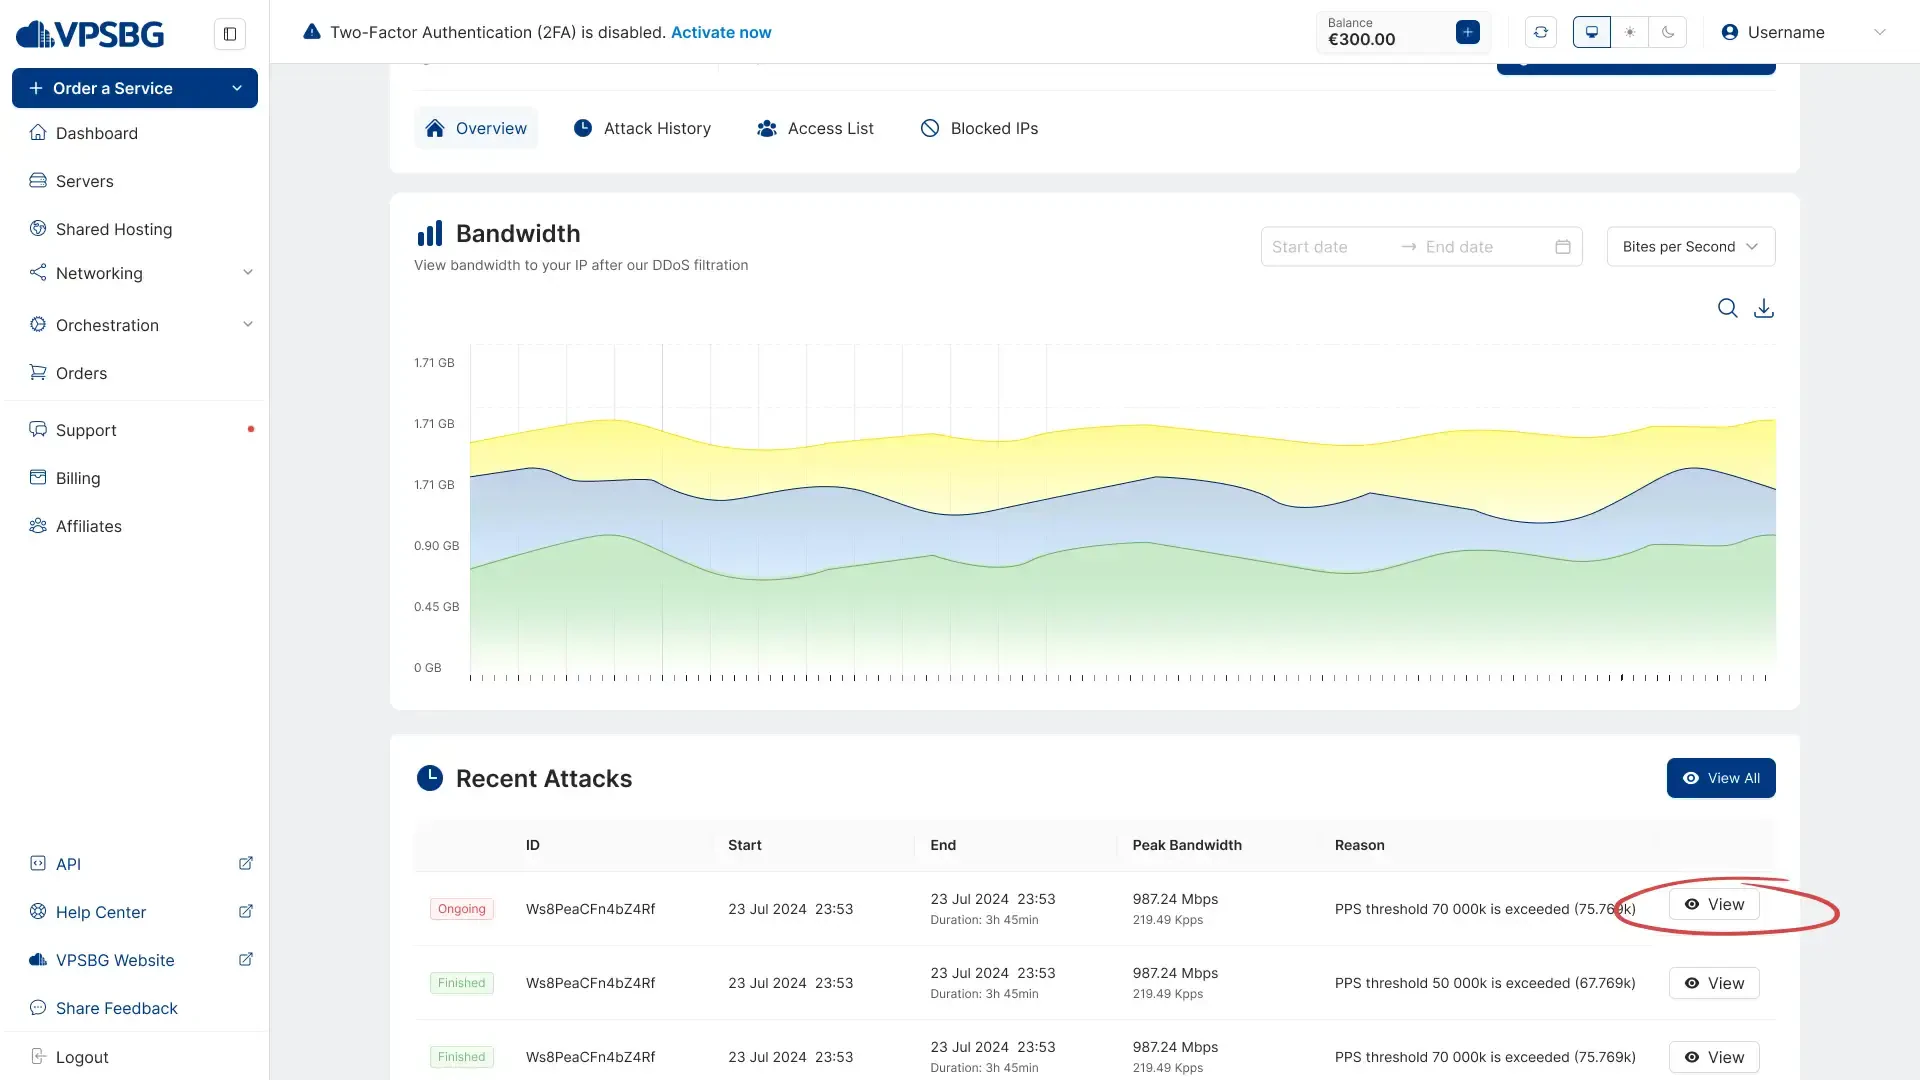
Clicking on the eye button will open up a detailed summary about the attack which will look like this.
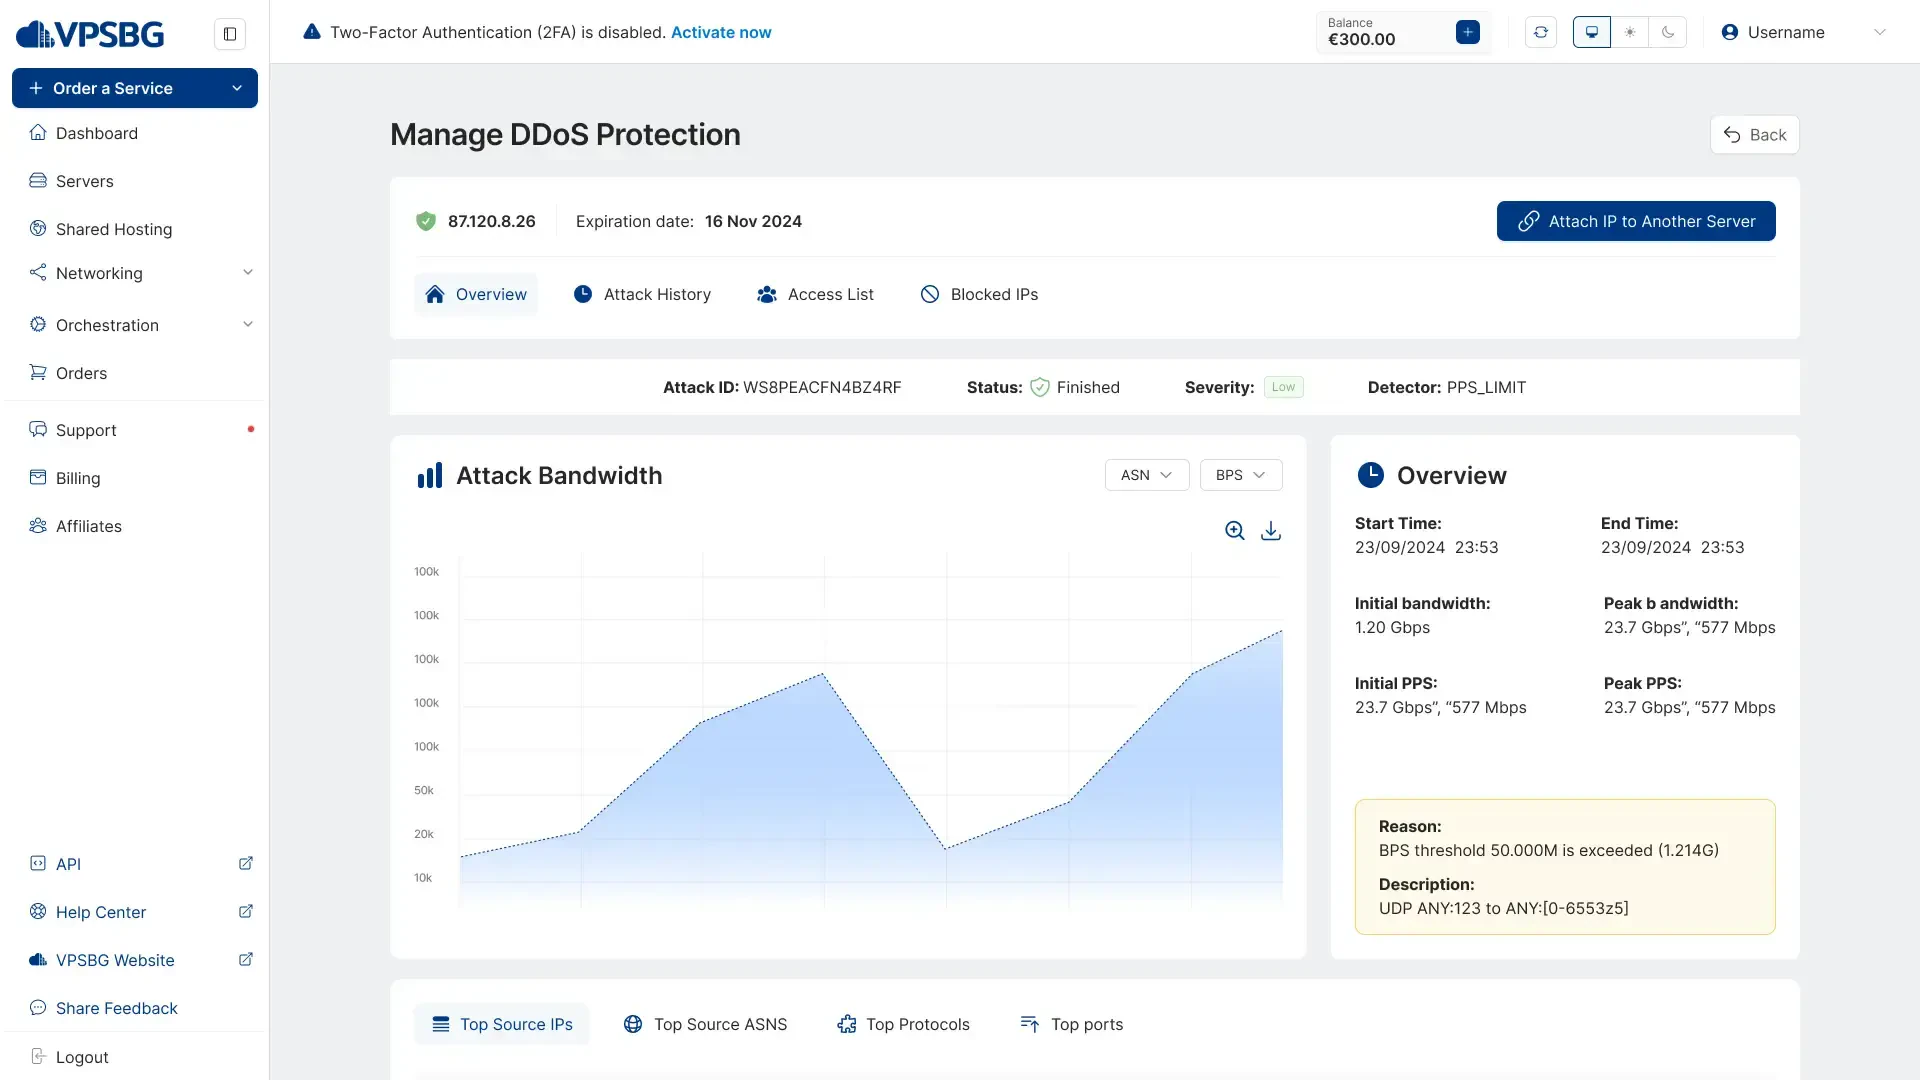
Here, you will be able to view data such as the top source IPs, ASNS, protocols and ports.
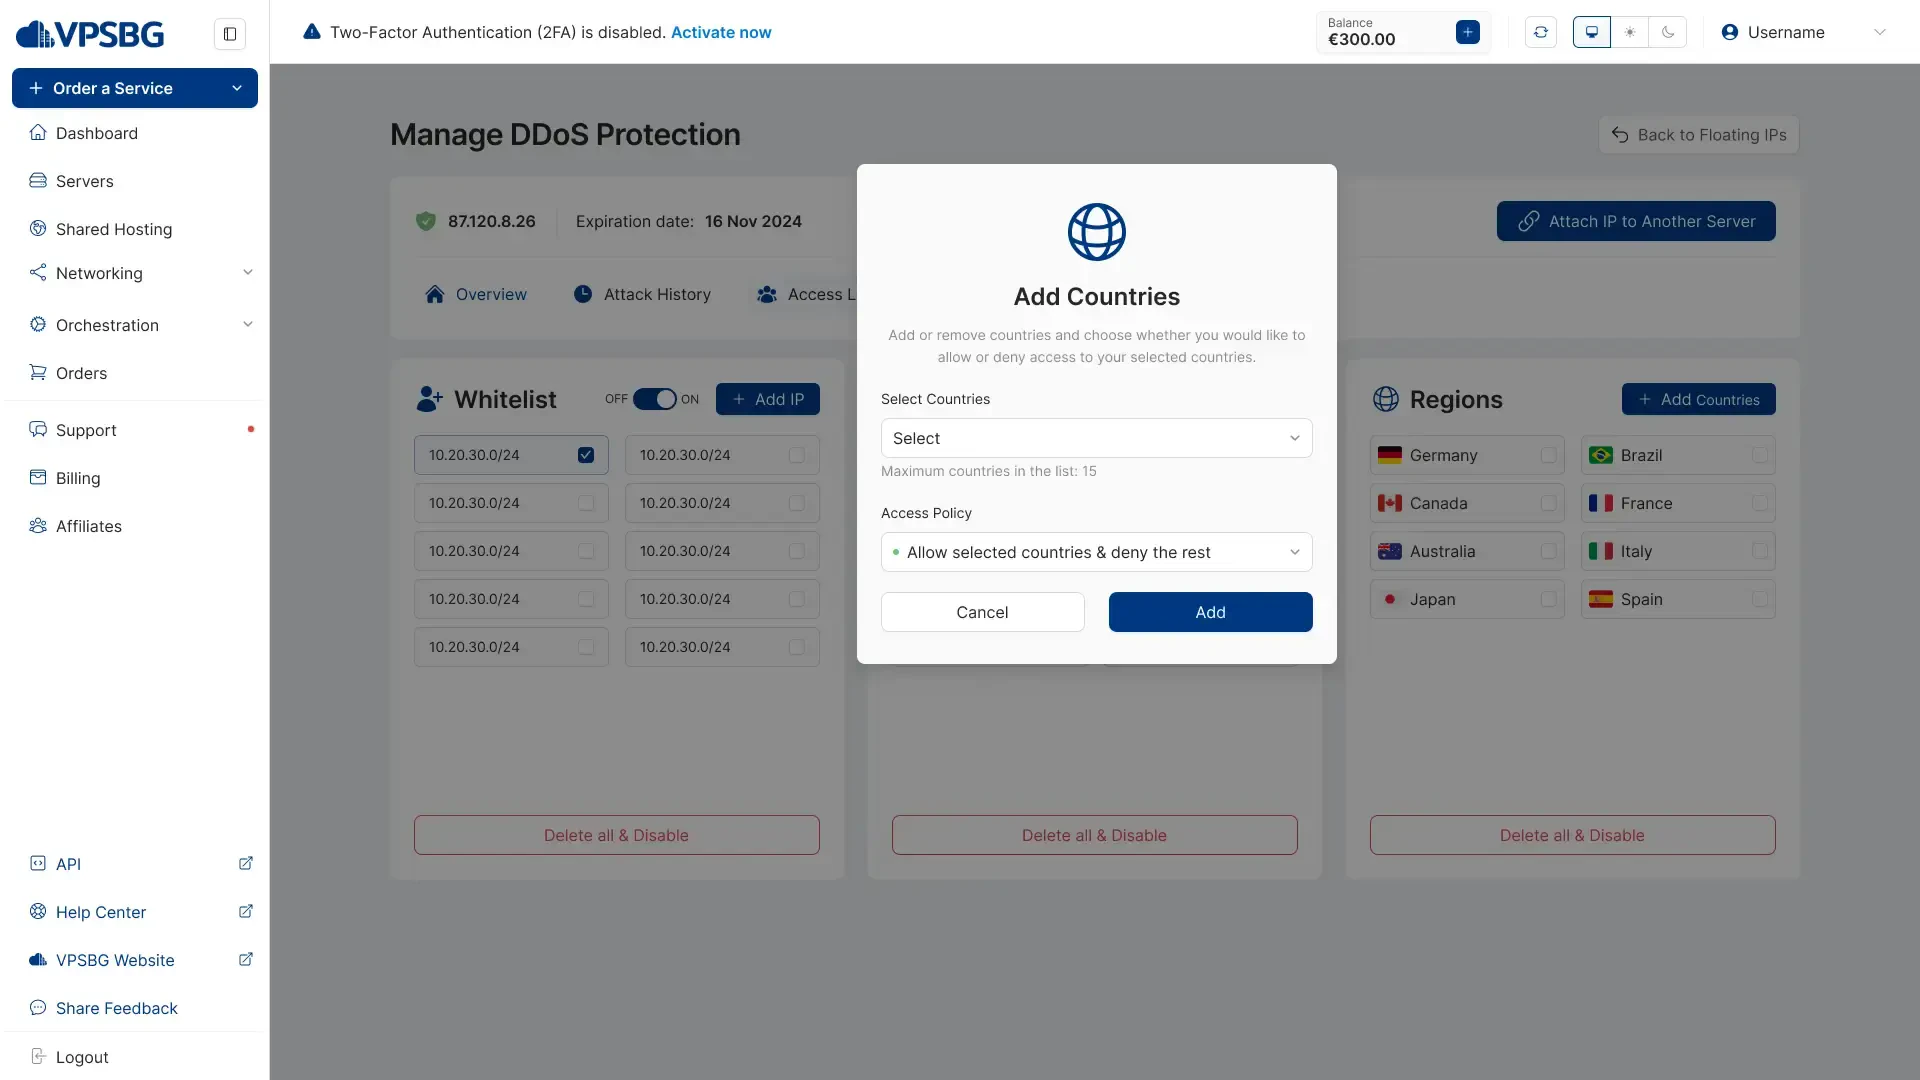
Our IPs also come with custom access features which you can find using the Access Lists tab. There you will see our Whitelist, Blacklist and Regions options which allow you to control traffic and access to your IP.
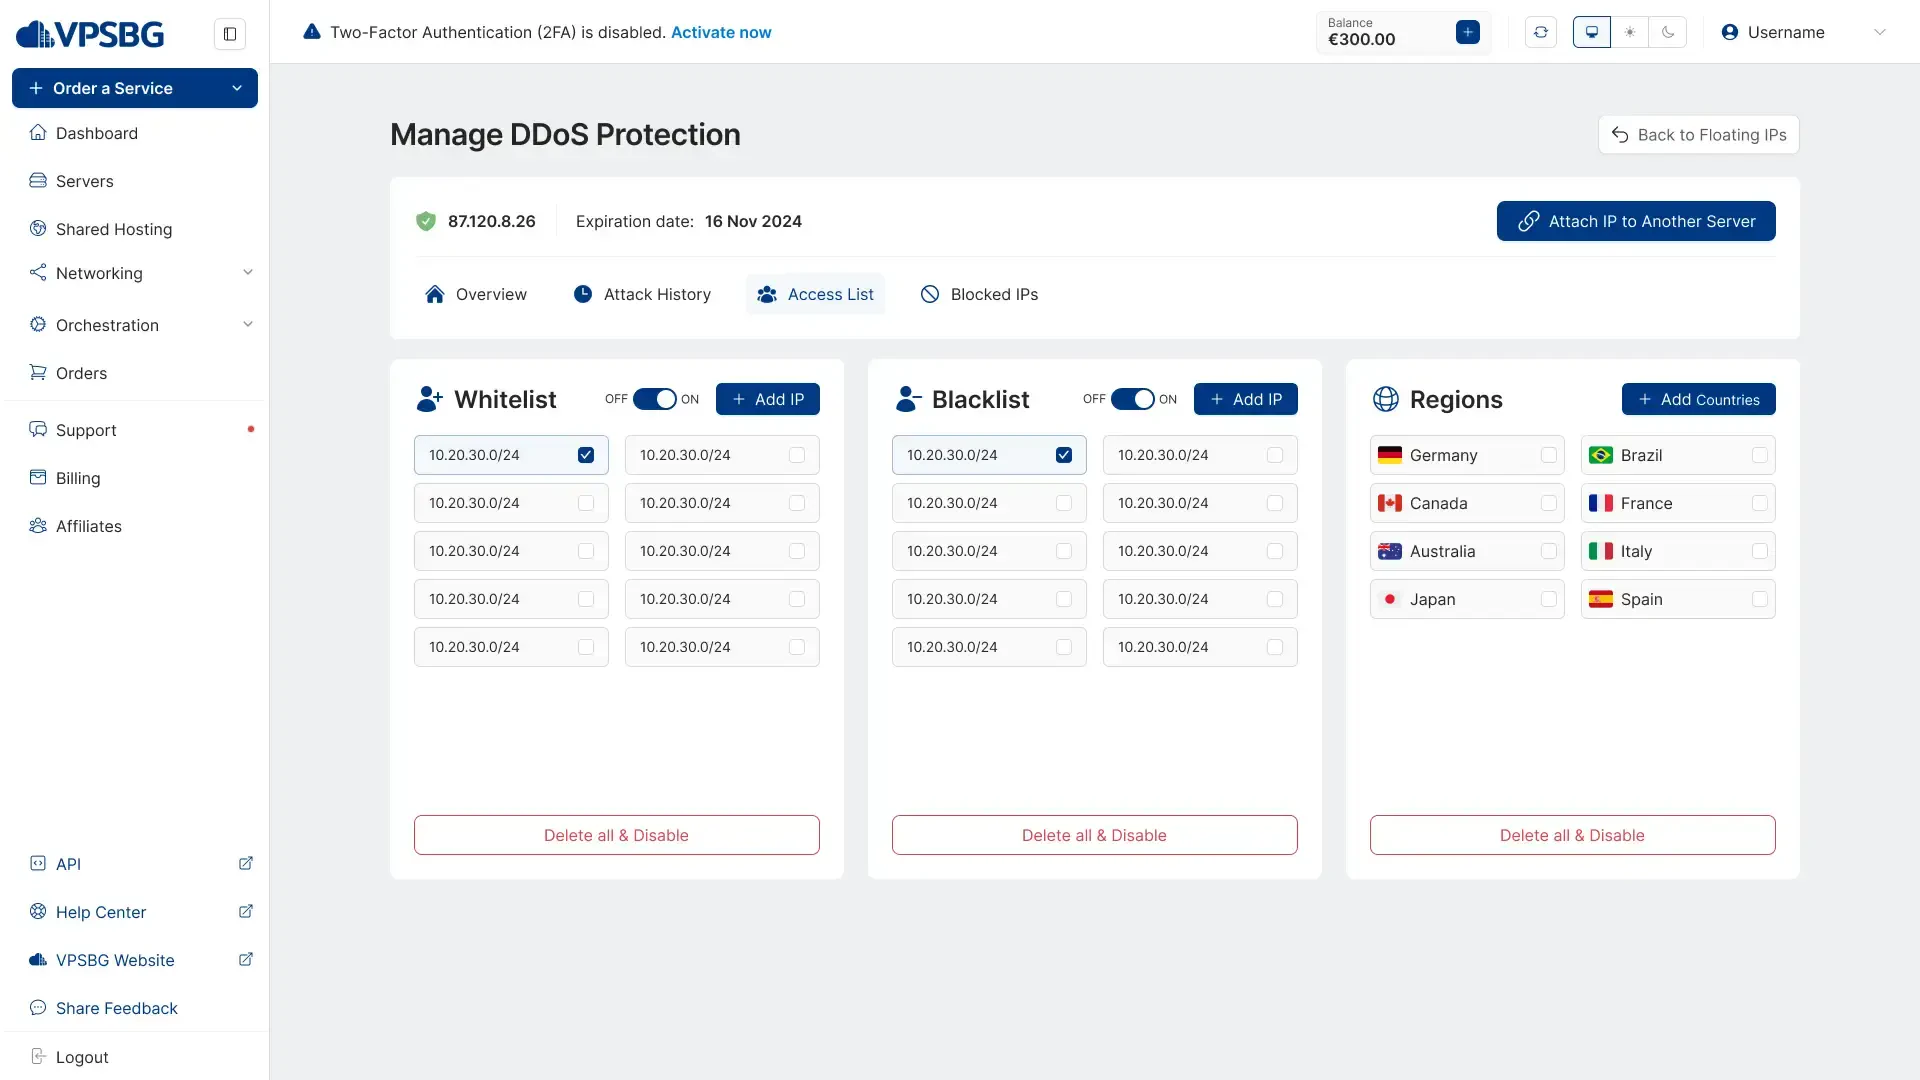
As evident by the name, the Whitelist is there for you to add IPs that you don’t want the DDoS-protection to block, while the Blacklist does the opposite and blocks all IPs that you enter.
The Regions option acts as a geographical filter, allowing you to block or allow access from a list of countries that you choose.
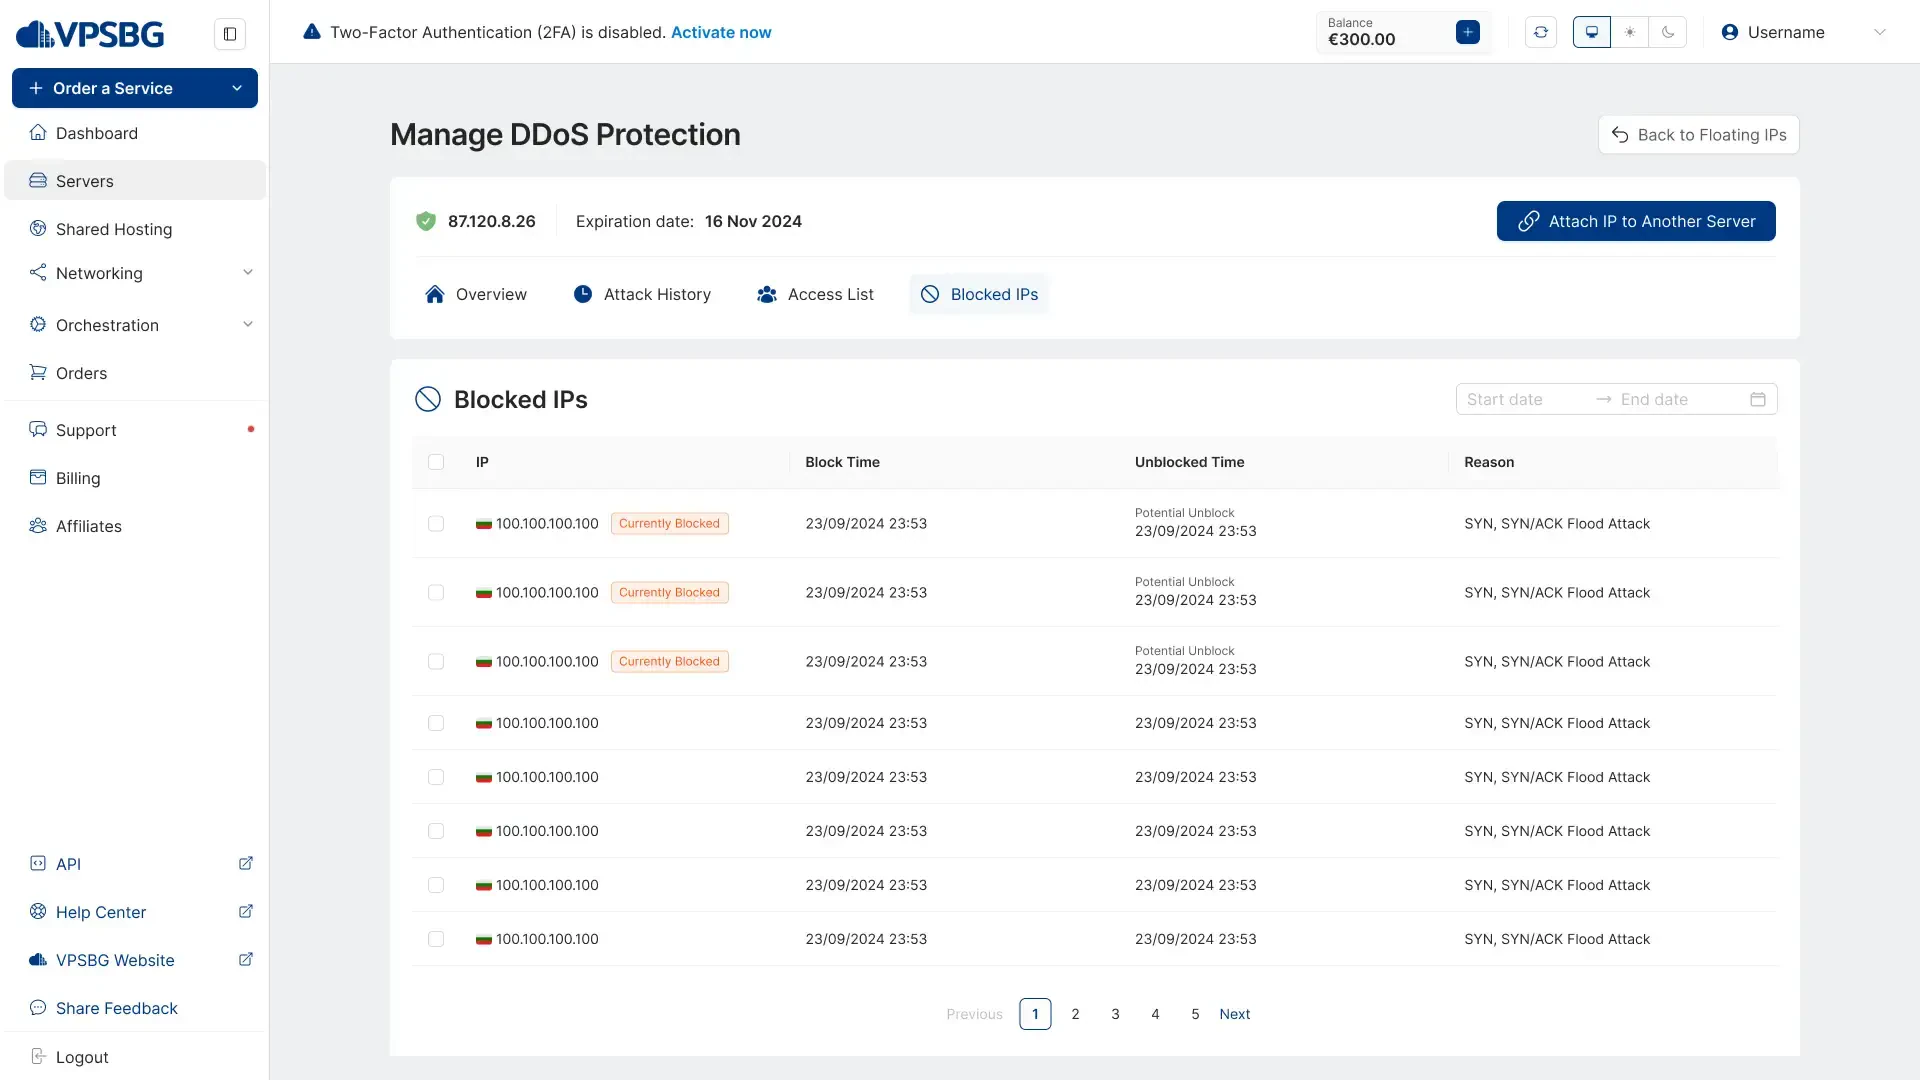
Finally, there is also the Blocked IPs tab, which contains all of the blocked IPs from the DDoS protection.
That’s it! Our DDoS-protected floating IPs are really simple to use and manage as everything happens automatically in order to protect your server. If you wish to further protect your websites and applications with much more granular options, you can stay tuned for our upcoming Website Protection feature, which puts you in complete control when it comes to protecting your services.

