


Self-hosting a Discord bot on a Virtual Private Server (VPS) gives you complete control over the bot, 24/7 uptime, and the ability to customize it to your community's exact needs. While you can always go for an existing bot that’s already hosted on an external server, chances are that there will be something that won’t always be tailored to your liking whether be it features, messages or even uptime as we already mentioned, which is why self-hosting a Discord bot is a great alternative.
While it might seem like a daunting task, it’s not that difficult to setup and in this tutorial, we are going to show you how to get one up and running step-by-step.
Different Bots, Different Setups
There is no single, universal method for installing every Discord bot. Each one is developed in a different way and has its own set of dependencies alongside its own recommended setup process. This is why it is always important to refer to the official documentation for the specific bot that you choose to install on your server.
In this tutorial, we are going to walk you through the installation of one of the most popular Discord bots: YAGPDB. We'll install it using Docker, a modern containerization method that bundles all dependencies together, allowing for a simple and clean deployment.
What you’ll need:
- A Cloud VPS (or any other cloud instance)
- An operating system (Ubuntu 24.04 in our case)
- A domain pointed to the IP address of the VPS
- A discord bot application
How to Create a Discord Bot Application
No matter what bot you choose to self-host on your server, you must first register an "Application" within the Discord Developer Portal. This creates the bot user and gives you an authentication token which is required to bring it online.
Start by navigating to the Discord Developer Portal and log into your Discord account if you’re not already logged in. Next, click the "New Application" button in the top-right corner.
You will need to give your application a name (this will be the bot's initial username). Once you have decided on a cool name, click "Create".
Following that, from the left-hand menu, navigate to the "Bot" tab. Once there, you must enable “Privileged Gateway Intents”. These allow your bot to receive certain types of data, like member lists or message content. For most modern bots, you will need to enable all three, which is what we will also do.
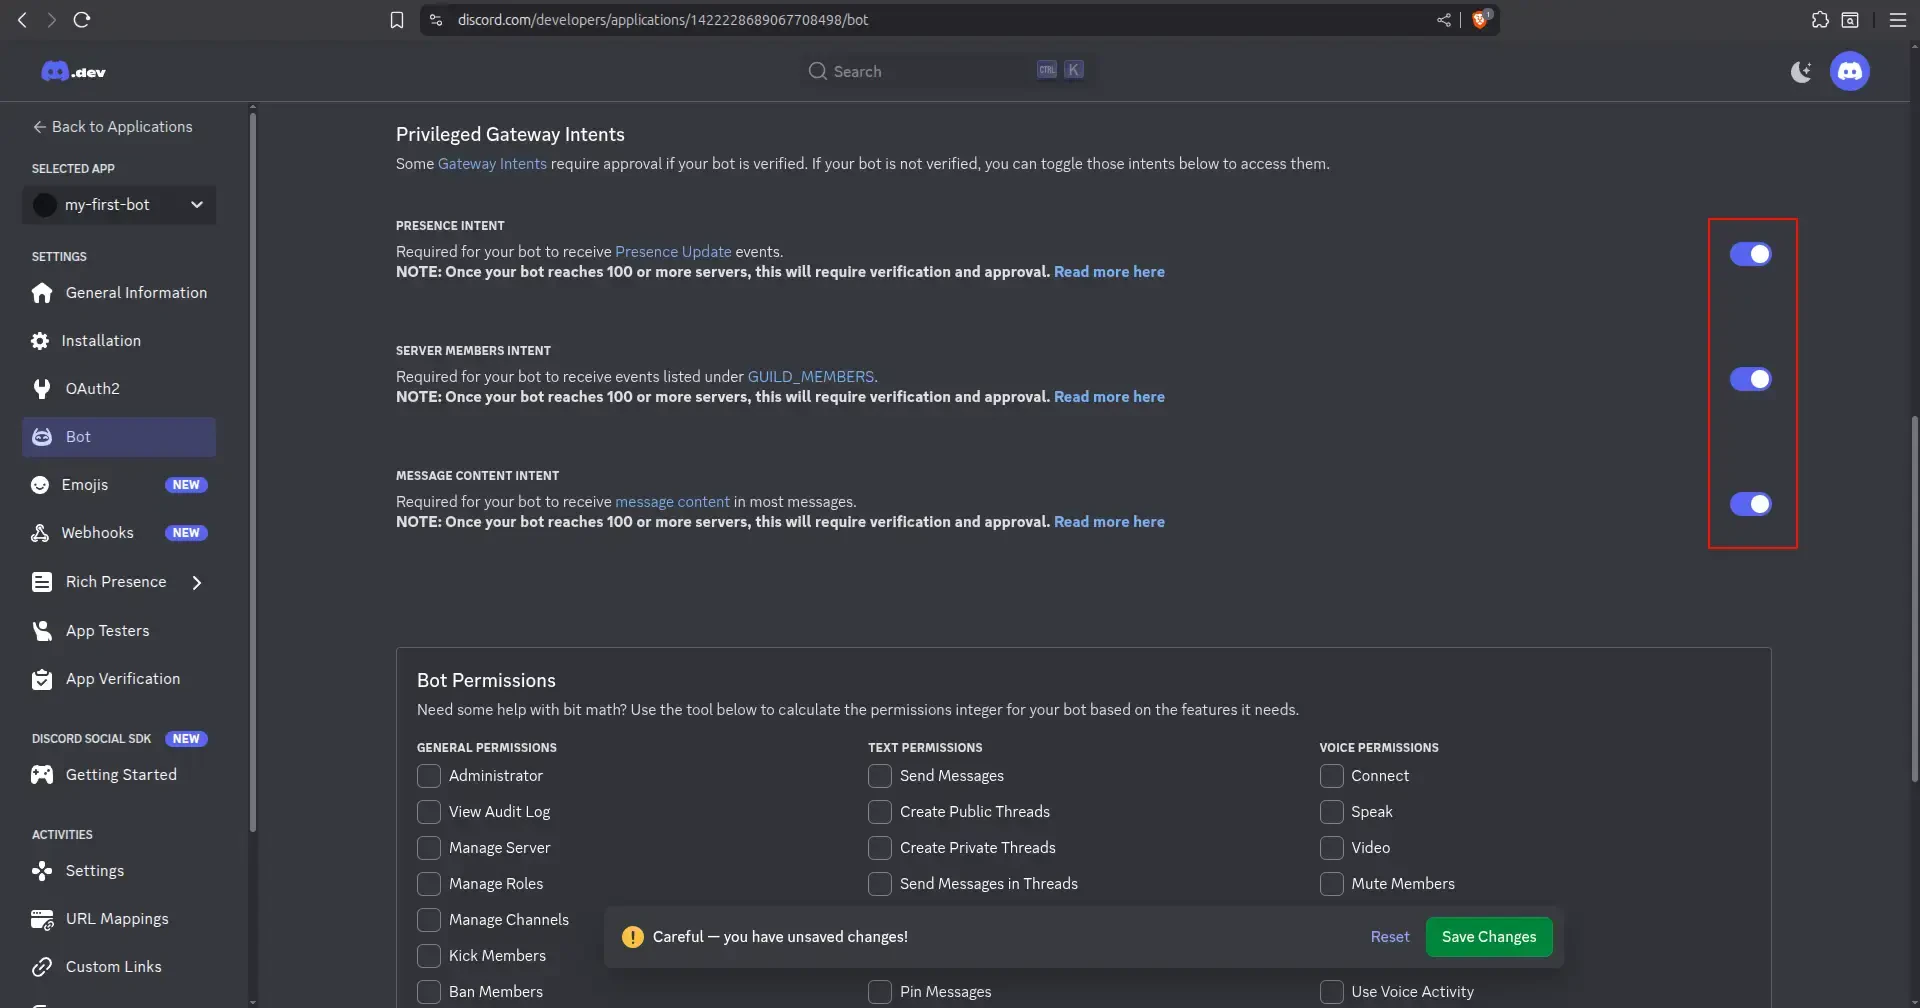
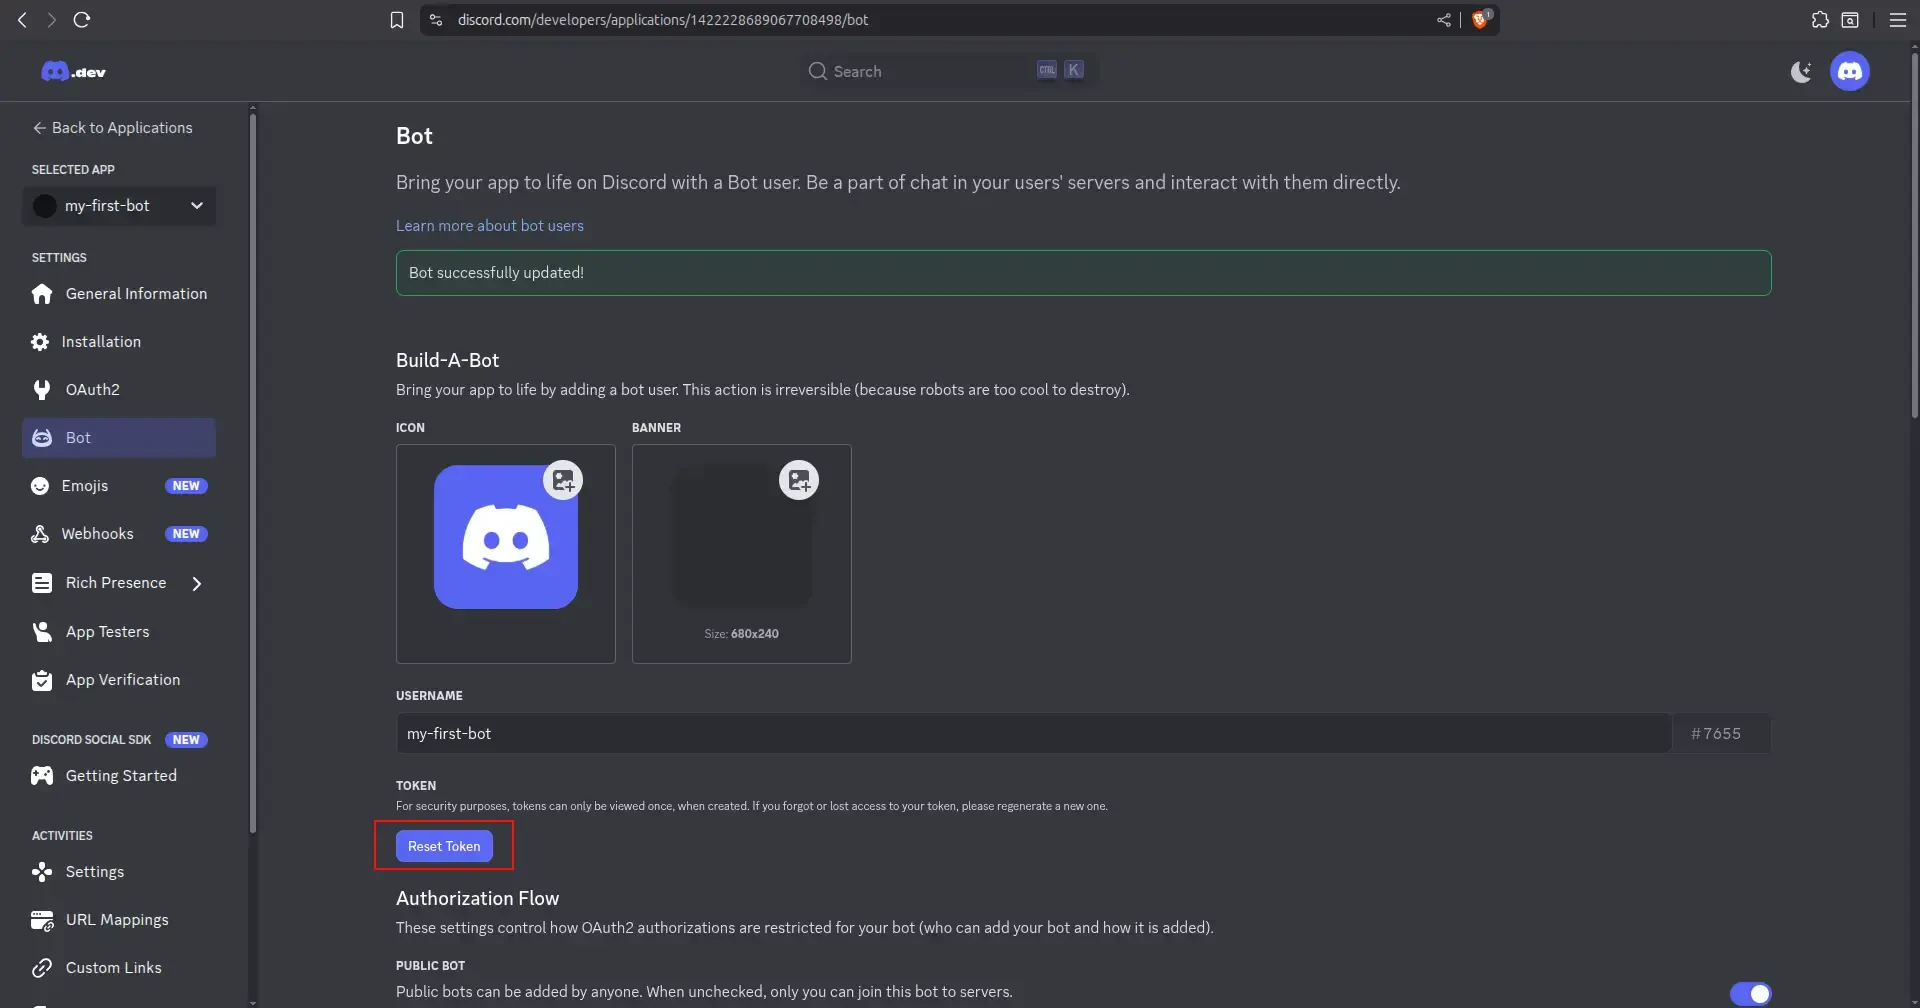
When done, click on “Save Changes” pop up at the bottom of the page. Afterwards, you will need to scroll a bit up and click the "Reset Token" button to reveal your bot's token.
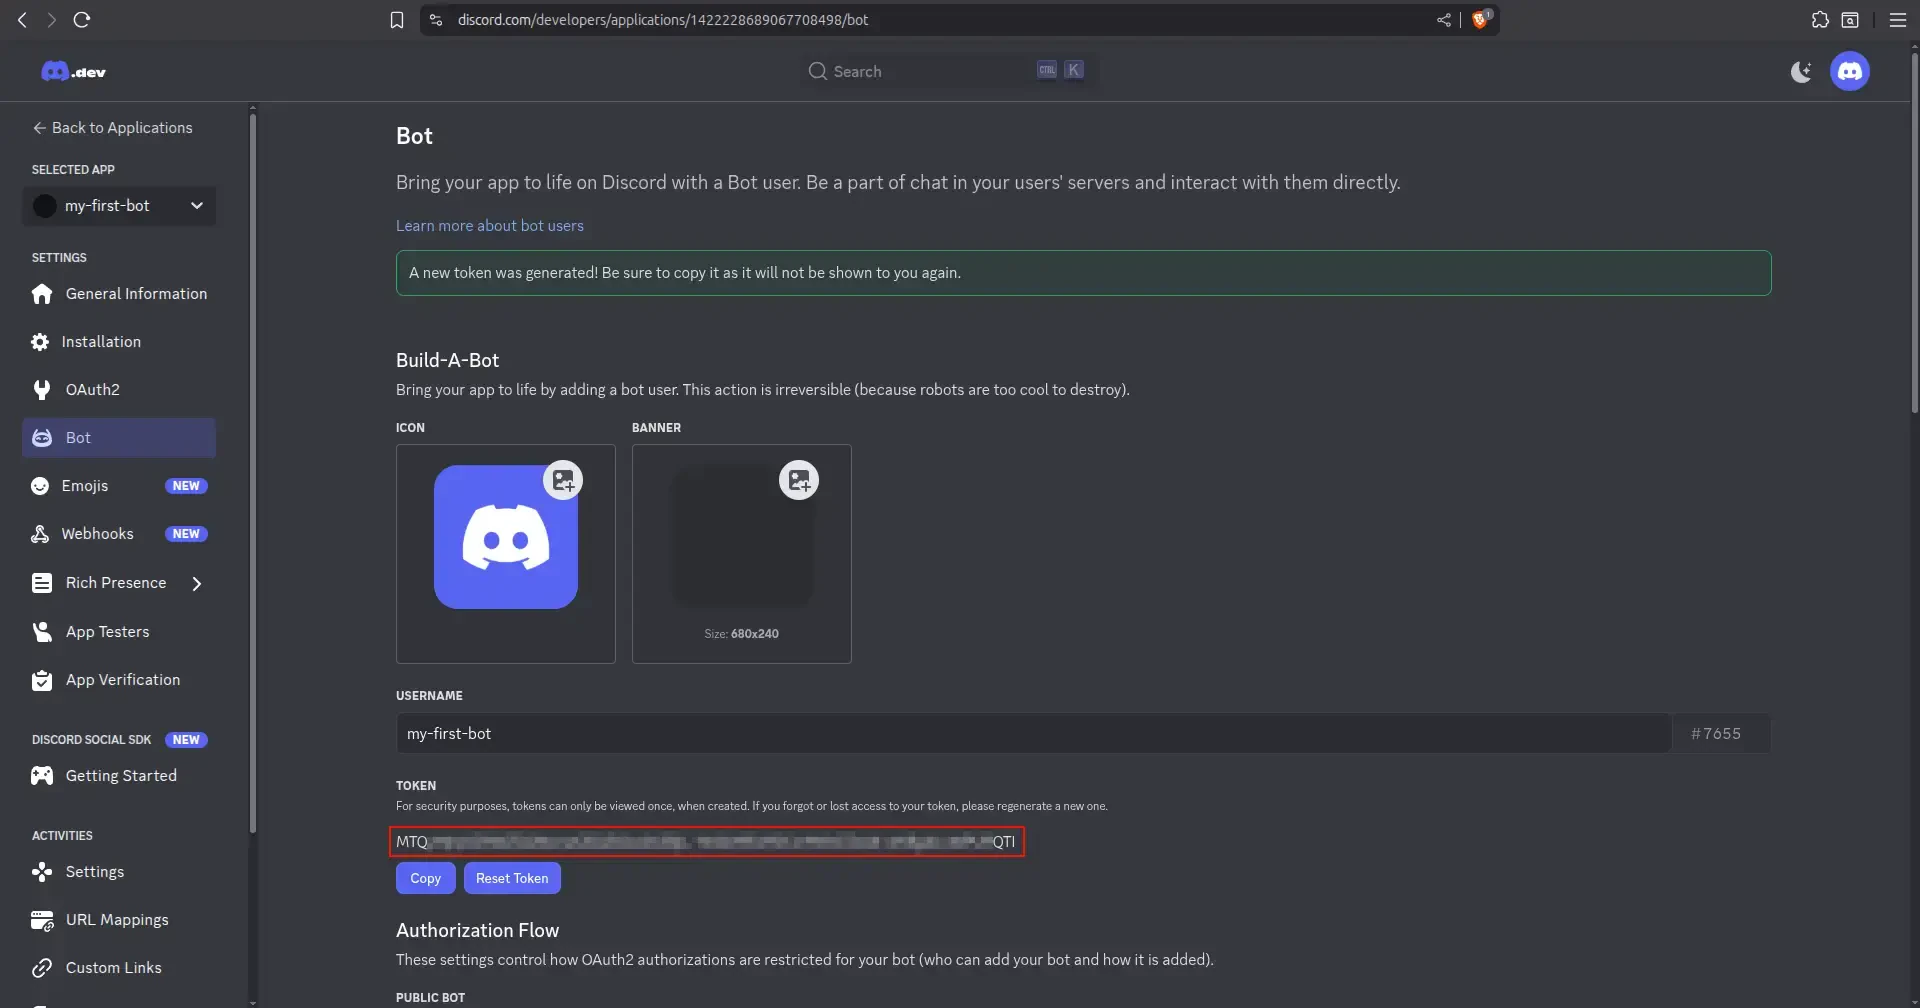
IMPORTANT: This is a secret password! Do not share it with anyone.
Make sure to copy token and save it in a secure place for later. You will need this for the installation.
Finally, let's invite the bot to your server. Go to the "OAuth2" tab, and then "OAuth2 URL Generator". Next, select the “bot” and “applications.commands” scopes. In the "Bot Permissions" section that appears, select the permissions your bot will need. For this tutorial, selecting "Administrator" is the easiest option.
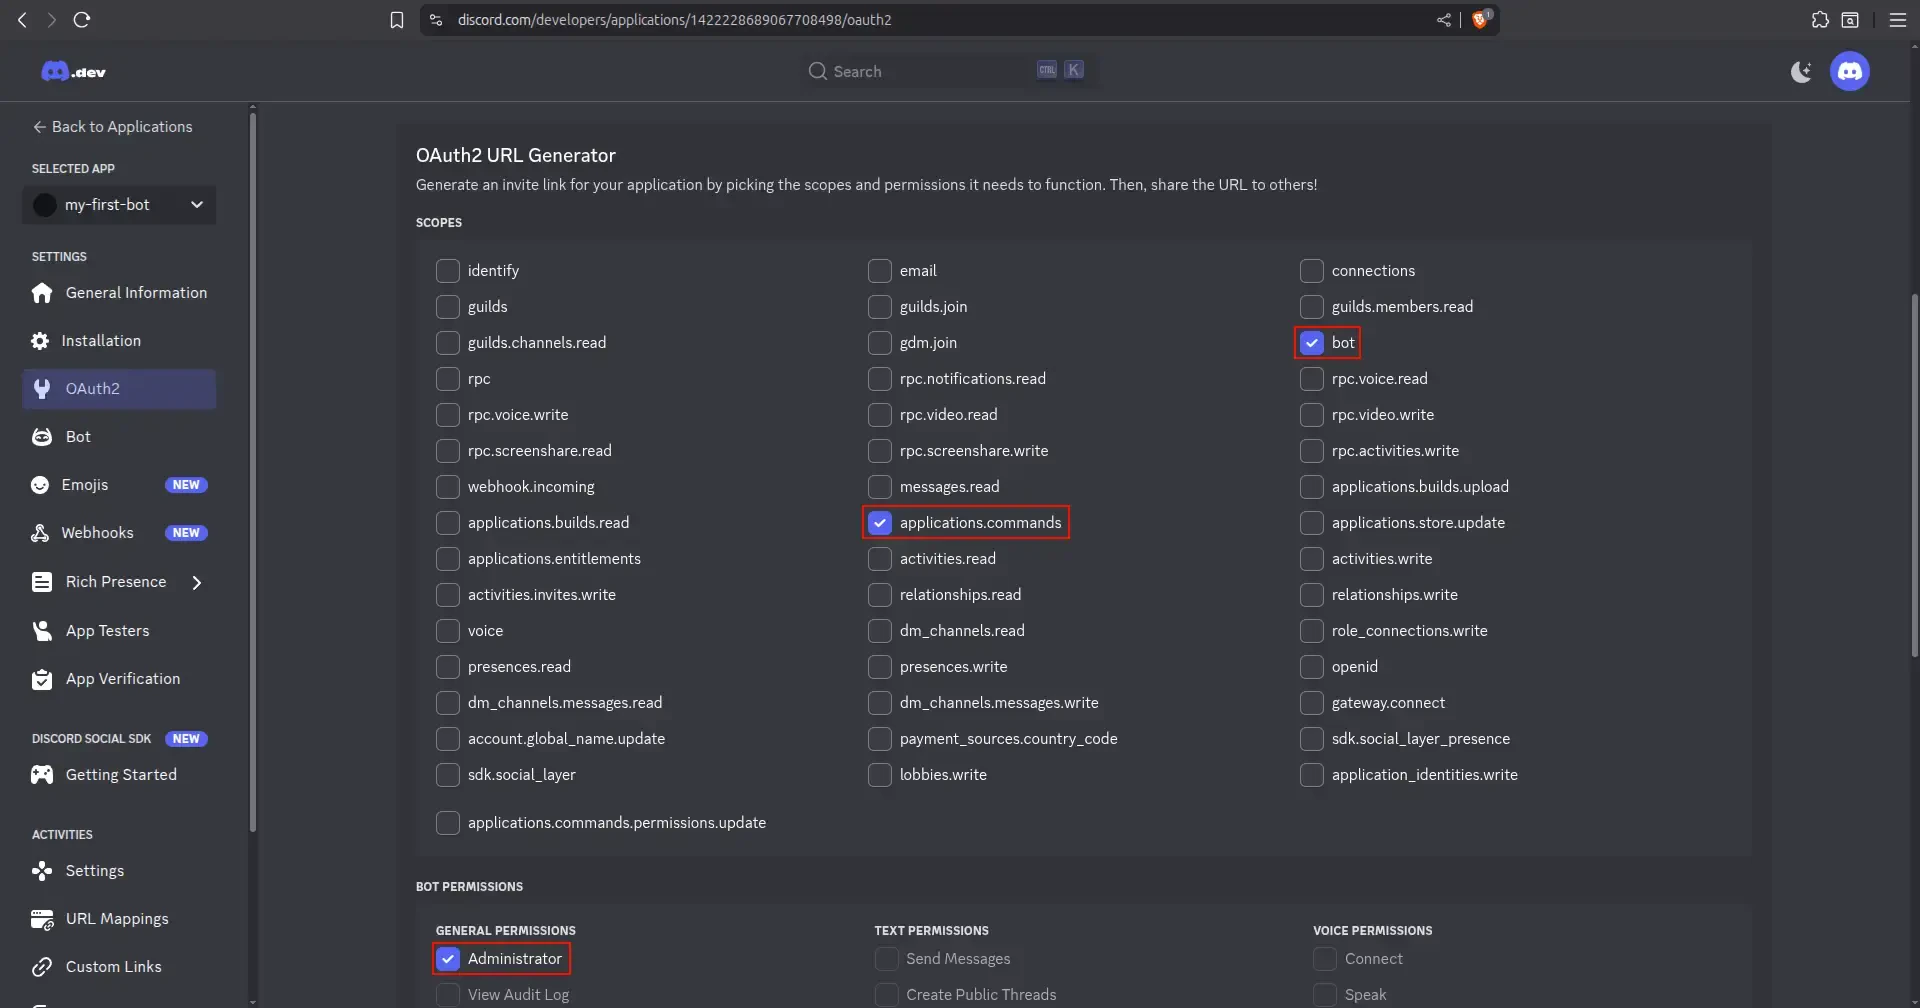
Finally, make sure “Integration Type” is set to “Guild Install” at the bottom, then copy the Generated URL, paste it into your browser, select your server, and authorize the bot.
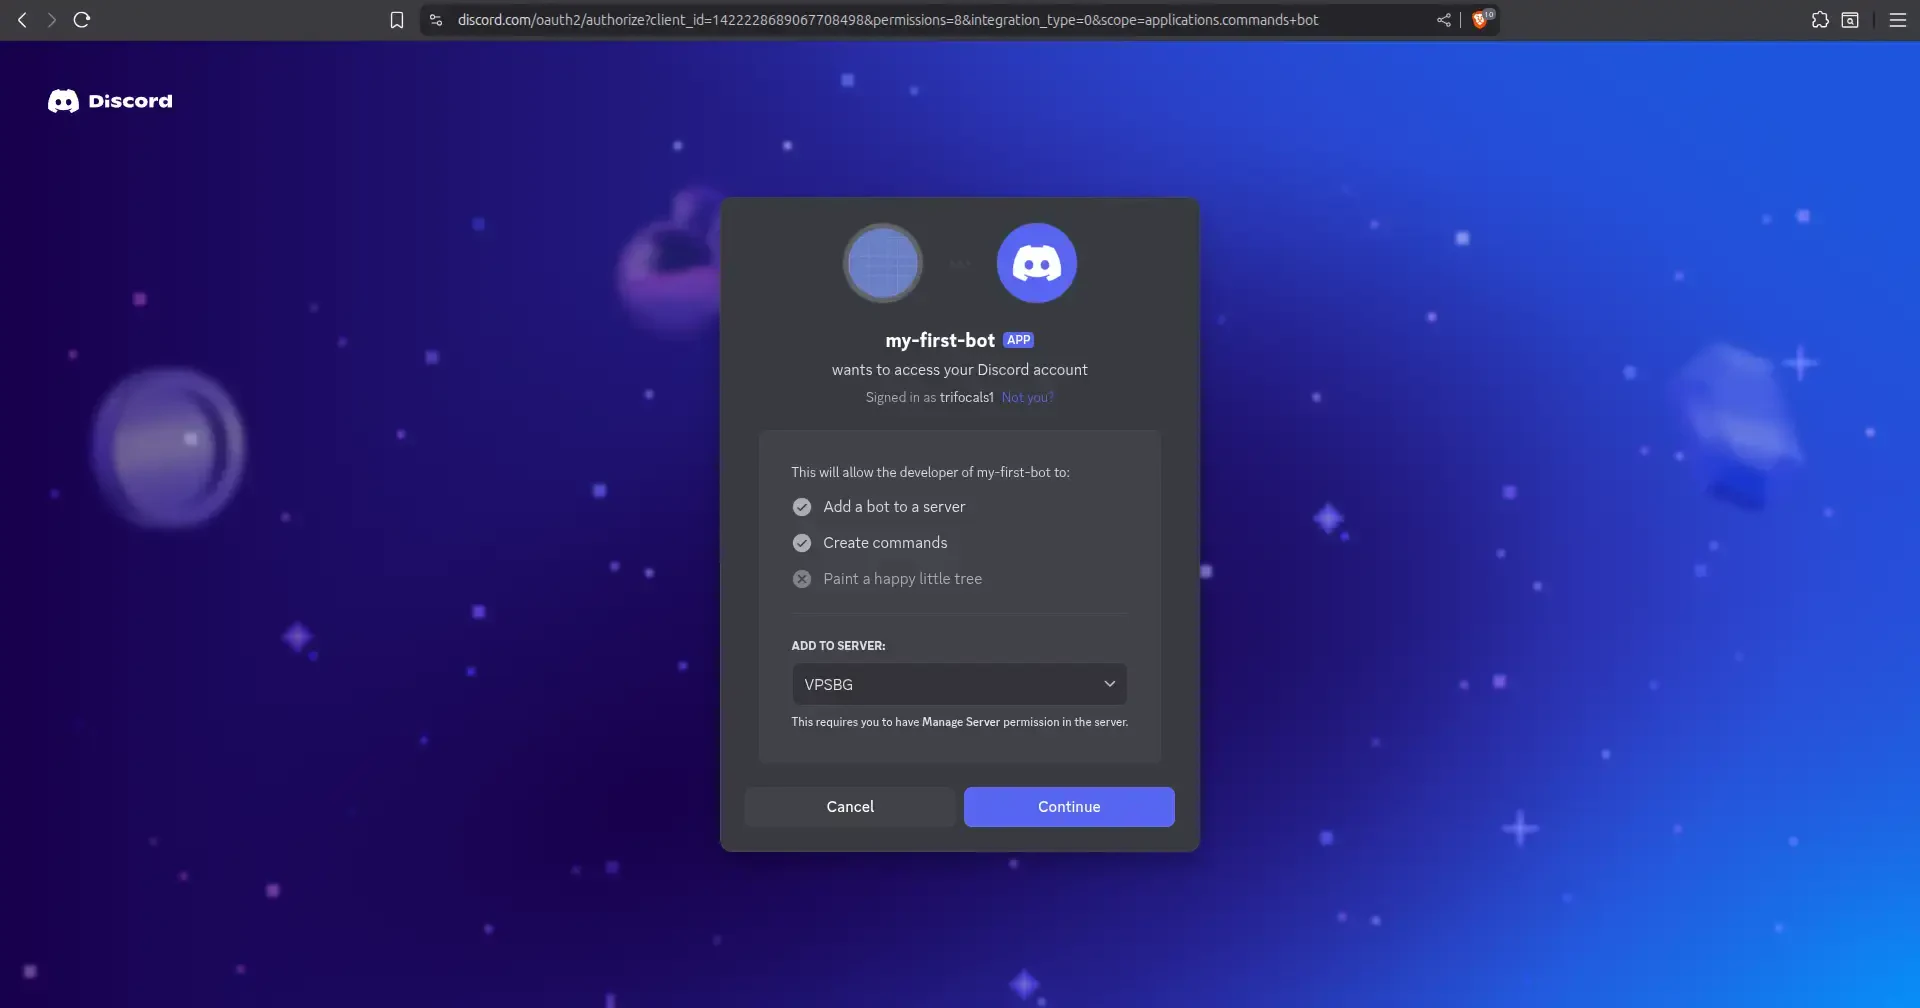
You will then see the bot successfully joining your server:

That’s it, your discord bot application is done! You can now use this empty template to create the perfect bot for your Discord server!
How to install YAGPDB using Docker
YAGPDB uses Docker to run in an isolated container. Docker provides a clean and modern solution that securely isolates software on your server, while also taking care of all required dependencies so that you can practically get things up and running on any setup without having to check versions, software, plugins and other types of dependencies.
To start, you will need to first install Docker on your cloud server. You can also get a VPSBG Cloud VPS with Docker and skip the whole installation process!
If manually installing Docker, you will need to connect to your VPS via SSH and update your package list using this command:
sudo apt update
Now, install Docker and Docker Compose using apt.
sudo apt install docker.io docker-compose -y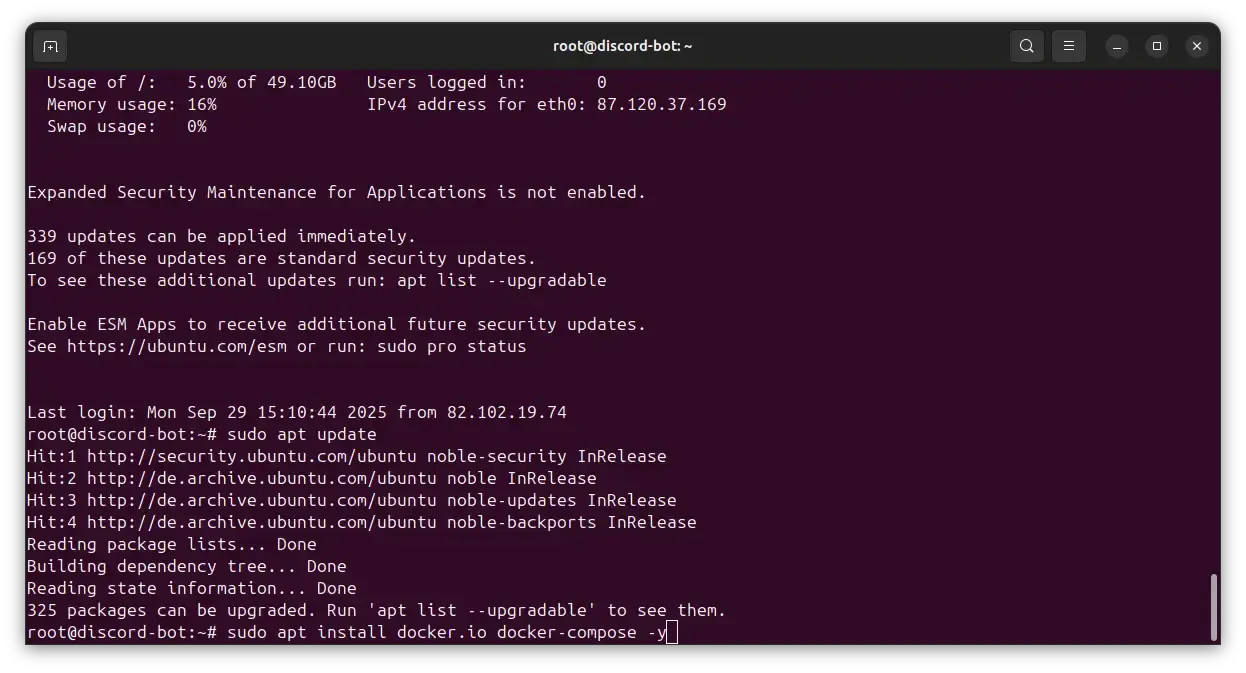
Next, enable the Docker service to start on boot and start it now.
sudo systemctl enable dockersudo systemctl start docker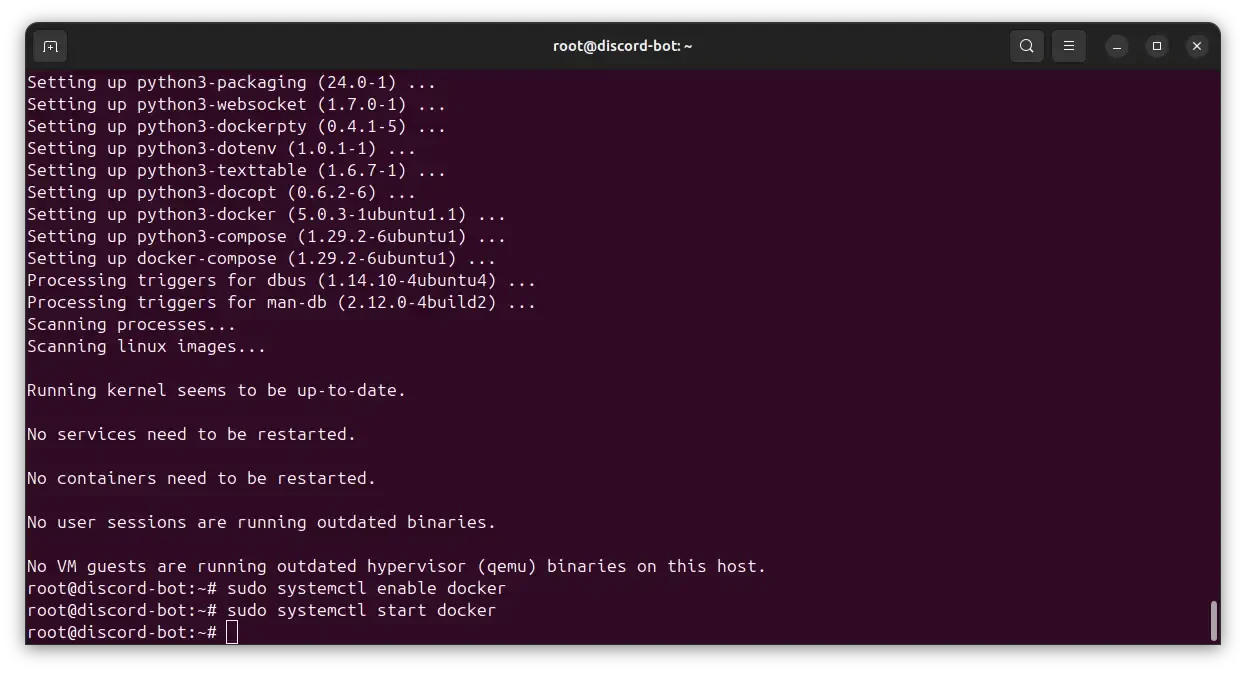
That’s it! Docker should be up and running on your server. We will now start to follow the official YAGPDB self-hosted documentation. Firstly, we will first clone the directory using this command:
git clone https://github.com/botlabs-gg/yagpdbNext, we will also need to run these two commands:
cp yagpdb/yagpdb_docker/{app.example.env,app.env}cp yagpdb/yagpdb_docker/{db.example.env,db.env}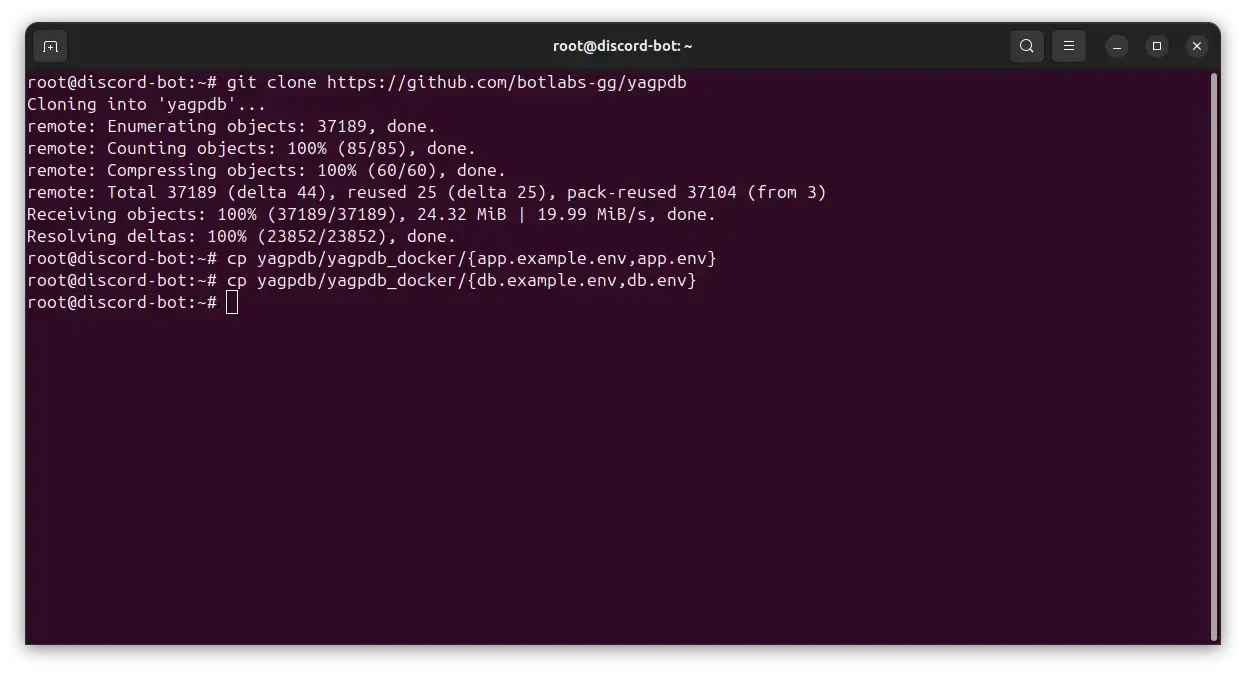
In general, YAGPDB is configured using environment variables. For us to configure these, we will need to enter the “yagpdb/yagpdb_docker“ directory and edit the “app.env” file. We will do the text editing with the “nano” command:
cd yagpdb/yagpdb_dockernano app.env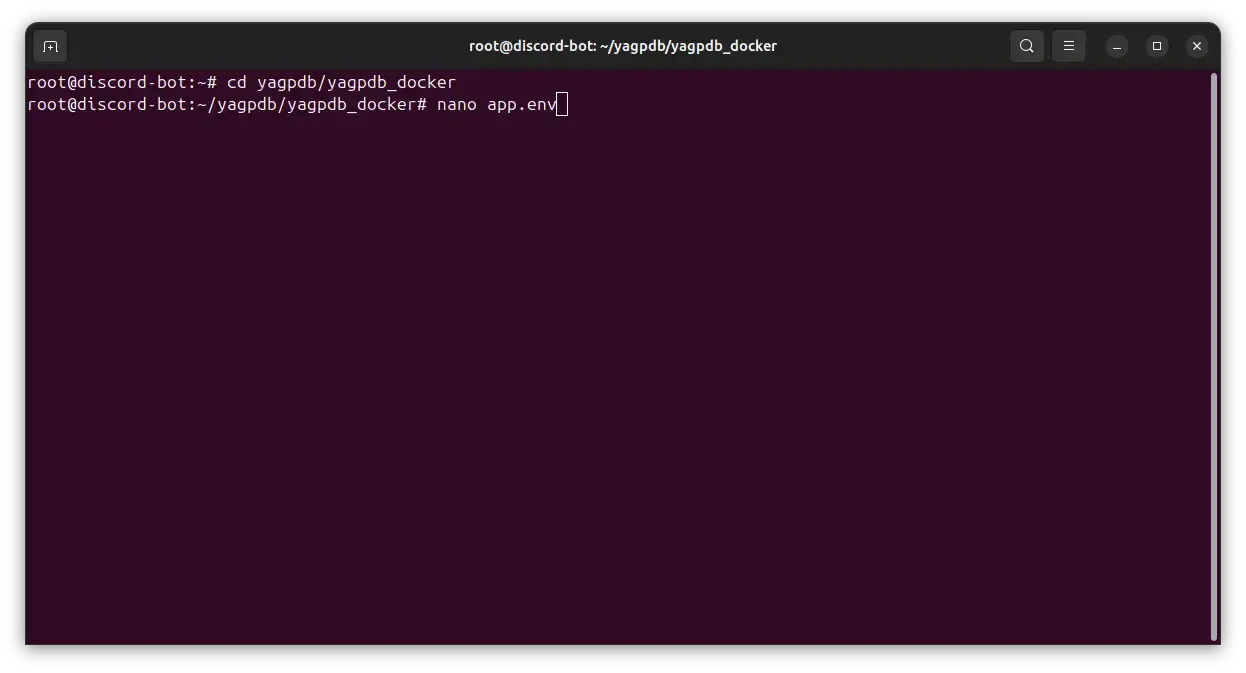
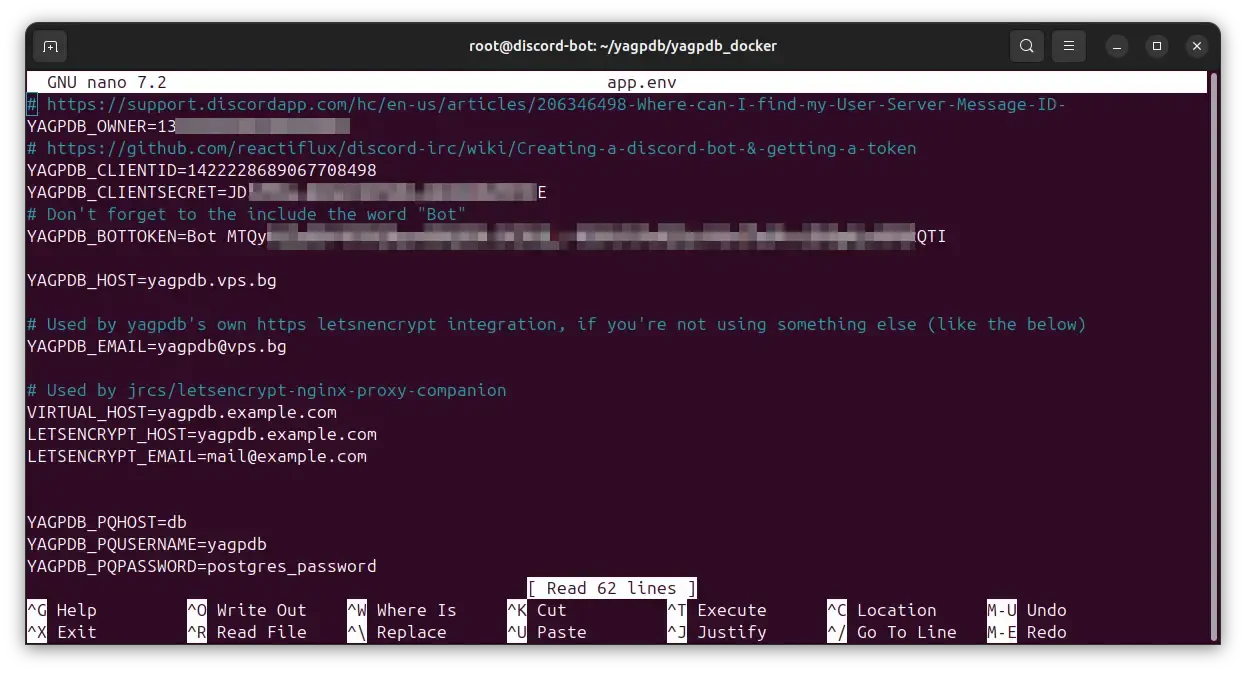
Inside the opened file, there are few things that we will need to paste.
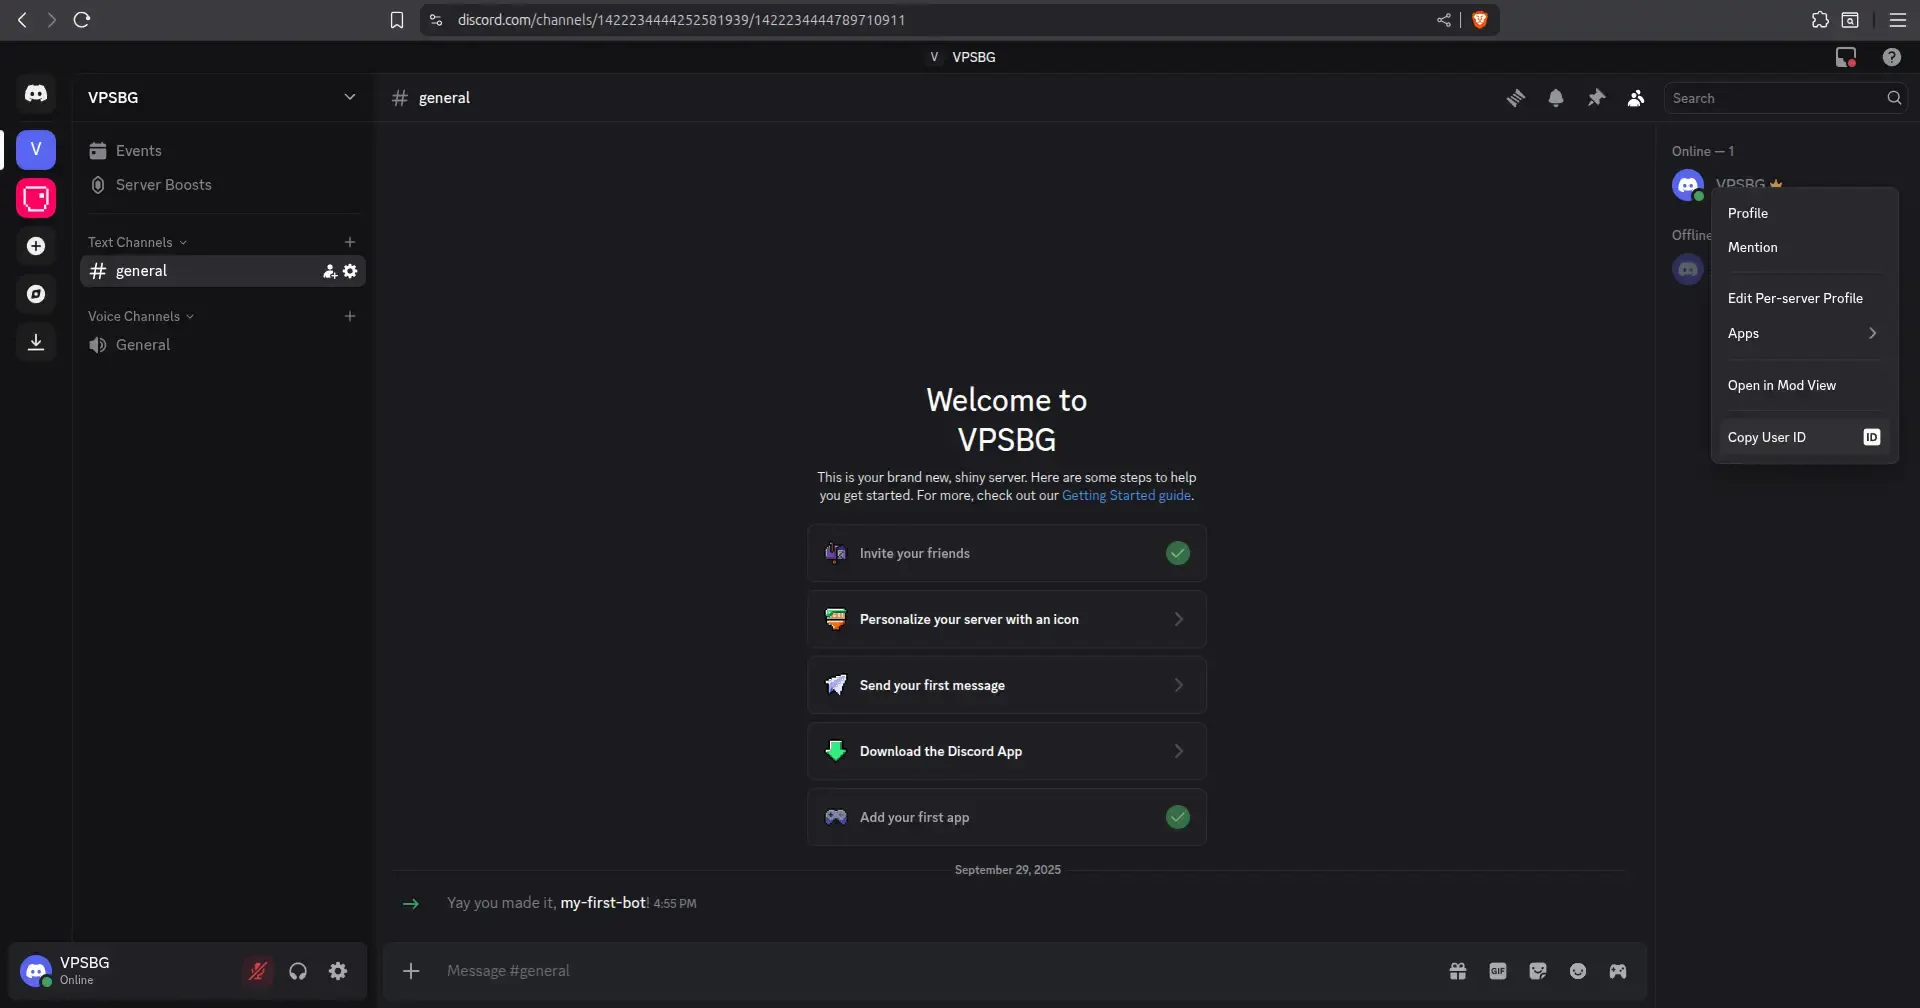
YAGPDB_OWNER - this is where we need to enter our Discord User ID. This can be done by enabling Discord Developer Options, right-clicking on your user handle and selecting Copy User ID:
YAGPDB_CLIENTID and YAGPDB_CLIENTSECRET - both of these can be retrieved via Discord Developer Portal -> OAuth2
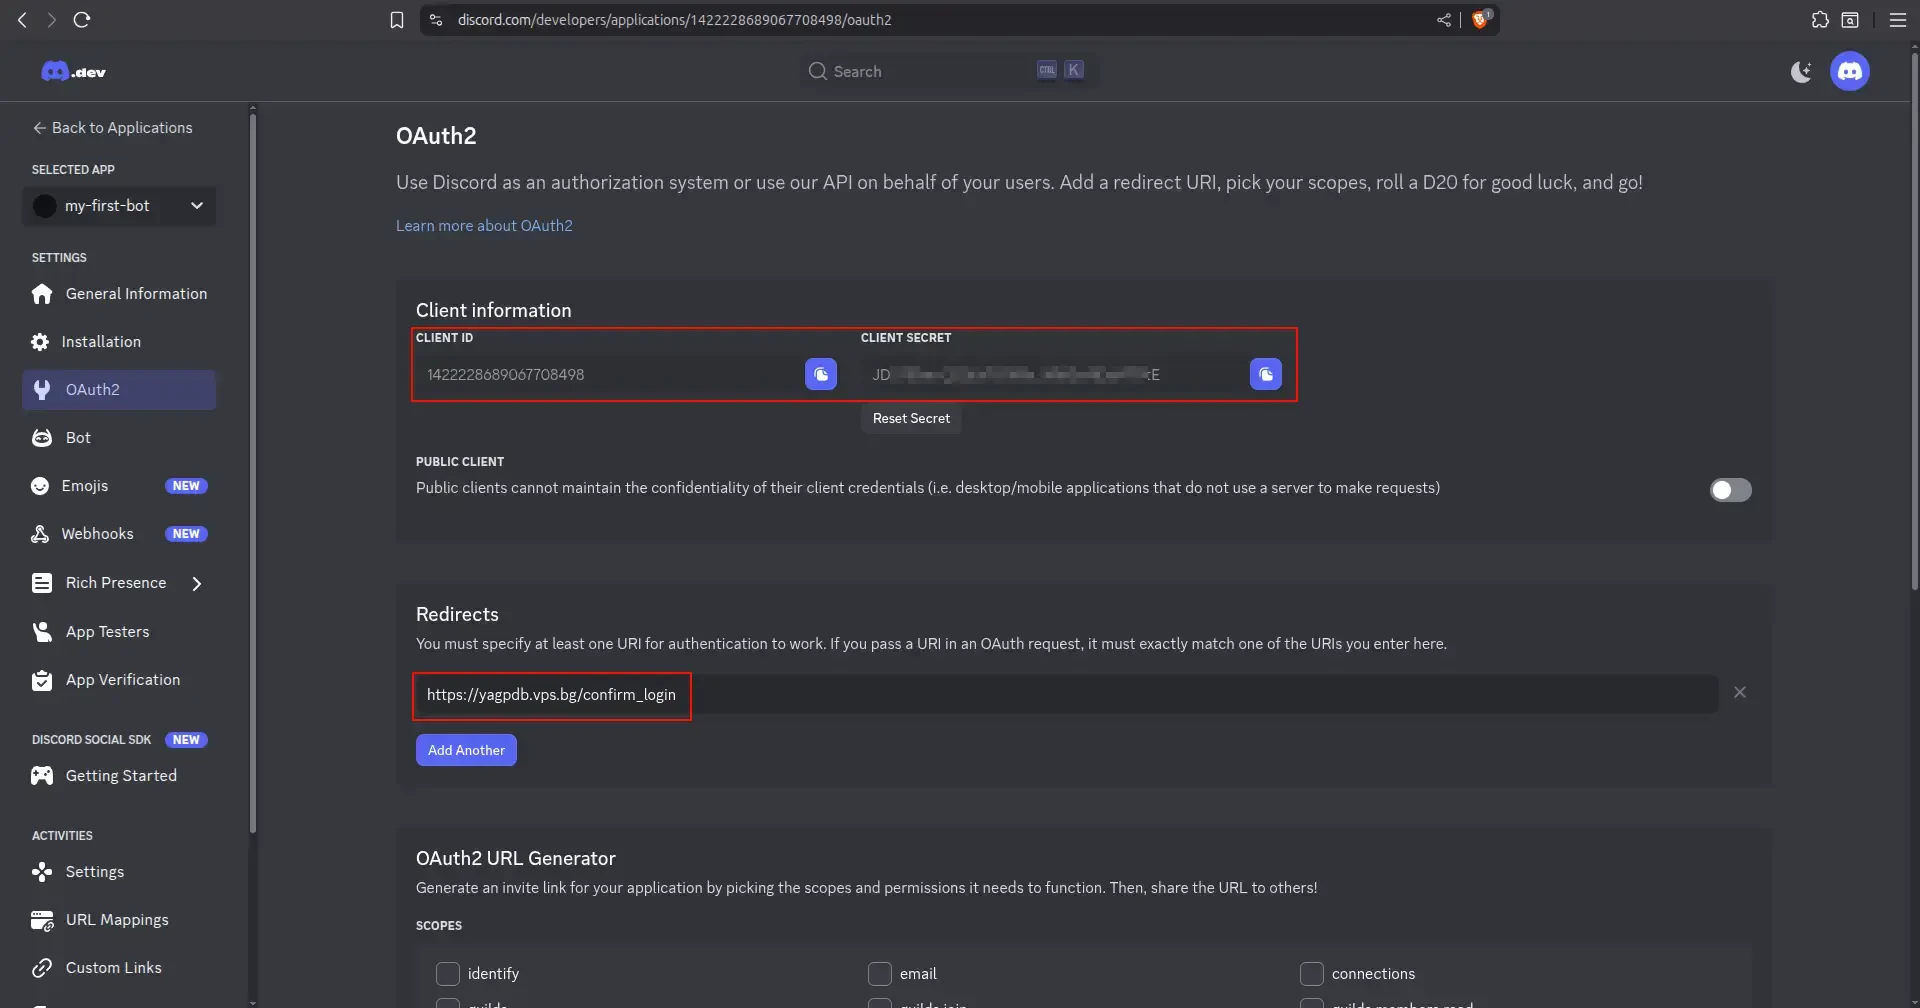
While there, we need to also set up the OAuth2 redirect so that we’re able to log into the YAGPDB admin panel.
Set it to: https://yagpdb.example.com/confirm_login, where yagpdb.example.com is your domain that is pointed to the cloud server’s IP address.
YAGPDB_BOTTOKEN - The secret bot token that you created in the previous section.
IMPORTANT: Make sure to also include the “Bot” keyword at the beginning, as shown in the image below!
YAGPDB_HOST - Your pointed domain
YAGPDB_EMAIL - The email that will be used for the automatic SSL certificate creation
The file should look similar to this:
Finally, press Ctrl+X -> Shift+Y -> Enter to save and exit.
That’s the setup process done! The Docker containers now are ready to be launched, which you can do with the following command:
docker-compose up -d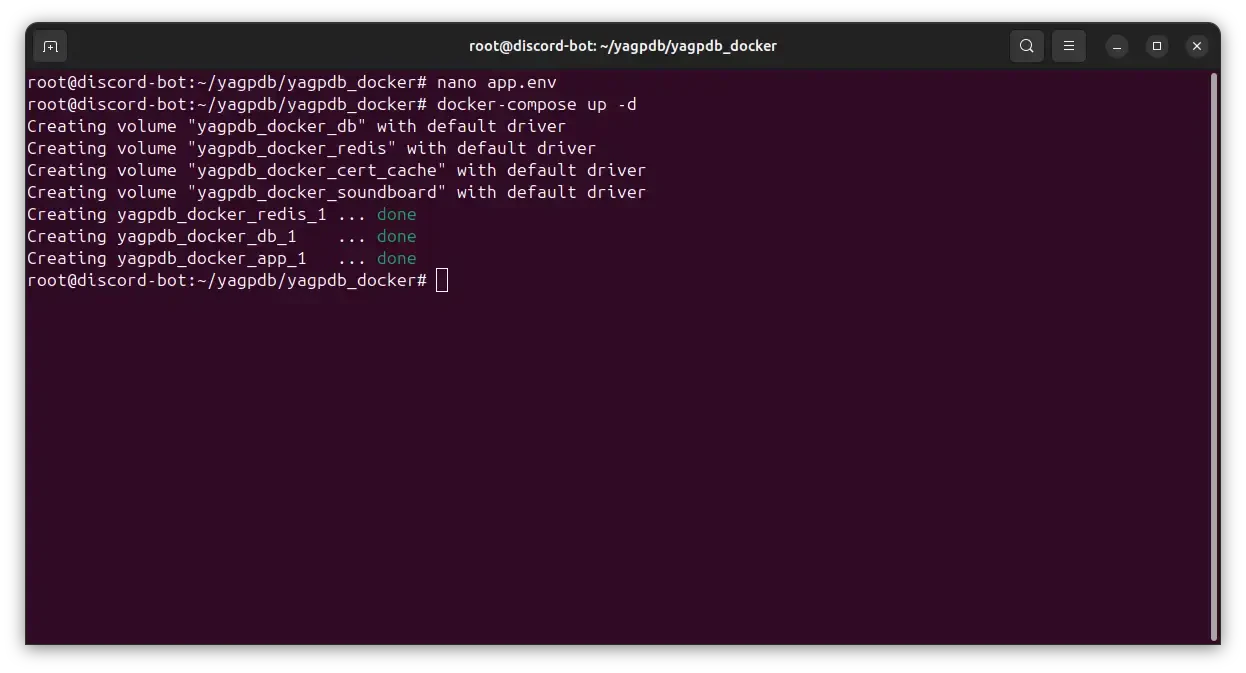
Give the Docker containers some time until they start and then navigate to the pointed domain in your browser. You should be presented with the YAGPDB default page, which should look like so:
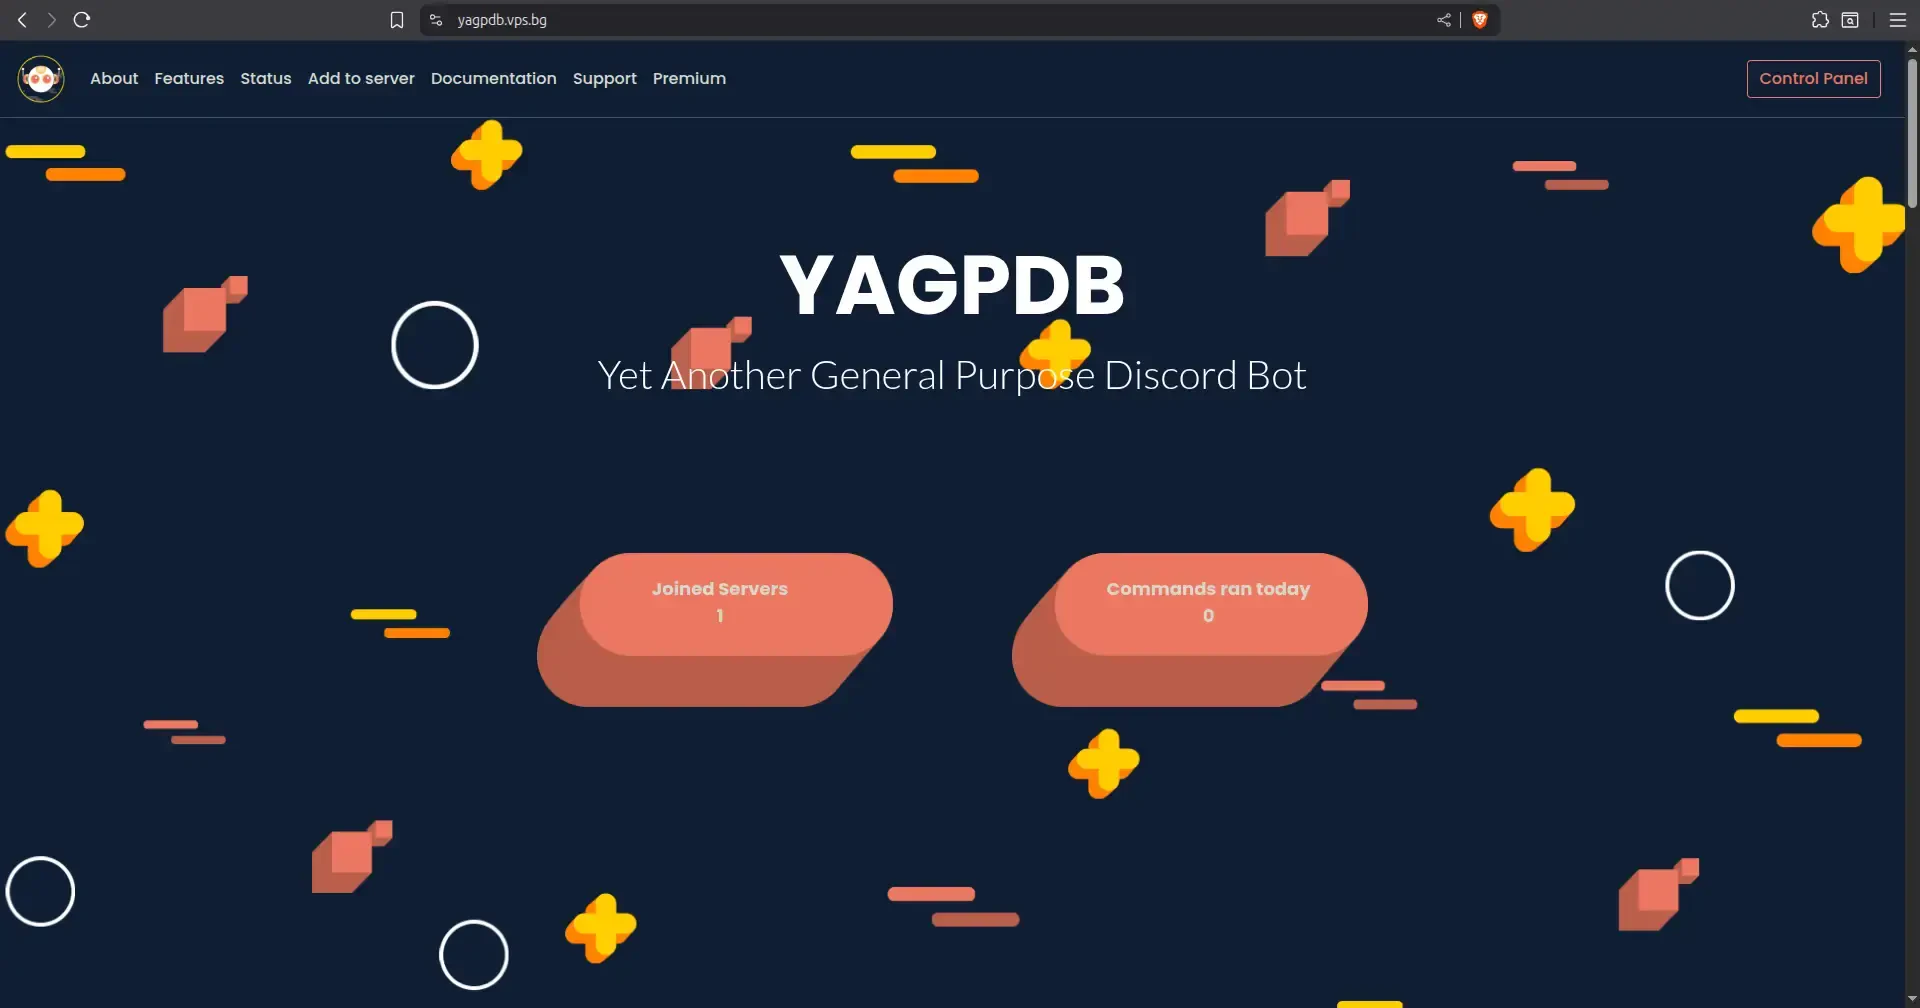
This is where you will be able to log into the Control Panel with your Discord account and further manage the bot. For the full list of capabilities, you can check out the YAGPDB documentation.
What’s left now is to simply test the bot. Let’s run a simple command in the Discord server:
-pingYou should now see the bot respond with some performance metrics:
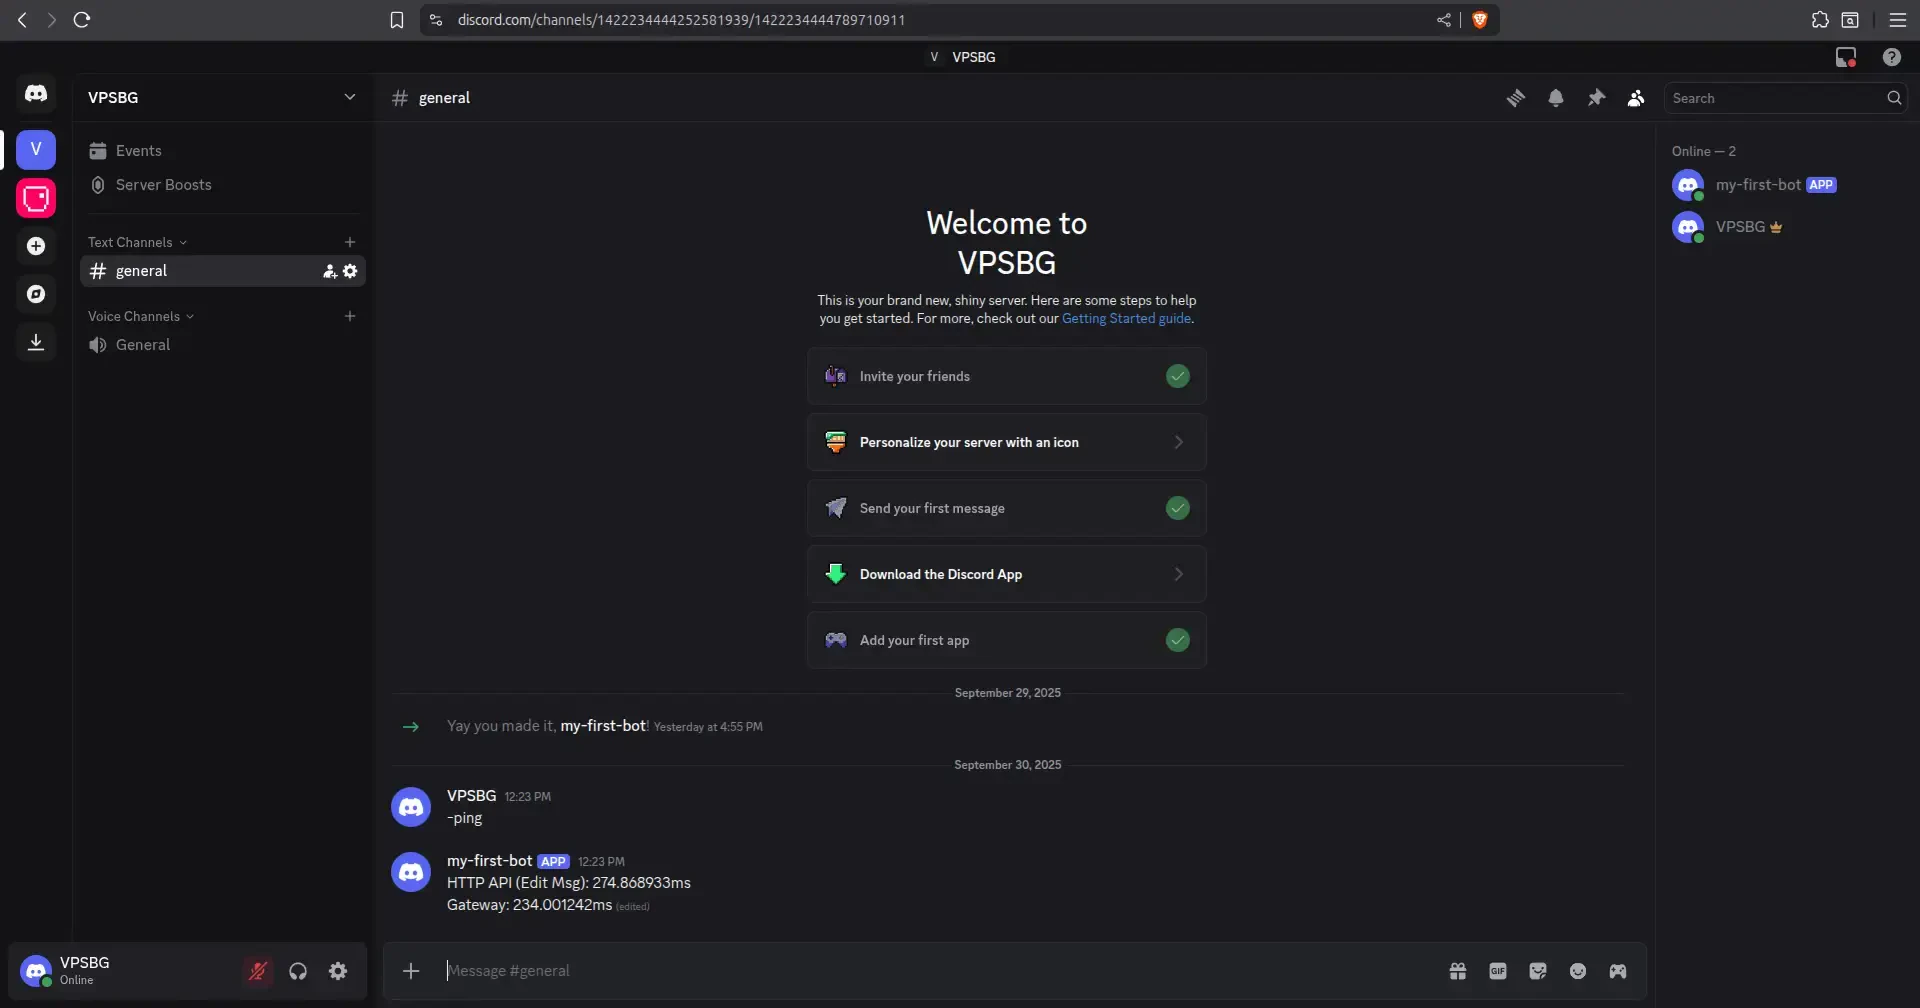
That’s it! Now you’ve successfully configured a self-hosted YAGPDB bot on your Cloud VPS server.

